
API Keys & Playground
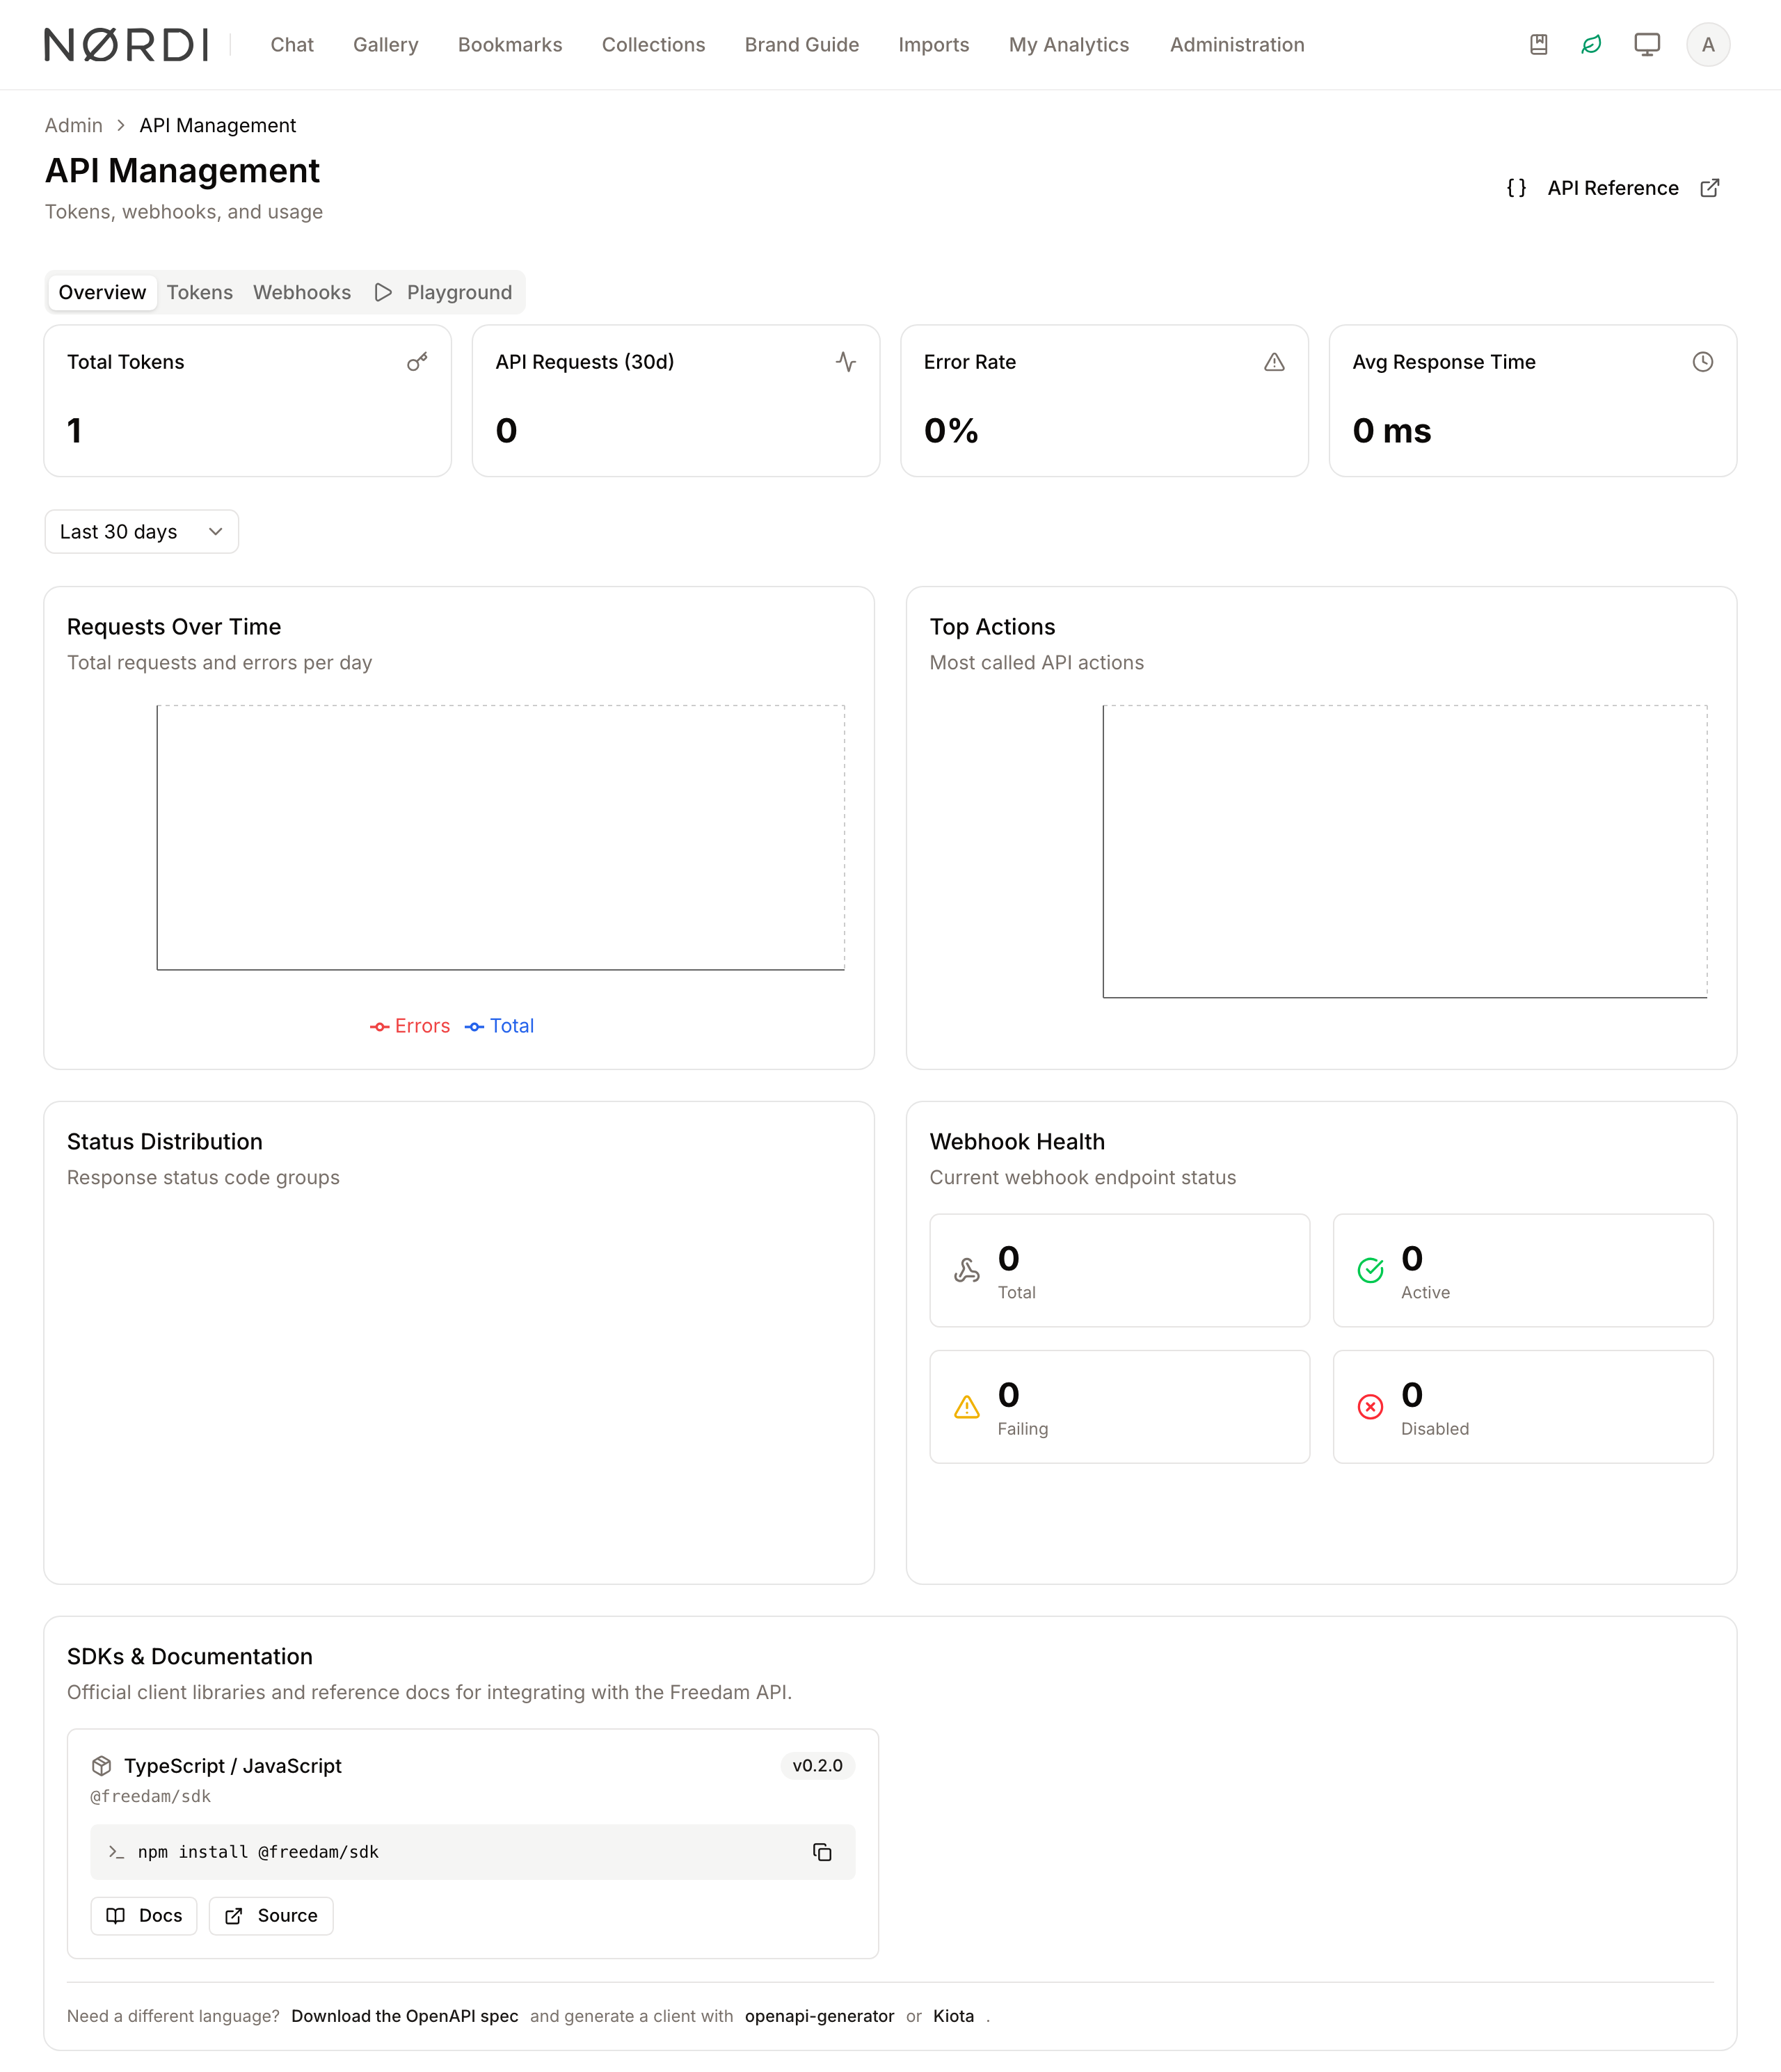
The API Keys & Playground feature provides a centralized hub for managing system-to-system integrations. It allows administrators to generate secure access tokens, monitor real-time API usage statistics, and manage webhook endpoints used by external applications like CMS or PIM systems.
This interface also includes an interactive Playground, enabling developers to test API requests against live data without writing code, ensuring integrations are configured correctly before deployment.
Page Overview
- Purpose: To facilitate secure external access to the DAM and monitor the health of automated integrations.
- When to use it: Use this page when setting up a new third-party integration, troubleshooting failing webhooks, or auditing API traffic.
- What you can do here:
- Generate and revoke Application Tokens for automated services.
- View API request volume, error rates, and average response times.
- Monitor and reset failing webhook endpoints.
- Test live API endpoints using the built-in Playground.
- Access official API documentation.
Page Layout
- Top bar: Displays the page title and a link to the external API Documentation.
- Main area: Organized into four primary tabs: Overview, Tokens, Webhooks, and Playground.
- Dialogs: Contextual windows for creating new tokens, confirming token revocation, and displaying sensitive security keys.
Main Features
API Usage Overview
- What it's for: Monitoring the performance and health of your API integrations.
- Typical use: Checking the "Error Rate" or "Avg Response Time" to identify performance bottlenecks or integration bugs.
- Result: Displays visual charts of requests over time, top API actions, and status code distributions.
Application Token Management
- What it's for: Creating secure credentials for non-human users (applications).
- Typical use: Generating a token for a WordPress plugin or a CI/CD pipeline to upload assets.
- Result: Issues a unique Bearer Token that can be used in the Authorization header of API requests.
- Available permission groups: Tokens can be scoped to any combination of the following human-readable groups, organised by area:
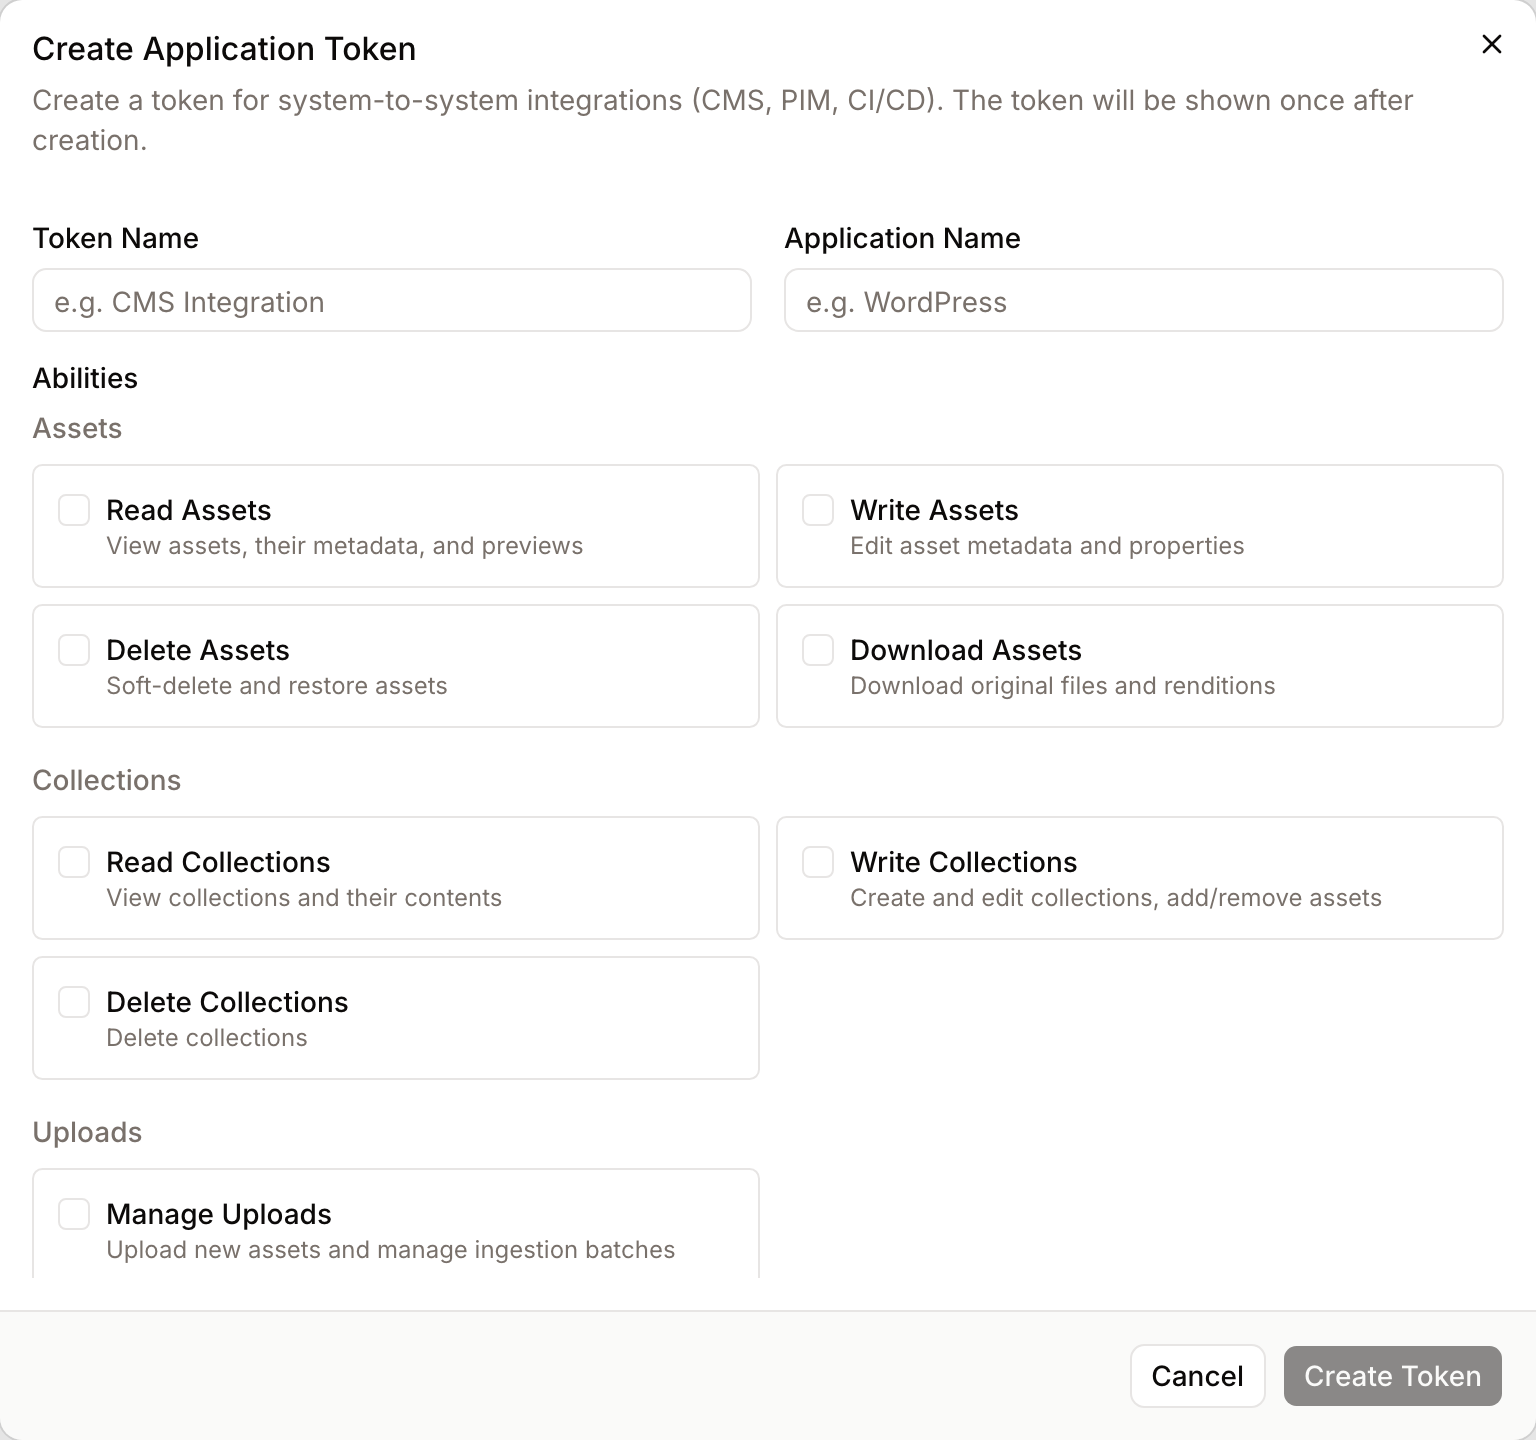
- Assets: Read Assets, Write Assets, Delete Assets, Download Assets
- Collections: Read Collections, Write Collections, Delete Collections
- Uploads: Manage Uploads
- Metadata: Read Metadata, Write Metadata
- Shares: Read Shares, Manage Shares
- Analytics: Read Analytics
- Consents: Read Consents (for terms-of-use acceptance audit trail)
- Administration: Full Admin Access (grants every capability above)
- Important: A token can never grant more than the person who created it already has. If a user does not have permission to delete assets, the "Delete Assets" checkbox will be ignored when they create the token.
Webhook Monitoring
- What it's for: Managing real-time notifications sent from Freedam to external URLs.
- Typical use: Re-enabling a webhook that was automatically disabled due to repeated delivery failures.
- Result: Updates the status of the webhook to "Active," "Disabled," or "Failing."
- Events you can subscribe to: Asset created / updated / deleted / downloaded, collection created / updated / deleted, collection assets added or removed, share created, share accessed, upload batch completed or failed, workflow transitioned. You can also subscribe to all events with a single wildcard option.
API Playground
- What it's for: Interactive testing of API endpoints.
- Typical use: Verifying the required parameters for an asset search or testing a file upload request.
- Result: Shows the raw JSON response, HTTP status code, and execution time for the request.
Detailed Feature Documentation
Create Application Token
- Purpose: To generate a new security key for an external application with specific permissions.
- Where to find it: In the Tokens tab, click the Create Application Token button.
- What you'll see: A dialog window requesting a name, application details, and a checklist of "Abilities" (permissions).
How to use it:
- Navigate to the Tokens tab.
- Click Create Application Token.
- Enter a Token Name (e.g., "Production CMS") and an Application Name.
- Select the required Abilities by checking the boxes next to specific permissions.
- (Optional) Set an Expiry Date and provide a Description.
- Click Create Token.
- Important: Copy the token shown in the "Token Created" dialog immediately. It will never be displayed again.
Good to know about tokens:
- Every token is tied to the user who created it. Revoking a token instantly blocks all future requests using it.
- Tokens can optionally be given an expiry date. Leave it blank for a long-lived integration token, or set a short window for temporary contractor access.
- Each token is individually rate-limited to 60 requests per minute. If an application exceeds this, requests are politely turned away with a "too many requests" response until the minute resets - no other tokens are affected.
- Every request made with a token is recorded in the audit trail with the token name, the user it belongs to, the action performed, the originating IP address, the response status, and how long the request took. This log powers the Overview charts (requests over time, error rate, average response time) and the top-actions table.
- The "last used IP" stored on each token updates automatically, so you can spot if a token is suddenly being used from an unexpected location.
API Playground Execution
- Purpose: To send live requests to the API and view the results.
- Where to find it: In the Playground tab.
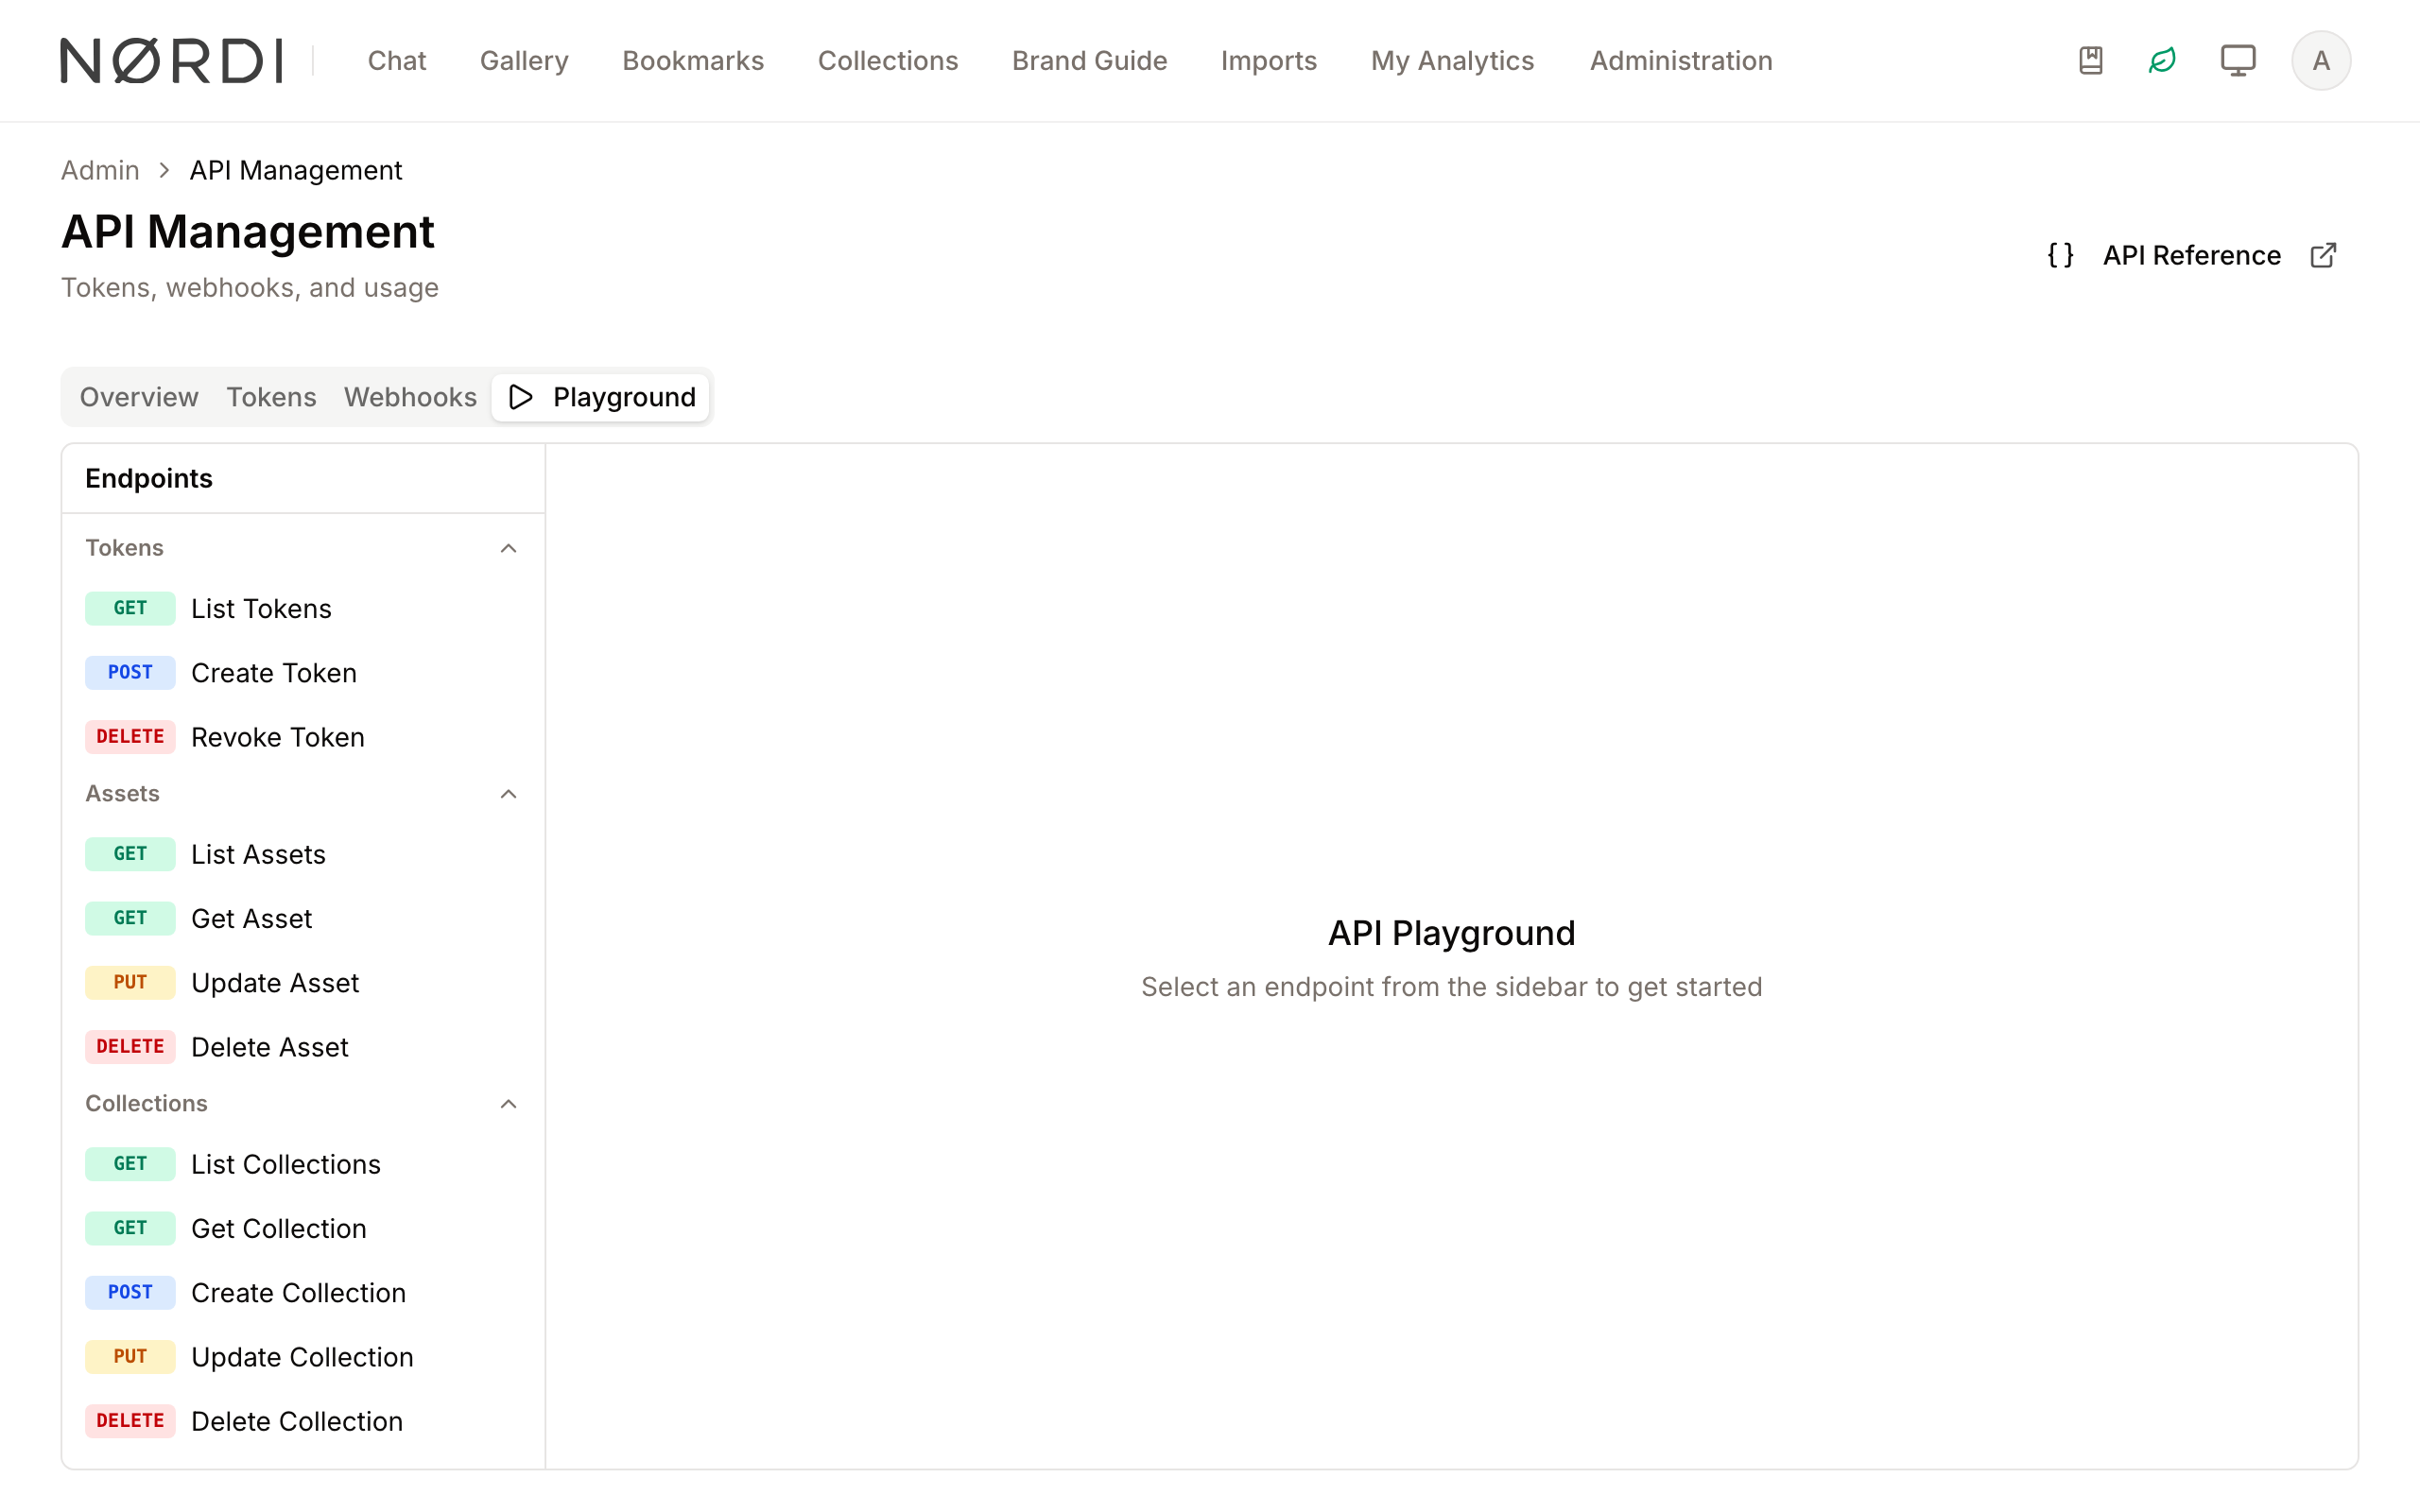
- What you'll see: A sidebar of available endpoints, a configuration panel for the Base URL and Token, and a response window.
How to use it:
- Select an endpoint from the Endpoints sidebar (e.g., GET /assets).
- In the Bearer Token field, paste a valid API token.
- Fill in any required Dynamic params (parameters marked with a red asterisk).
- Click Execute.
- Review the results in the right-hand panel, which displays the status code (e.g., 200 OK) and the JSON body.
Complete Workflows
Workflow: Revoking a Compromised Token
- Goal: Immediately stop an application from accessing the DAM if a token is leaked or no longer needed.
- Prerequisites: Administrator permissions.
Steps:
- Click the Tokens tab.
- Locate the token in the list (use the Search tokens... field if necessary).
- Click the More options (three dots) icon at the end of the row.
- Select Revoke Token.
- In the confirmation dialog, click Revoke.
- Expected result: The token is removed from the list, and any further API requests using that token will return a 401 Unauthorized error.
Workflow: Troubleshooting a Failing Webhook
- Goal: Identify why an external system isn't receiving updates and restore service.
- Prerequisites: An existing webhook endpoint.
Steps:
- Click the Webhooks tab.
- Look for endpoints with a Failing or Disabled badge in the Status column.
- Click the More options (three dots) icon.
- If the webhook has failures, click Reset Failures to clear the error count.
- If the status is "Disabled," click Enable.
- Use the Overview tab to monitor the Webhook Health chart for new failures.
- Expected result: The status badge changes to Active, and the system attempts to deliver the next event.
What happens behind the scenes with webhook deliveries:
- Every outgoing notification is signed using a secret that only you and your receiving server know. When you rotate a secret, the previous one keeps working for a 24-hour grace period so you can roll the change out without downtime.
- If your receiving server doesn't respond with a success status, Freedam retries automatically. It waits 10 seconds before the first retry, then 1 minute, then 5 minutes, then 30 minutes, then 1 hour - giving the other side plenty of chances to recover.
- After 10 failed delivery attempts in a row (each delivery is tried up to 5 times) the webhook is disabled automatically to stop flooding a broken endpoint. That is when you see the red "Disabled" badge and need to click Reset Failures to bring it back.
- Each delivery attempt is kept on file with its response status and the first portion of the response body, which is what the Overview's Webhook Health chart uses.
Tips and Best Practices
- Token Security: Always use the "Application" token type for integrations rather than personal tokens. This ensures the integration isn't tied to a specific user's account.
- Least Privilege: When creating tokens, only select the specific Abilities the application needs to function. Avoid granting "All events" or "All abilities" unless necessary.
- Playground Testing: Use the Copy button in the Playground response panel to quickly grab JSON data for use in your own development environment.
- Monitoring: Check the Error Rate in the Overview tab weekly. A sudden spike usually indicates a change in an external system or an expired token.
Troubleshooting
Issue: API Playground returns "Request failed"
- Symptoms: An error message appears in the response panel instead of a status code.
- Cause: Incorrect Base URL, invalid Bearer Token, or network connectivity issues.
- Fix:
- Verify the Base URL matches your DAM's web address.
- Ensure the Bearer Token is pasted correctly and has not expired.
- Check that all Required (*) parameters are filled in.
- Prevention: Test your token with a simple "GET" request before attempting complex "POST" or "PUT" operations.
Issue: Webhook is automatically disabled
- Symptoms: The webhook status shows as "Disabled" without manual intervention.
- Cause: The external server returned multiple errors (5xx) or timed out, causing the DAM to disable the endpoint to save resources.
- Fix:
- Verify the external URL is accessible.
- Select Reset Failures and then Enable from the webhook's action menu.
- Prevention: Ensure your webhook receiver returns a
200 OKstatus immediately upon receiving the data.