
Custom Pages
Custom Pages allow administrators to build rich, modular web content within the Freedam platform. Using a flexible block-based editor, you can assemble layouts for landing pages, documentation, or internal dashboards without writing code.
This feature is designed for content managers and administrators who need to maintain a dynamic web presence. You can manage the entire lifecycle of a page - from initial draft and block configuration to version restoration and final publication.
Page Overview
- Purpose: To provide a visual interface for constructing and managing web pages.
- When to use it: Use this when you need to create new content areas, marketing pages, or structured information layouts.
- What you can do here:
- Drag and drop content blocks to build page layouts.
- Configure detailed properties for individual blocks (text, images, links).
- Manage page metadata like slugs, descriptions, and cover images.
- Track changes through a version history and restore previous states.
- Move pages through a publishing workflow (Draft, Review, Published).
Page Layout
- Top bar: Displays the page title, live status indicator, and primary action buttons including Workflow transitions, History (clock icon), Page Settings (file icon), and Preview (eye icon).
- Left sidebar: Contains the Block Palette, a library of available content components you can add to your page.
- Main area: The Canvas, where you visually arrange blocks. It shows a live-updating preview of your content and allows for direct reordering.
- Right panel: The Block Inspector, which opens when a block is selected to allow editing of specific text, images, and behavior settings.
Main Features
Block Palette
- What it's for: Browsing and selecting components to add to the page.
- Typical use: Dragging a "Banner" or "Text" block from the sidebar onto the central canvas.
- Result: A new content section is added to the page at the specific location where you dropped it.
Drag-and-Drop Canvas
- What it's for: Arranging the vertical order of page content.
- Typical use: Clicking the Grip handle on a block and moving it above or below other blocks.
- Result: The page layout updates instantly, and the new order is saved.
Block Inspector
- What it's for: Fine-tuning the content within a specific block.
- Typical use: Changing the "Title" text, selecting a "Collection" for a gallery block, or adding "Buttons".
- Result: Changes are auto-saved as you type, indicated by a "Saved" badge in the inspector header.
Version History
- What it's for: Reviewing past changes and recovering from mistakes.
- Typical use: Opening the History sheet to see who changed the page and when, then clicking Restore on an older version.
- Result: The page content reverts to the exact state of that selected version.
Detailed Feature Documentation
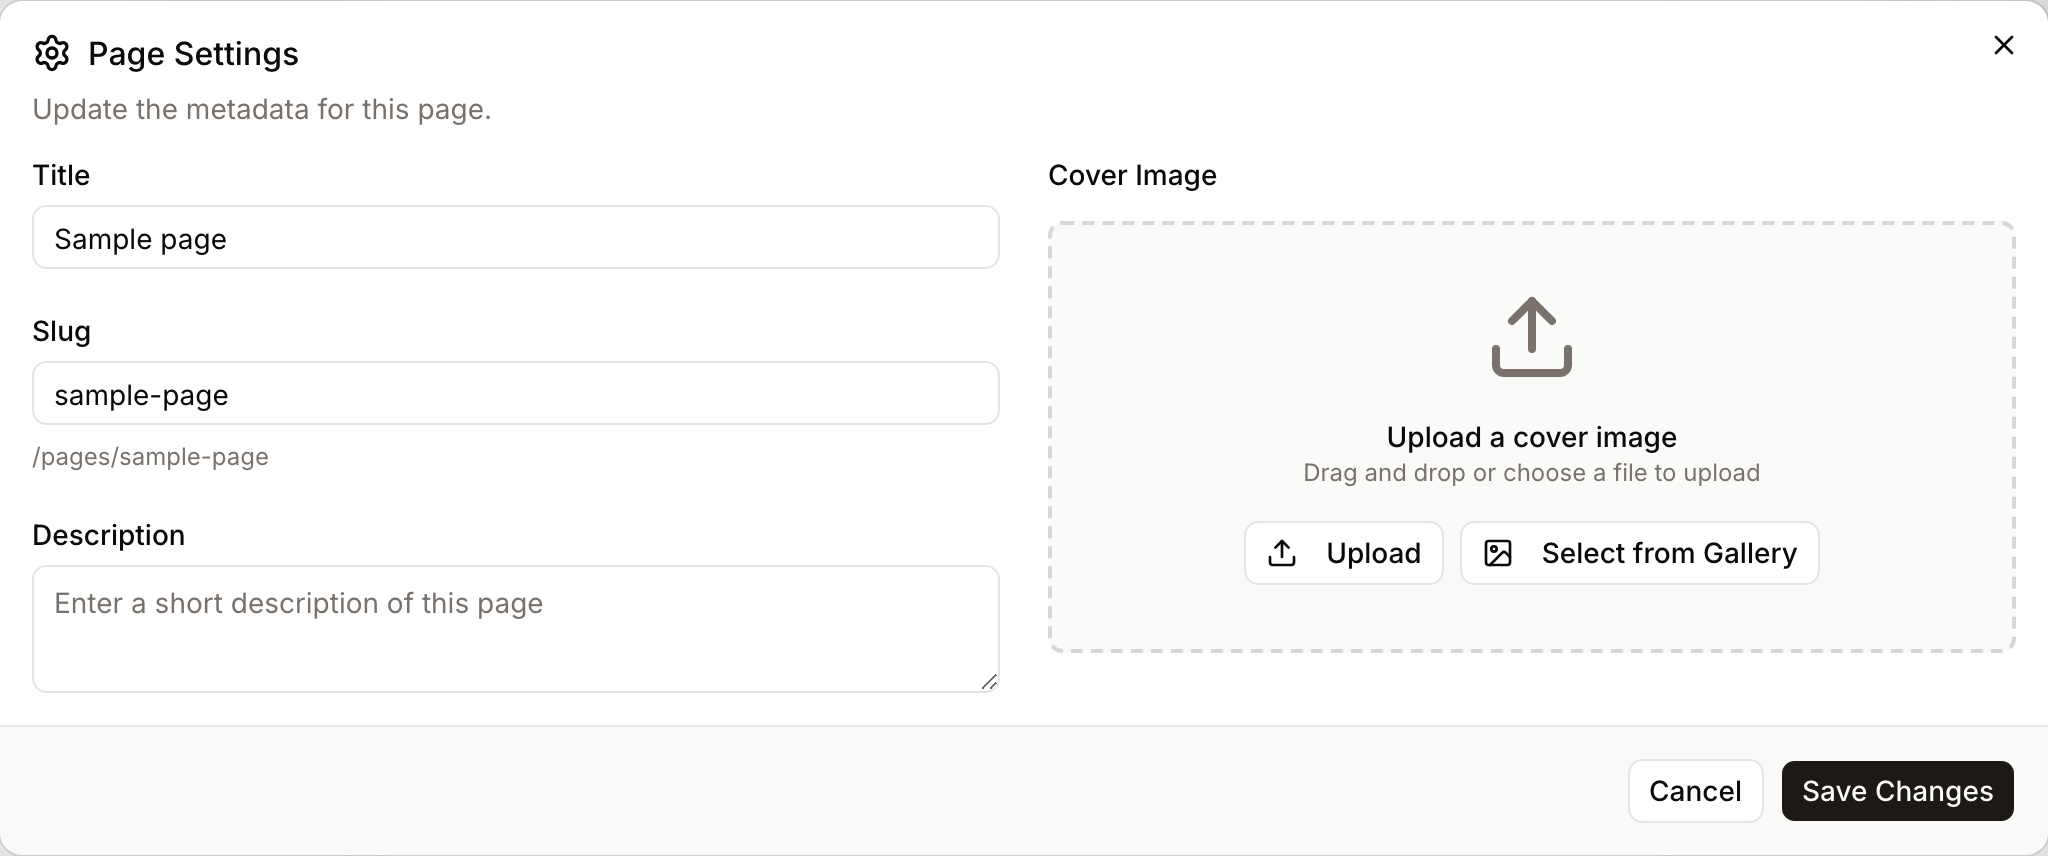
Page Settings & Metadata
- Purpose: To define the identity and SEO properties of the page.
- Where to find it: In the Top bar, click the Page Settings (file icon) button.
- What you'll see: A dialog titled "Update Page Settings" with fields for Title, Slug, and Description.
How to use it:
- Enter a Title (required).
- Modify the Slug to change the URL path (e.g.,
my-new-page). - Add a Description for internal reference or SEO.
- Click Save Changes.
Content Block Configuration
- Purpose: To edit the specific data inside a block.
- Where to find it: Click any block on the Main Canvas to open the Block Inspector on the right.
- What you'll see: A list of fields tailored to that block type (e.g., "Primary Button", "Image", "Description").
How to use it:
- Click a block on the canvas (it will be highlighted with a primary border).
- In the right panel, type into text fields or use the Select from Gallery button for images.
- For lists, click Add Item to create new entries within the block.
- Use the Duplicate button at the bottom of the inspector to clone the entire block.
Publishing Workflow
- Purpose: To manage the visibility of the page to end-users.
- Where to find it: In the Top bar, look for the status badge (e.g., "Draft") and the Change Status button.
- What you'll see: A dropdown menu with available transitions like "Submit for Review" or "Publish".
How to use it:
- Click Change Status.
- Select the target status (e.g., Publish).
- Confirm the action in the dialog that appears.
- The status badge will update (e.g., to a green "Live" indicator).
Complete Workflows
Workflow: Creating a New Page from Scratch
- Goal: Build a new functional page with a banner and text.
- Prerequisites: Administrative permissions to manage pages.
Steps:
- Navigate to the Pages administration area and click Create Page.
- In the Title field, type "Welcome Page".
- Ensure the Slug is automatically generated or type a custom one.
- Click Create.
- From the Left sidebar, drag a "Banner" block onto the Canvas.
- Click the new Banner block and use the Block Inspector to type a heading.
- Drag a "Text" block below the banner.
- Click Preview (eye icon) to see the result.
- Expected result: A new page is created and saved in "Draft" status with two content sections.
- If it doesn't work: Check that the Slug only uses lowercase letters, numbers and hyphens. Freedam does not stop two pages under the same parent from sharing a slug, but only one of them can be reached by its URL, so keep slugs unique yourself.
Workflow: Adding a Cover Image
- Goal: Add a high-impact visual to the top of the page.
- Prerequisites: An existing page and access to the Asset Gallery.
Steps:
- Click the Page Settings (file icon) in the Top bar.
- In the right column of the dialog, click Select from Gallery.
- Browse the gallery and click on the desired image asset.
- Click Select.
- Click Save Changes.
- Expected result: The image appears at the top of the editor canvas and the live page.
Who can use it
Page management is controlled by a small family of permissions. View lets a user see and browse pages, Create enables making a new one, Edit covers changes to title, blocks, and metadata, Delete allows removal, and Publish controls workflow transitions that take a page live. A page's original creator can always edit their own page, even without the general edit permission. Administrators with the "Page Spaces" permission can edit and delete any page - including ones that are already published or archived. Managing spaces requires the Manage page spaces for multi-brand portals permission, and managing themes requires Manage page themes and design tokens. See Page Spaces and Themes.
Publishing workflow
A page moves through five lifecycle stages: Draft, In Review, Approved, Published, and Archived. Not every jump is allowed - the system enforces a predictable flow:
- From Draft you can send a page to In Review or publish it directly.
- From In Review you can return to Draft or move it to Approved.
- From Approved you can Publish or send it back to Draft.
- A Published page can be returned to Draft or Archived.
- An Archived page can only be brought back to Draft.
Only users with the publish permission can complete the step that makes a page live.
Limits and guardrails
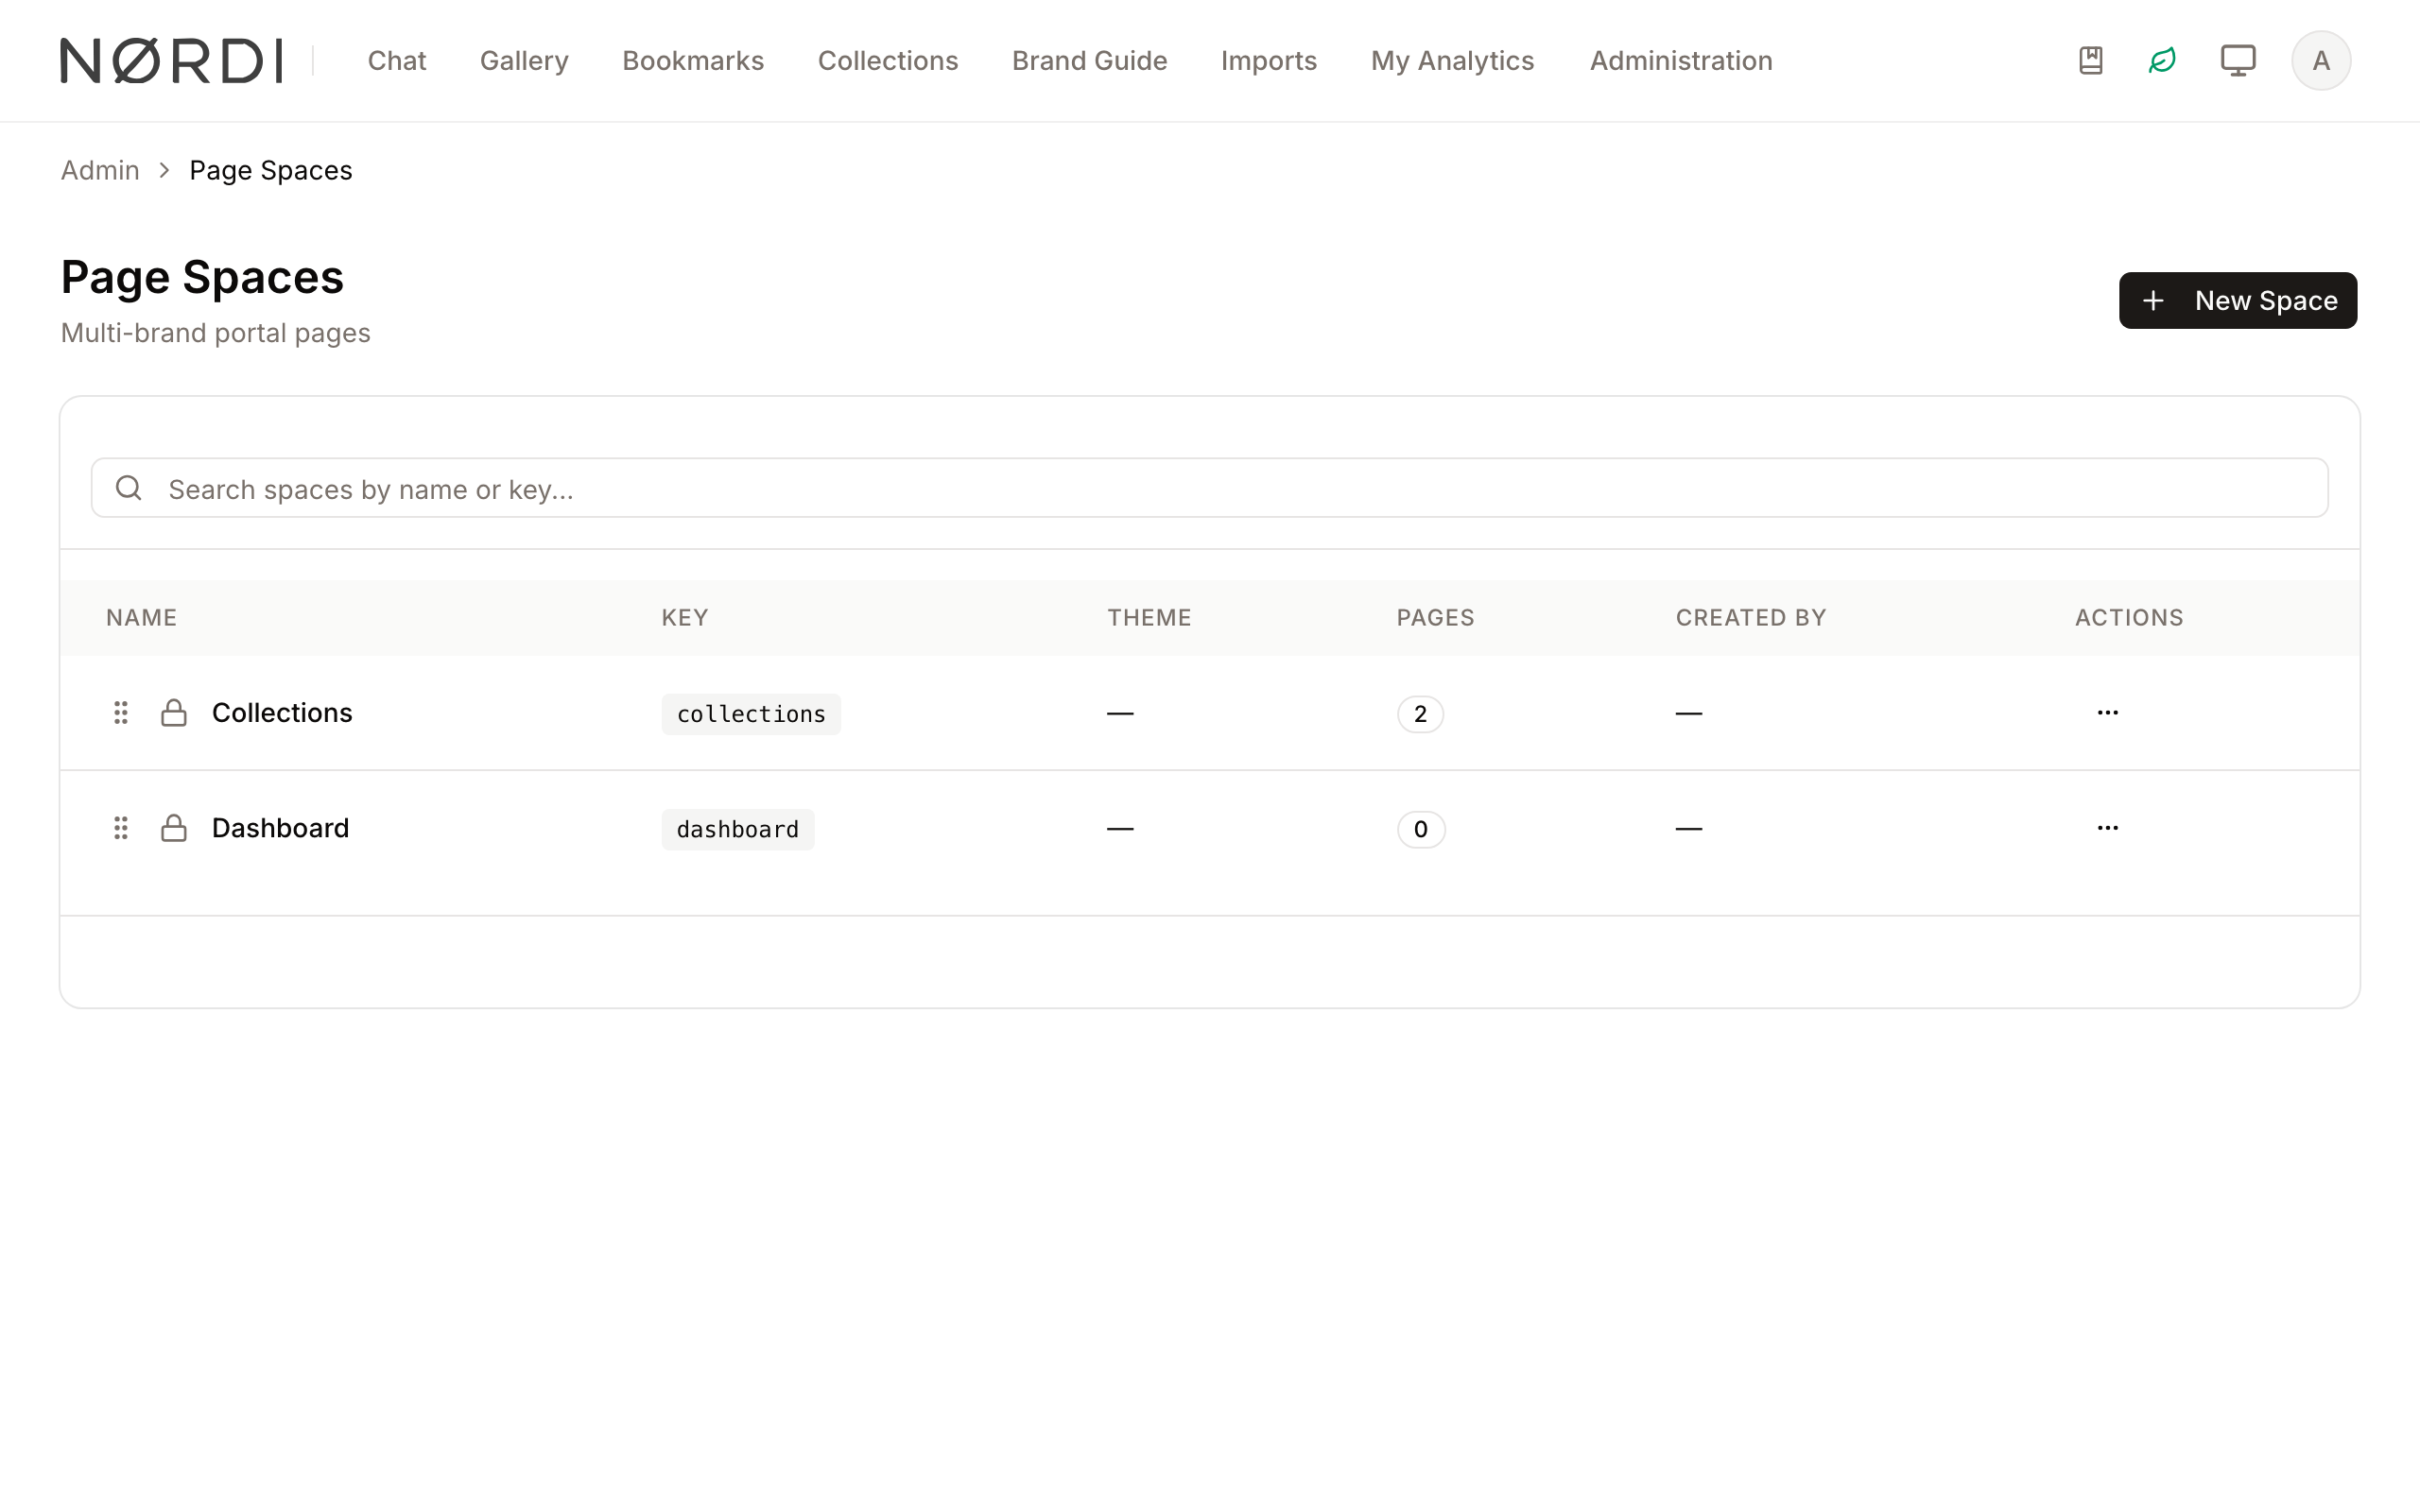
- Protected system pages: The built-in dashboard page inside the "dashboard" space cannot be deleted. Likewise, the "collections" and "dashboard" spaces themselves are system-protected - they cannot be removed and their key cannot be changed. Their name, default language and theme can be edited.
- Slugs: Page slugs are generated from the title and may only contain lowercase letters, numbers and hyphens. Freedam does not reject a slug that another page under the same parent already uses, so check for duplicates yourself: only one of the pages would be reachable at that URL.
- Circular page nesting is prevented: When reorganizing the page tree, Freedam refuses moves that would make a page its own ancestor.
- Only approved renderings as covers: If you choose a cover image from an asset's rendering library, only renderings marked as approved can be selected. Unapproved ones are rejected with a message.
What happens behind the scenes
- Auto-versioning with a 50-version history: Every block change creates an automatic snapshot, but edits made in quick succession are batched together over a roughly 30-second window so a burst of typing does not flood the history. Freedam keeps the 50 most recent automatic snapshots per page; older ones are pruned. Versions you create manually with a custom label are always preserved and never counted against this limit.
- Guest visibility: Unauthenticated visitors can only see pages in the Published state. Signed-in users can browse drafts and approved pages as well, which is why the "Preview" view works without publishing.
- Cover images become real assets: When you upload a cover image directly, Freedam silently creates a matching entry in your asset library so the image can be cropped, versioned, and reused elsewhere.
- Duplicating a page: Duplicates start in Draft, copy every block, and can optionally also copy translation locales. The new slug defaults to the original with "-copy" appended.
Tips and Best Practices
- Auto-save: The Block Inspector saves changes automatically as you edit. Look for the "Saved" checkmark before closing the panel.
- Slug Sanitization: Slugs may only use lowercase letters, numbers and hyphens. Avoid symbols and spaces.
- Hidden Blocks: You can toggle the "Visible by default" checkbox in the Block Inspector to keep a block in your editor but hide it from the live site.
- Quick Reordering: Use the Grip handle on the left of any block for the smoothest drag-and-drop experience.
Troubleshooting
Issue: Changes are not appearing on the live site
- Symptoms: You edited a block, but the public URL shows old content.
- Cause: The page is likely in "Draft" or "Review" status, or you haven't performed a "Publish" transition since the last major change.
- Fix: Check the status badge in the top bar. If it doesn't say "Live", use the Change Status button to Publish.
- Prevention: Always use the Preview button to verify changes before publishing.
Issue: Cannot delete a block
- Symptoms: Clicking the trash icon doesn't remove the block.
- Cause: A network interruption or a confirmation dialog is hidden behind another window.
- Fix: Refresh the page and try clicking the Trash icon again, ensuring you click Delete in the confirmation dialog.
Issue: "Failed to reorder blocks" error
- Symptoms: A red toast notification appears after dragging a block.
- Cause: This usually happens if two users are editing the same page simultaneously.
- Fix: Refresh the page to sync with the server's current version of the layout, then try moving the block again.