
WordPress plugin
The Freedam Picker plugin for WordPress adds a Freedam tab to the WordPress media library. People who can upload files open the Freedam Picker from that tab, choose images and documents, and use them in posts and pages like any other media. The files are not copied to WordPress: every image and document is served by your Freedam publication channel, on your workspace's address.
The plugin also adds a Freedam video or document block, which shows a video in the player of the channel or a document as a link, a thumbnail or a page-by-page viewer.
This page follows the whole process in order: the setup in Freedam, the installation in WordPress, the use of the plugin, then the usages Freedam records. The setup is for a Freedam administrator and a WordPress administrator, or one person with both roles.
What you need
- In Freedam: the Freedam Picker, which comes with the Business and Tailored plans together with Publishing, and the Manage Freedam Picker integrations permission.
- In WordPress: an administrator account, WordPress 7.0 or later, and PHP 8.1 or later. The plugin supports the current major version of WordPress and the previous one.
- The plugin: a zip file, which you download in Step 2. It contains everything the plugin needs; nothing is built or downloaded on your site.
Step 1: set up Freedam
The plugin uses one Freedam integration, with a publication channel and a profile. The Connect WordPress card creates all three in one step; the sections after it give the same values, to create them by hand or to change them later. The Freedam Picker and Publishing pages describe every setting.
Check that the Freedam Picker is on
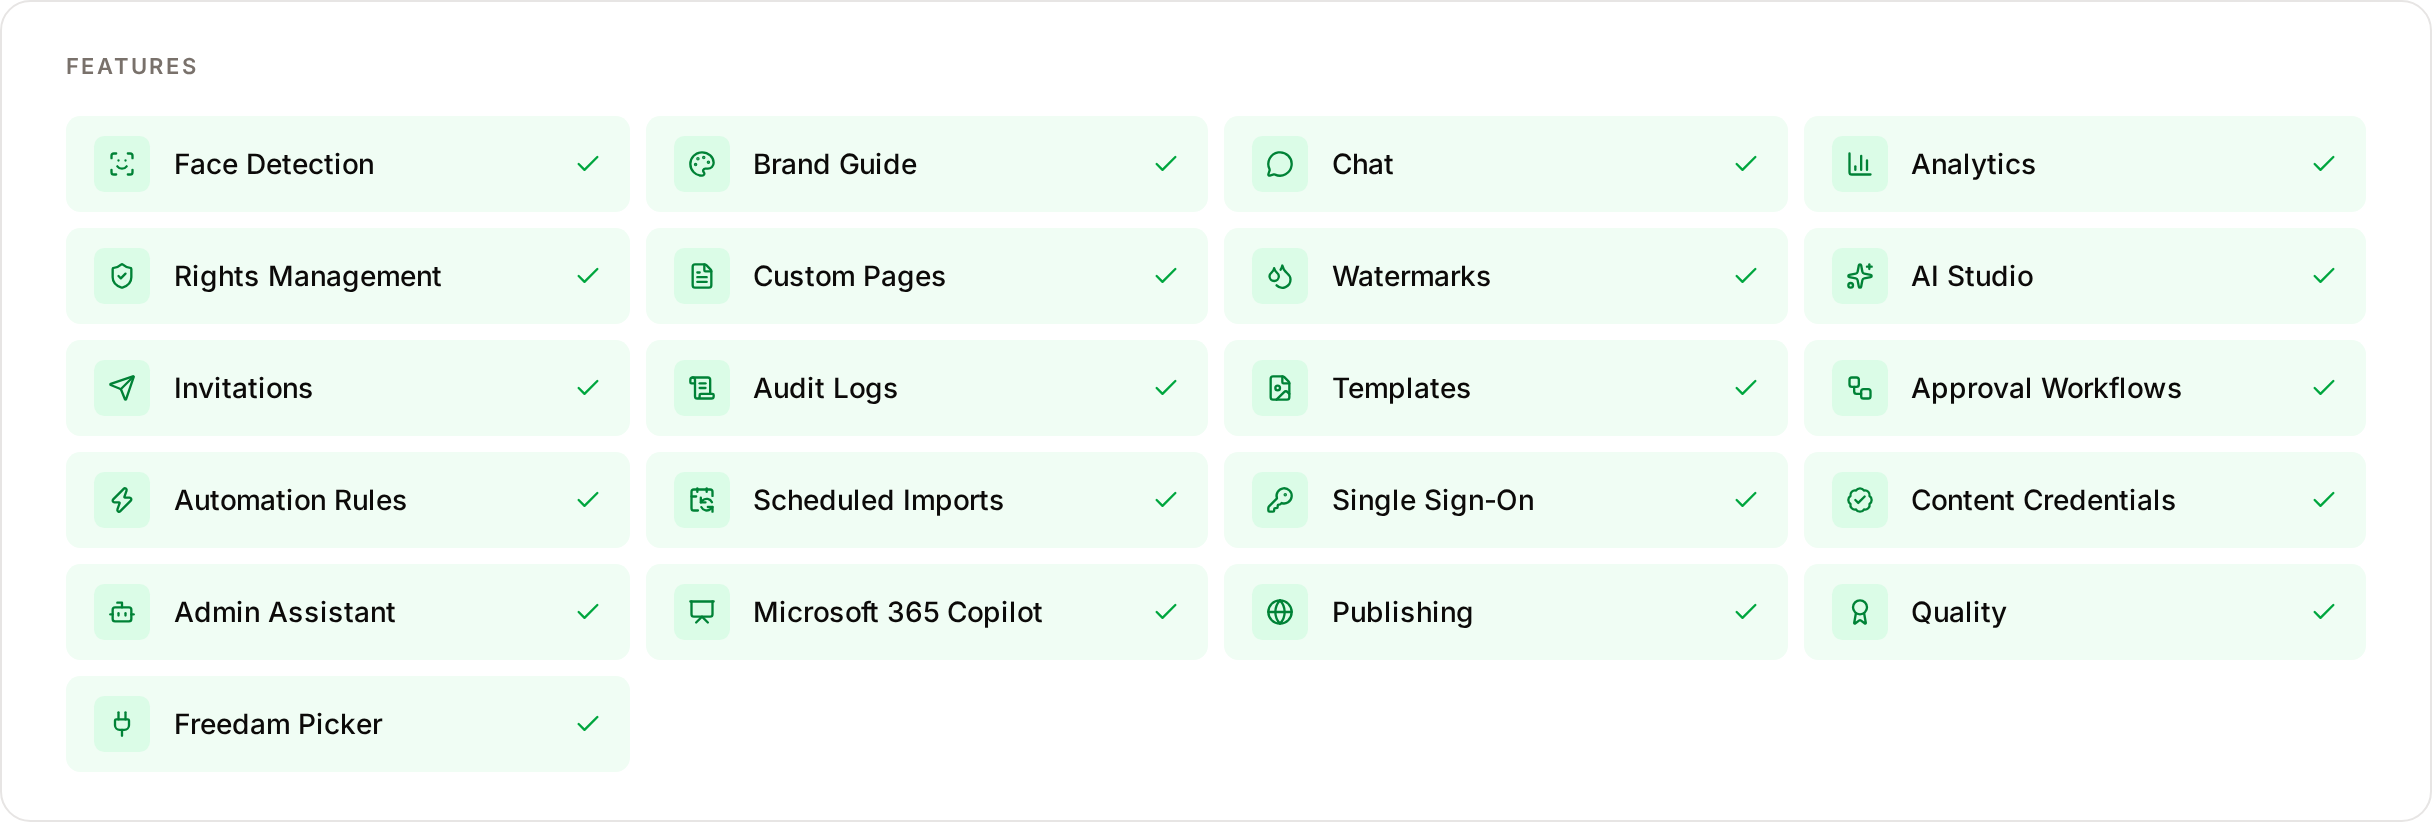
Open Administration → Plan & Usage. Freedam Picker and Publishing must be checked in the features list. The Publishing section of the administration then shows Publication channels, Picker profiles, Picker integrations and Picker statistics.
Connect WordPress from the integrations page
Open Administration → Publishing → Picker integrations. Above the list, Connect a platform shows a WordPress card. It appears for people who have both the Manage Freedam Picker integrations and the Manage publishing permissions, since it creates a publication channel too.
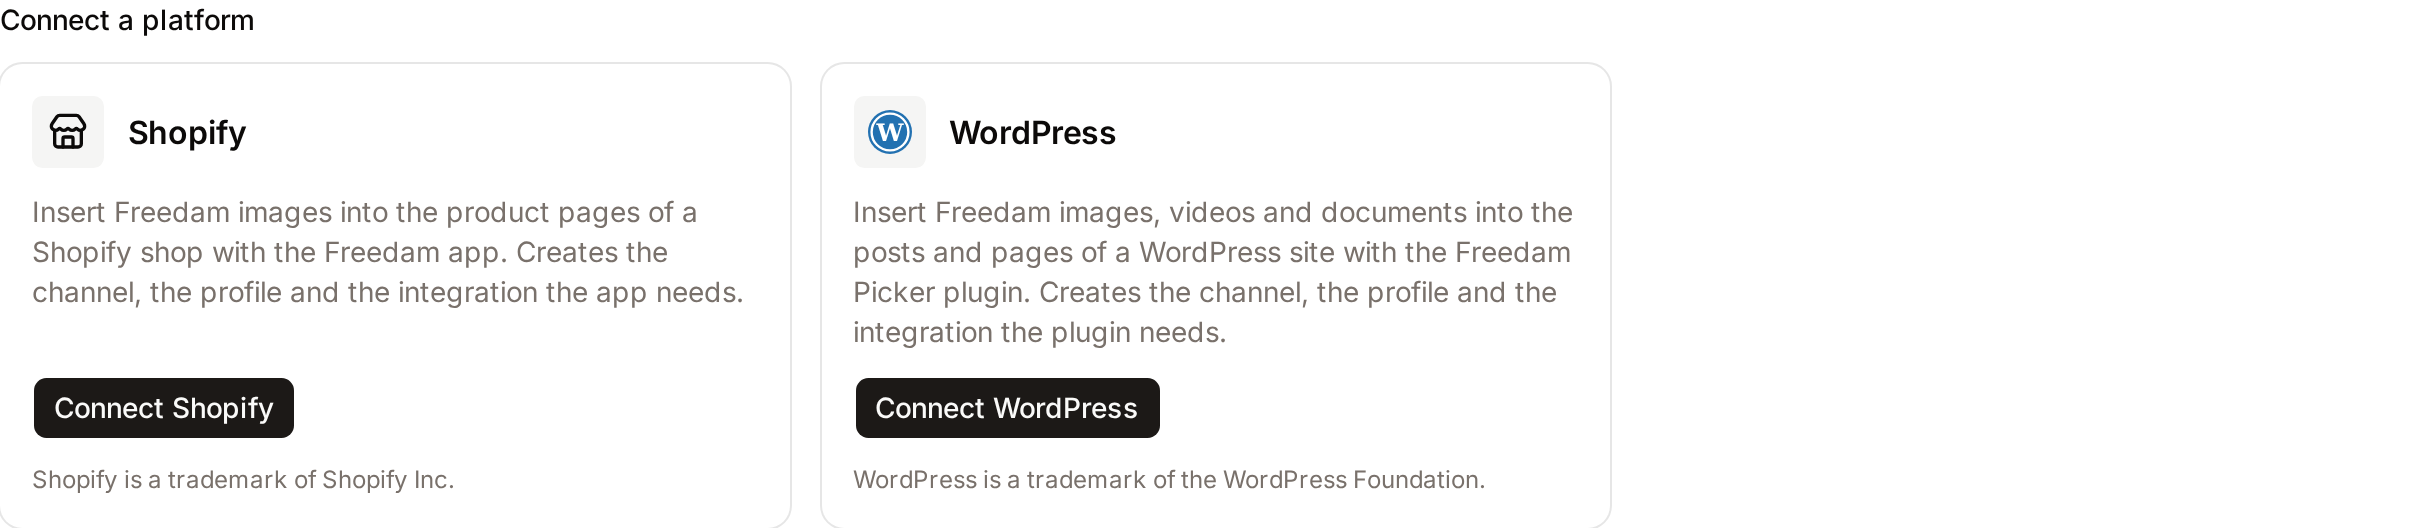
Click Connect WordPress:
- Site address: the address of the WordPress site, for example
https://www.example.com. You can paste the address of any page of the site: Freedam keeps the origin, which the integration allows, and the host, which the channel lets show the video player. - Channel: New channel creates a website channel with images, videos and documents up to 2048 px. You can choose an existing website channel instead, if it publishes images up to at least 2048 px; it is used as it is. For a new channel, choose the Rights territory it checks each asset's rights against.
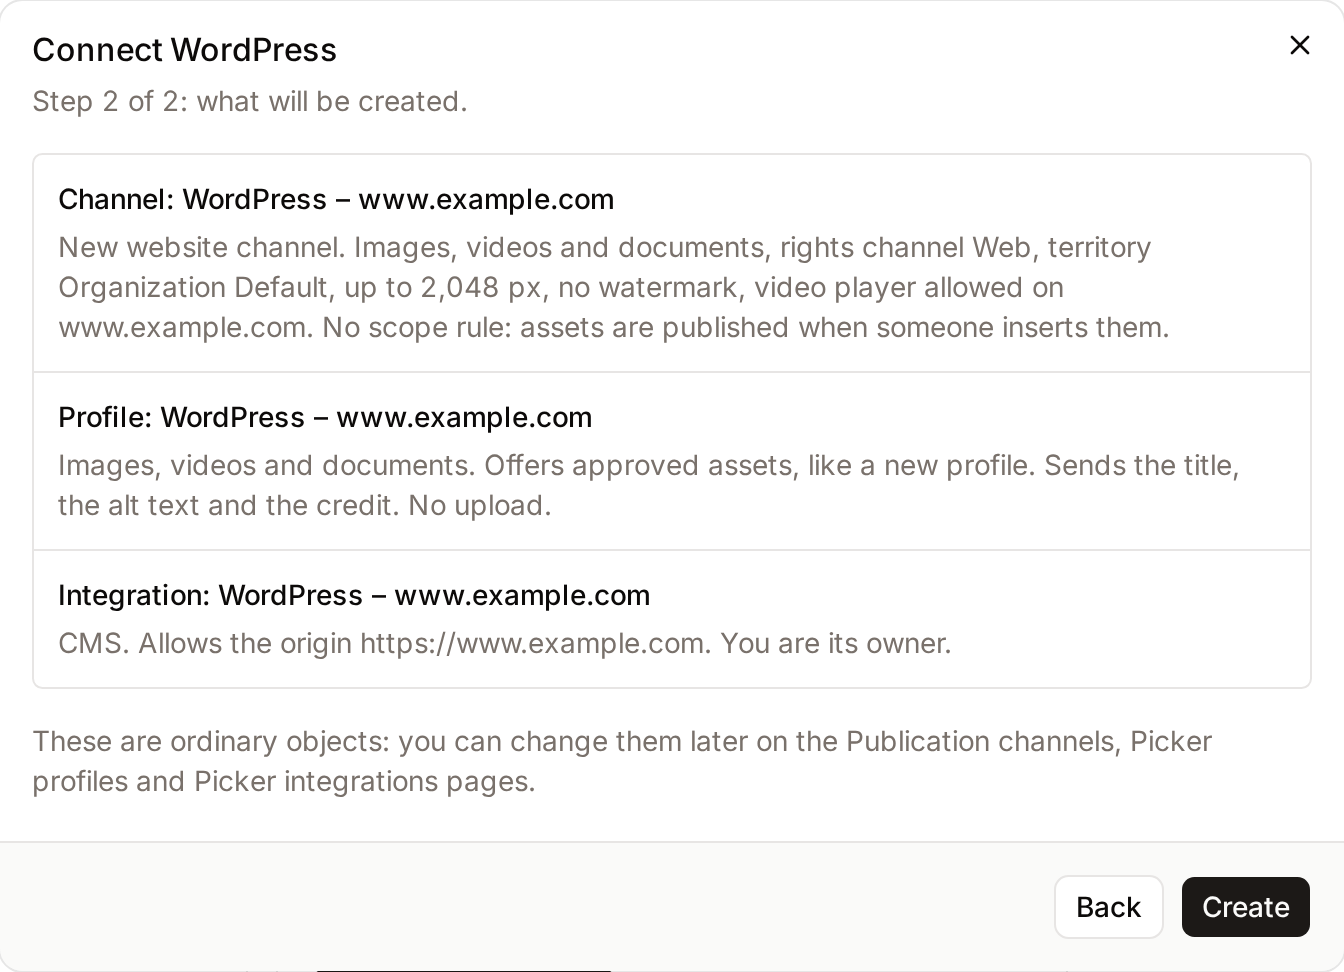
- Click Next. The summary lists the channel, the profile and the integration that will be created, each named after the site, for example WordPress – www.example.com. Click Create.
The last step of the dialog shows the two values the plugin's settings ask for, the workspace and the integration key, each with a Copy button, and the buttons to download the plugin and to open this guide. Keep the dialog open, or copy the key from the list of integrations later. Then go to Step 2.
The objects are ordinary ones: you can rename them or change their settings on their pages. The new channel has no formats; add the crops editors need, as described below.
Create the publication channel
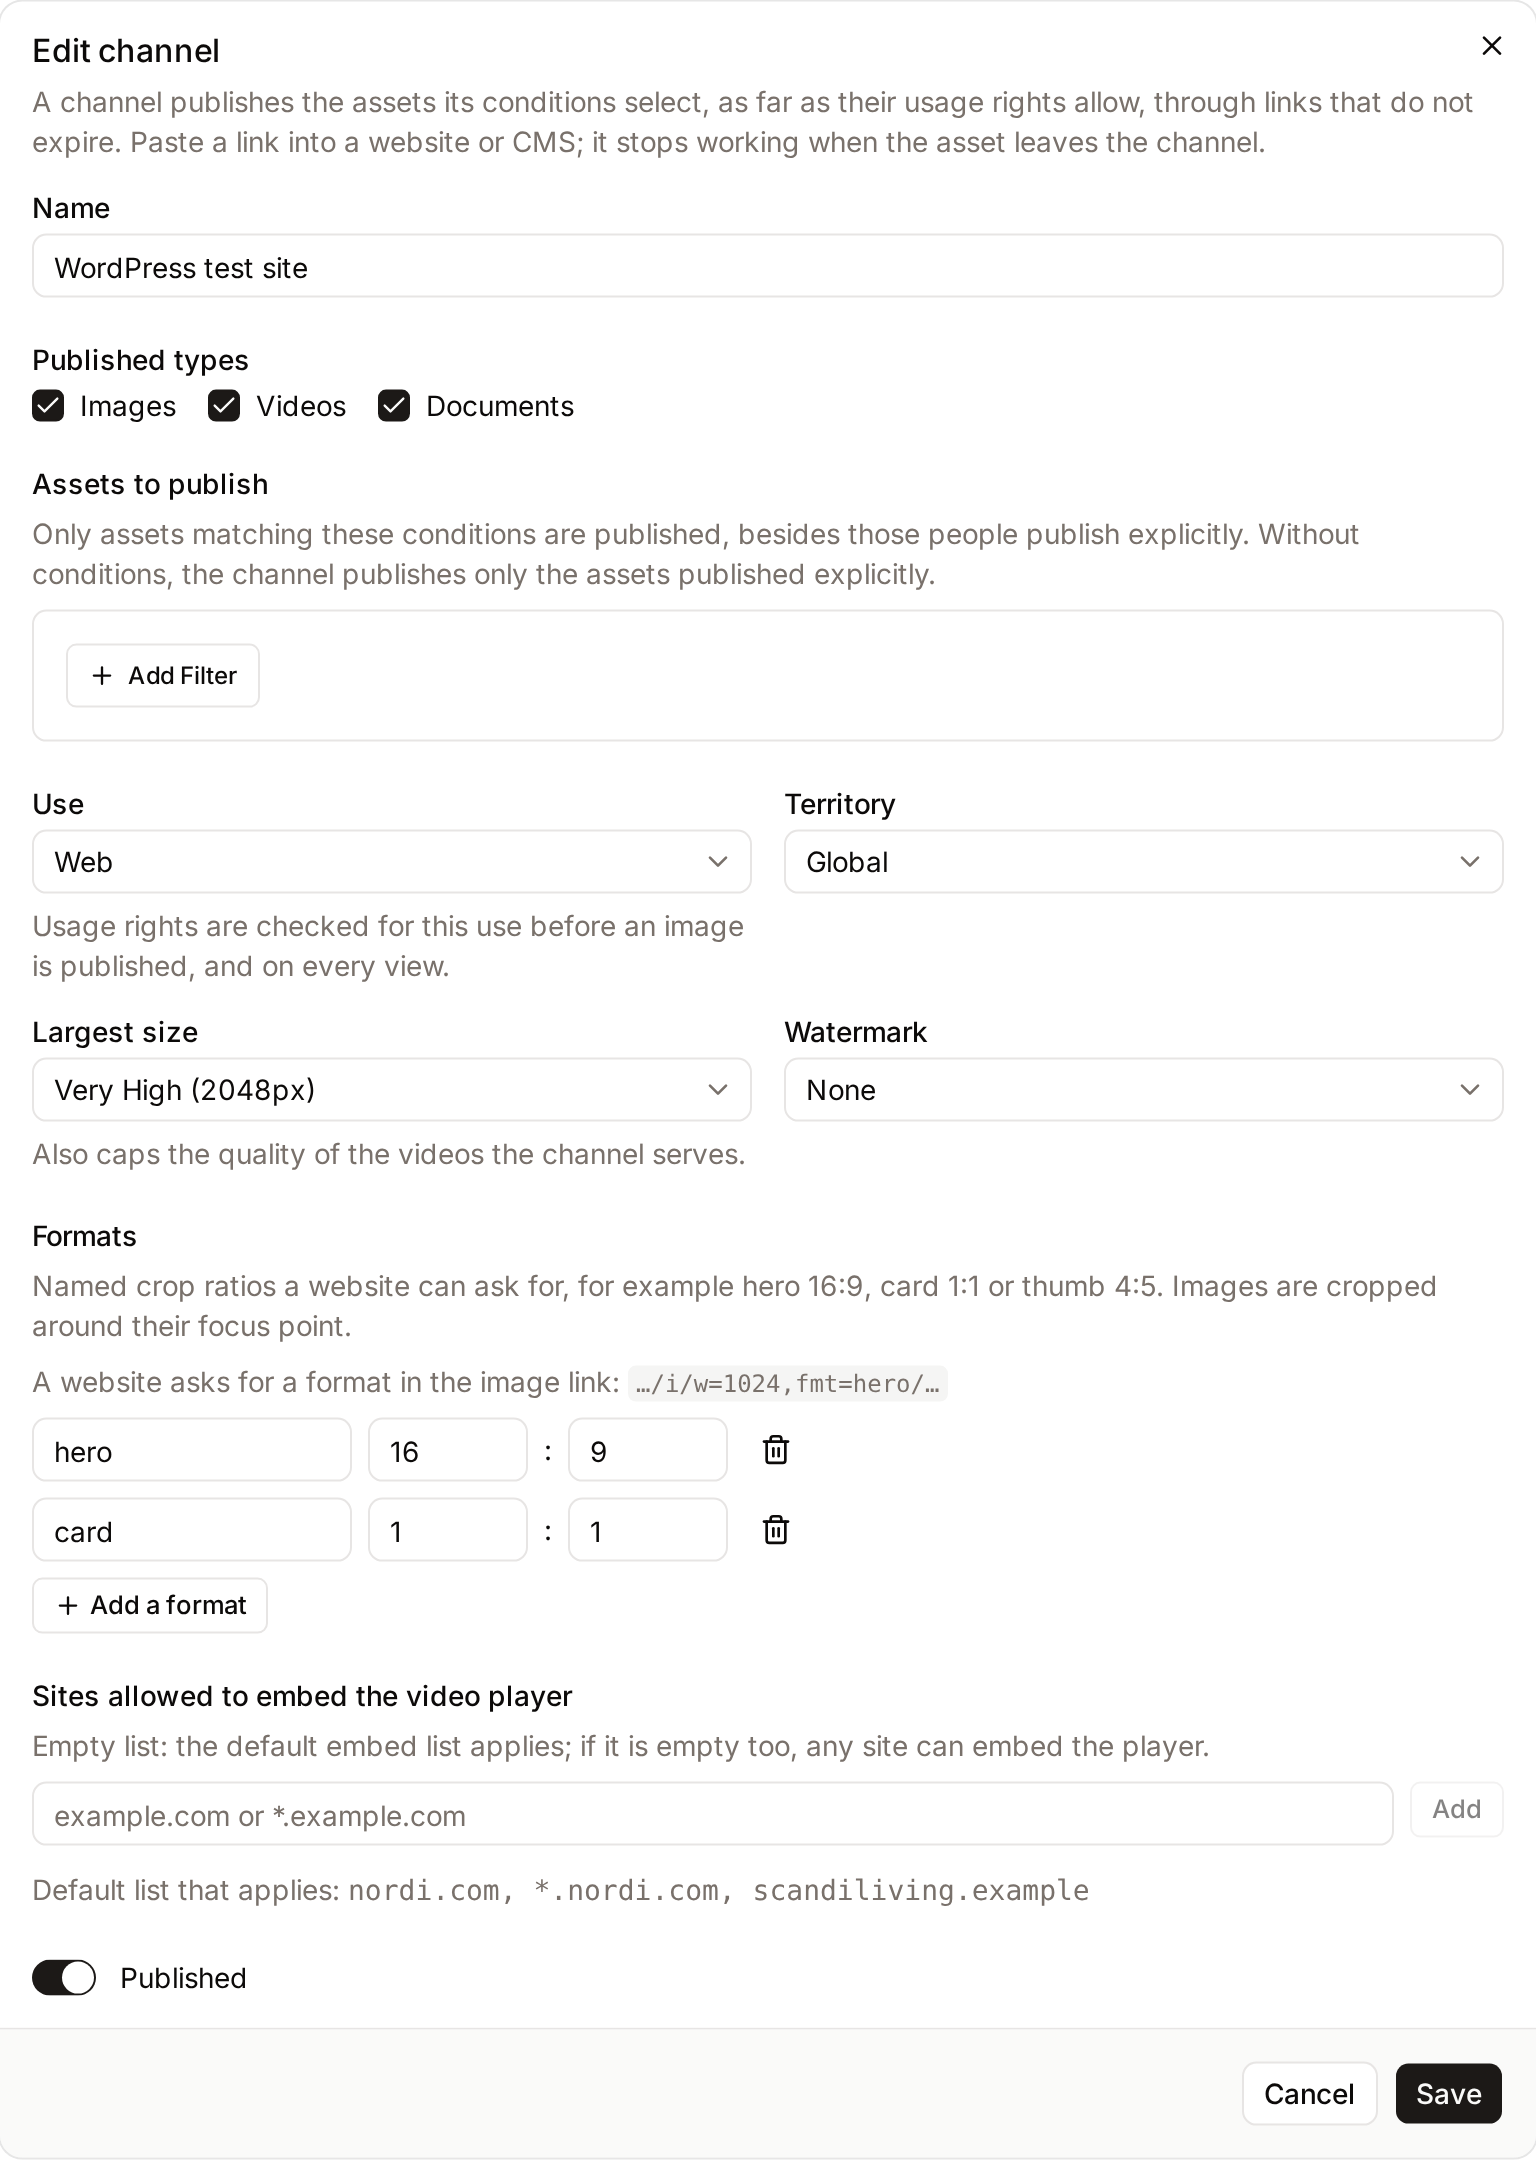
In Administration → Publishing → Publication channels, click New channel and create a website channel for the site:
- Published types: images, and videos and documents if editors will use the Freedam video or document block.
- Largest size: at least 2048 px, so that large screens get sharp images.
- Formats: the crops editors will need, for example
heroin 16:9 andcardin 1:1. They appear in WordPress. - Sites allowed to embed the video player: the domain of the WordPress site, for example
www.example.com. The video player and the document viewer refuse to show inside the pages of a site missing from this list, or from the default list when this one is empty.
Create the picker profile
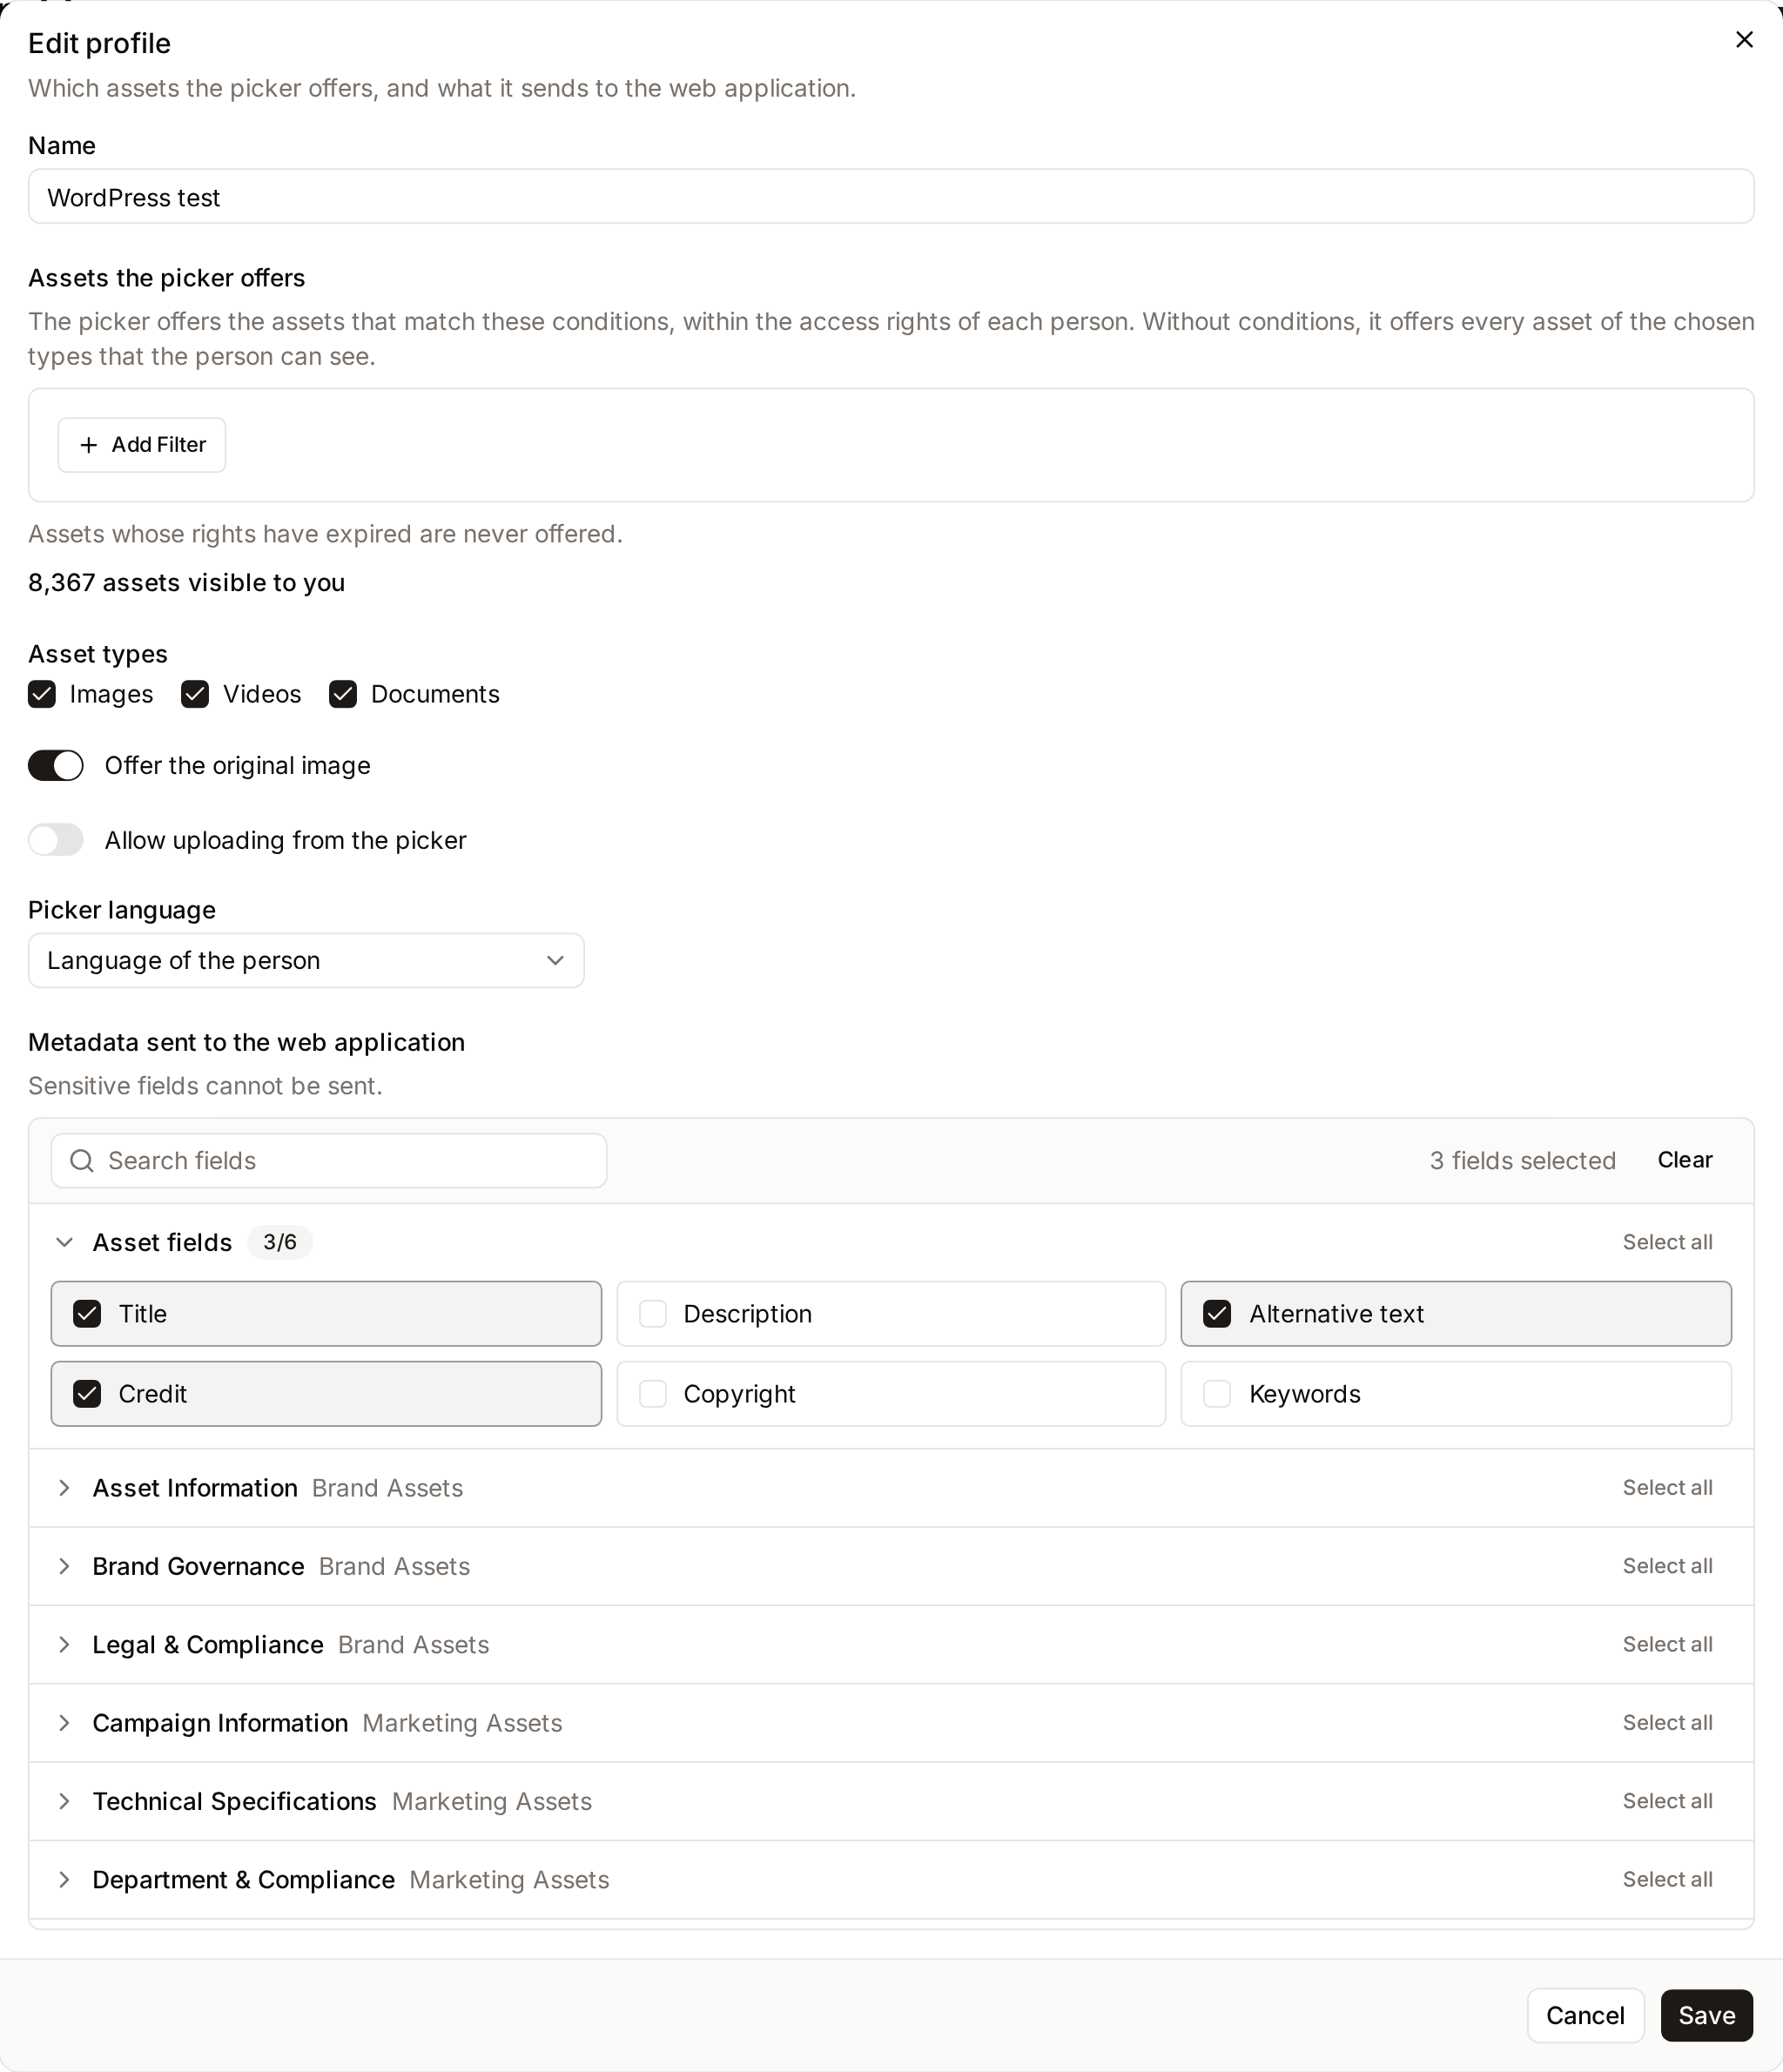
In Picker profiles, click New profile. Choose the assets the picker offers (approved assets by default), the asset types, and in Metadata sent to the web application at least Title, Alternative text and Credit: the plugin copies them into the media library.
Create the integration
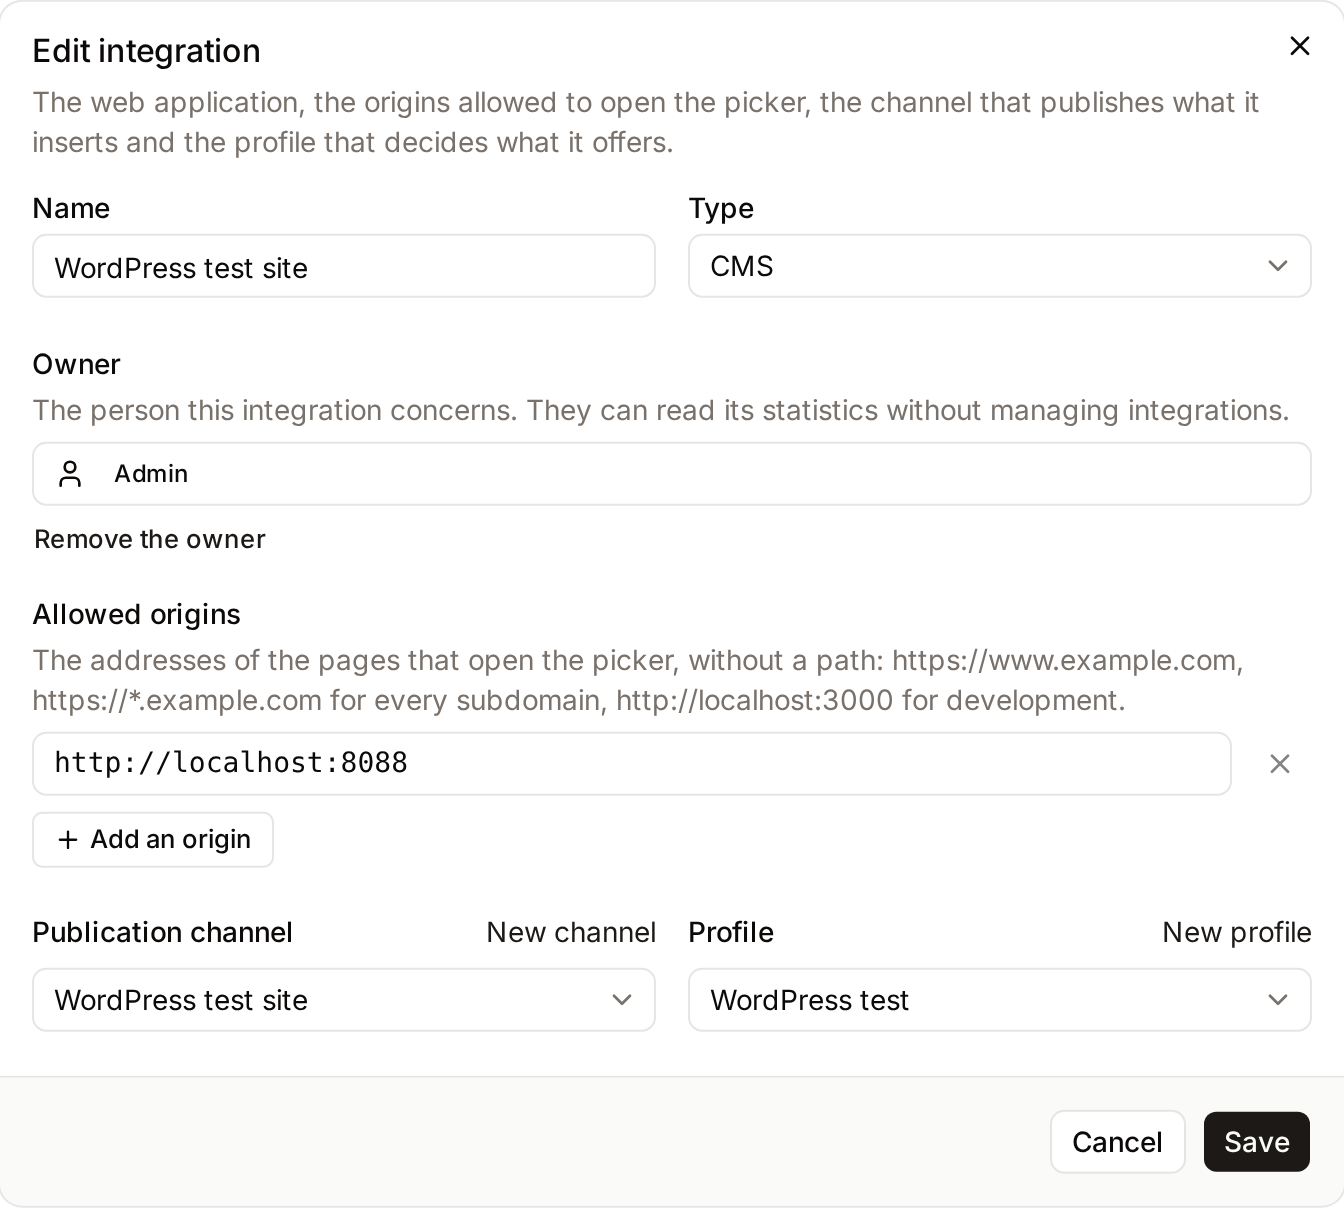
In Picker integrations, click New integration:
- Name: the name of the site, as editors will see it at the top of the picker.
- Type: CMS.
- Allowed origins: the origin of the WordPress administration, for example
https://www.example.com. The settings page of the plugin shows the exact value (Step 2); you can save the integration now and add the origin then. - Publication channel and Profile: the two you created.
Copy the integration key
The list of integrations shows the key of each integration under its name, for example w5r8n2c4t7bd. Copy it: it goes into the settings of the plugin.
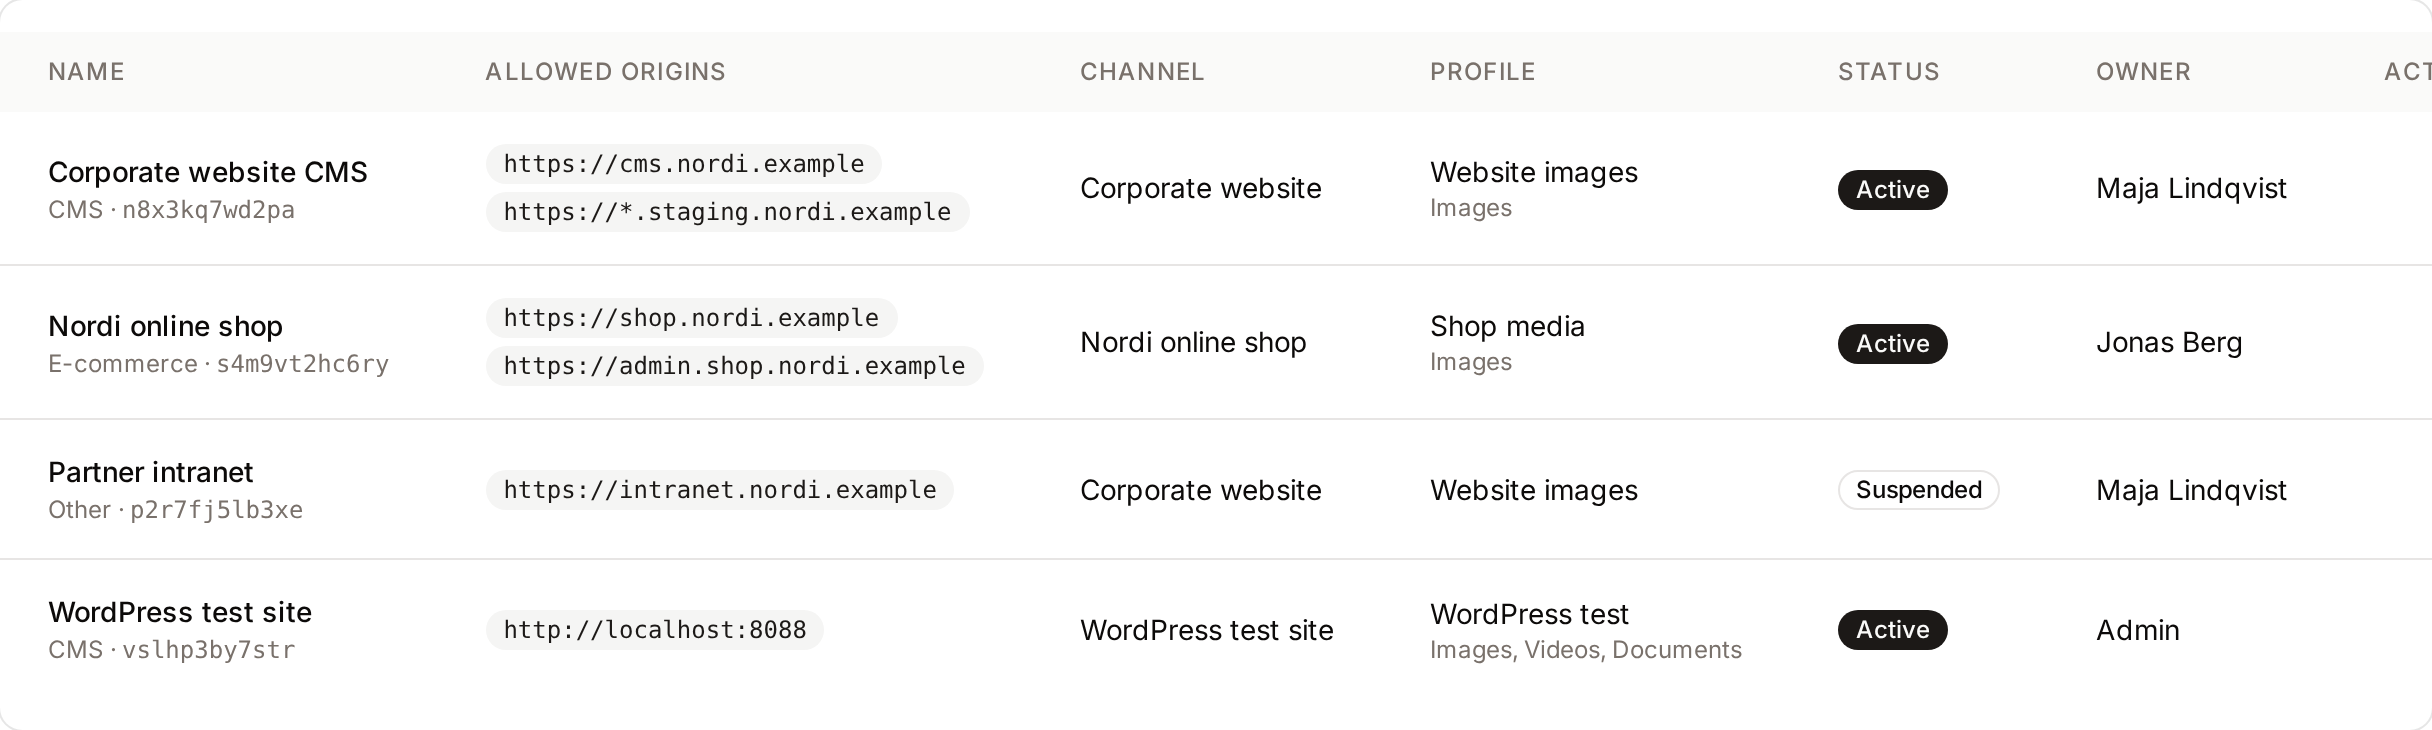
A site uses one integration. For two profiles, for example one for editors and one for the product team, create two integrations and use them on two sites.
Step 2: install the plugin in WordPress
Download the plugin
Download the zip file of the plugin. Keep it as it is: WordPress installs the zip itself, so there is nothing to unpack.
 Freedam Picker for WordPressVersion 1.0.0 · zip file, 102 KB
Upload and activate the plugin
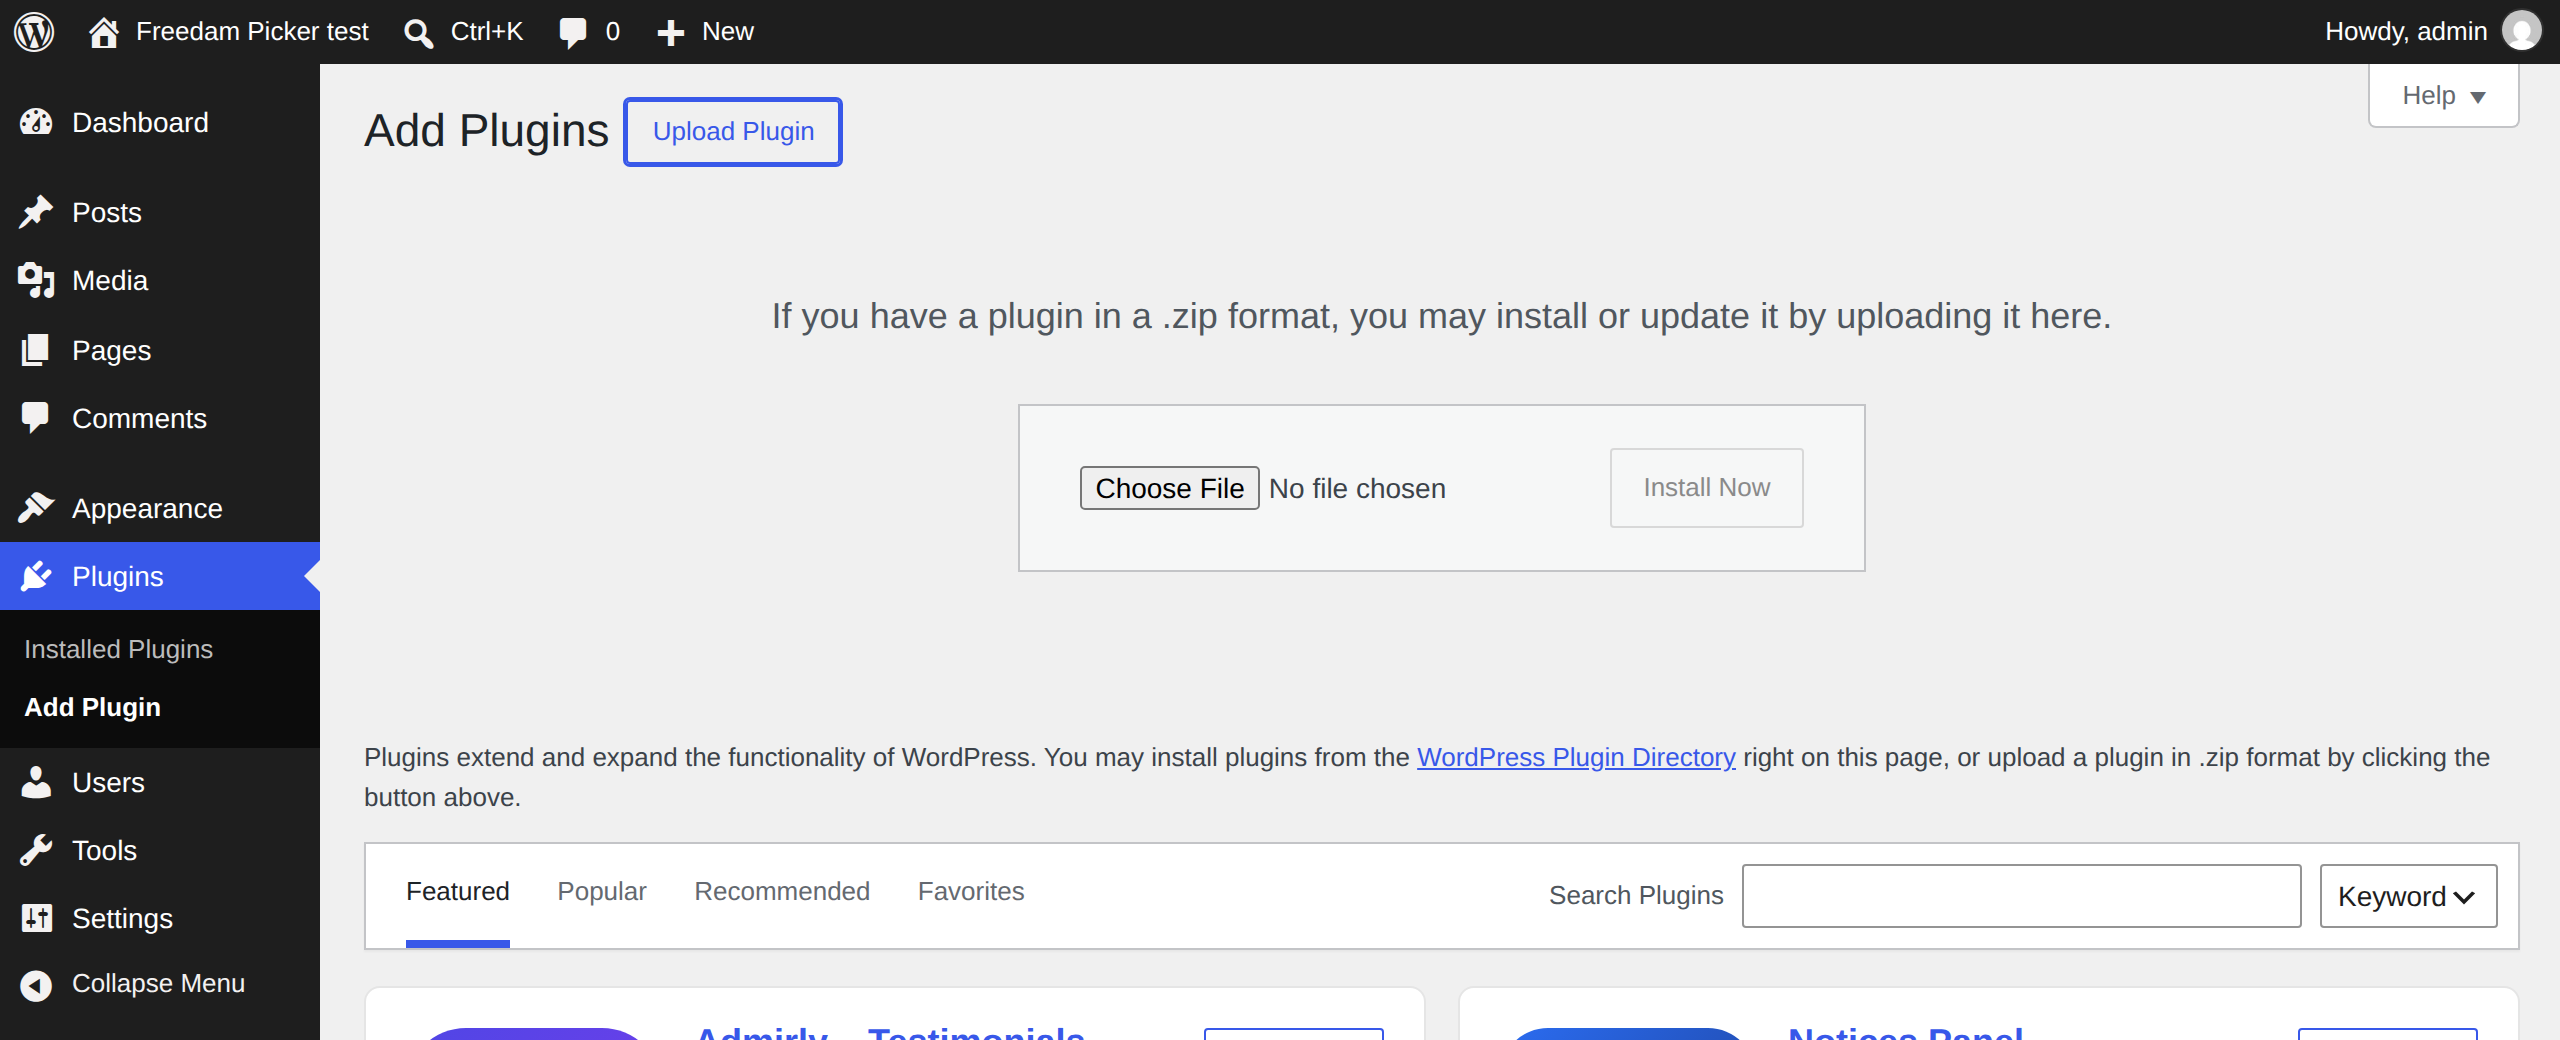
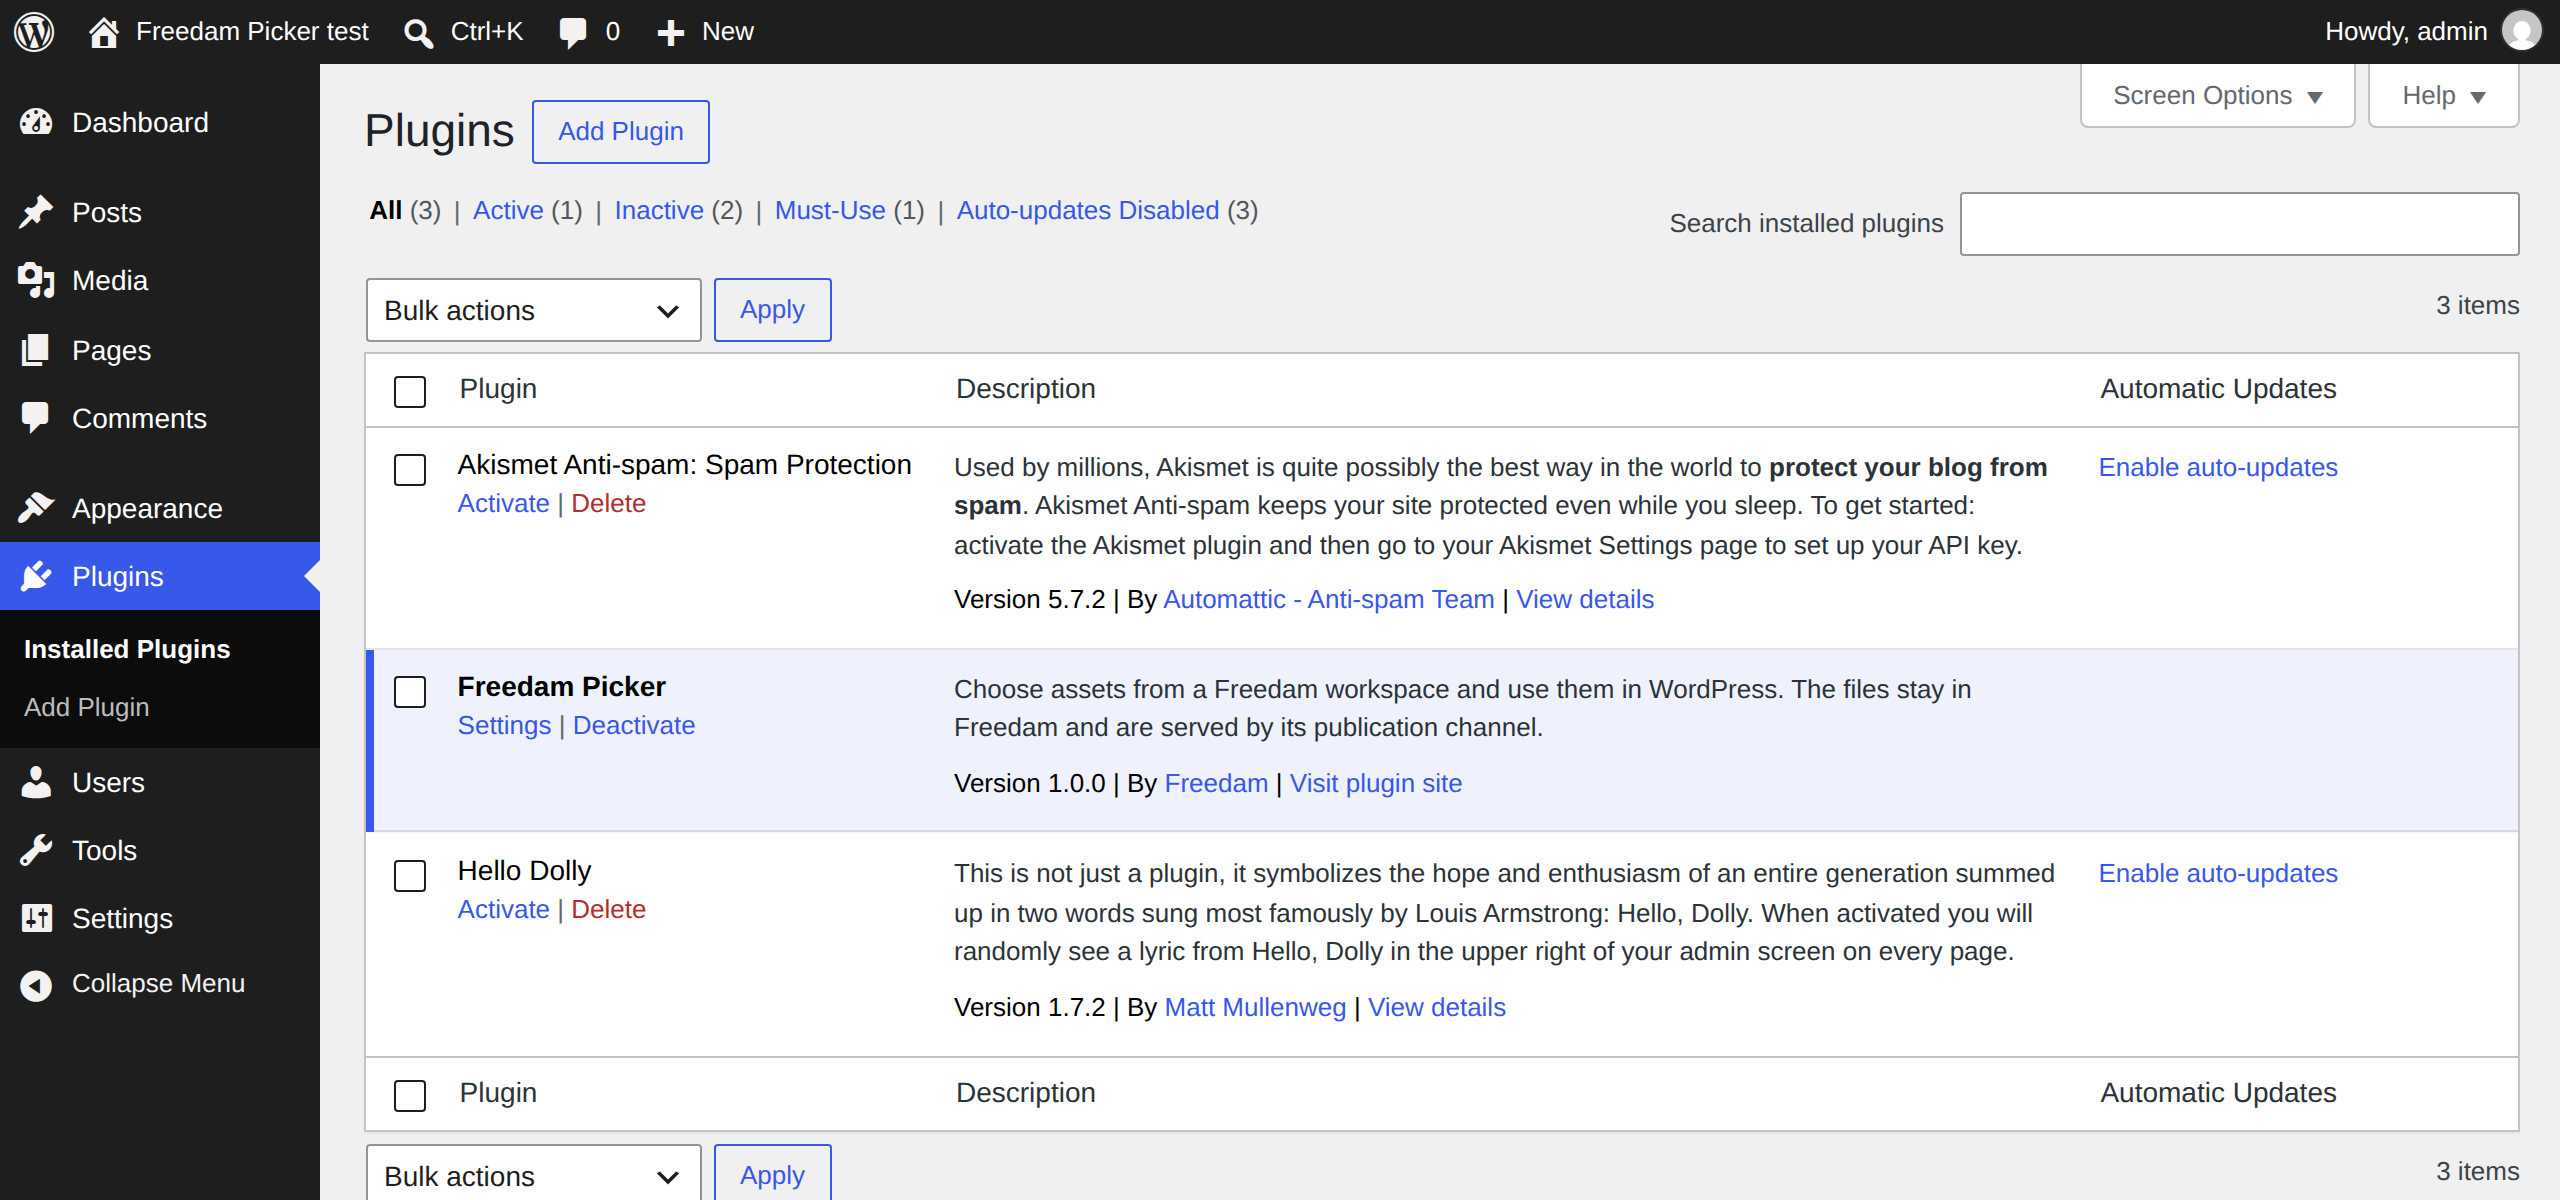
- In WordPress, go to Plugins > Add New Plugin and click Upload Plugin.
- Choose the zip file and click Install Now, then Activate Plugin.
The plugin appears in Plugins as Freedam Picker, with a Settings link. To install a newer version, upload its zip file the same way: WordPress offers to replace the installed version, and the settings are kept.
Fill in the settings
Go to Settings > Freedam.
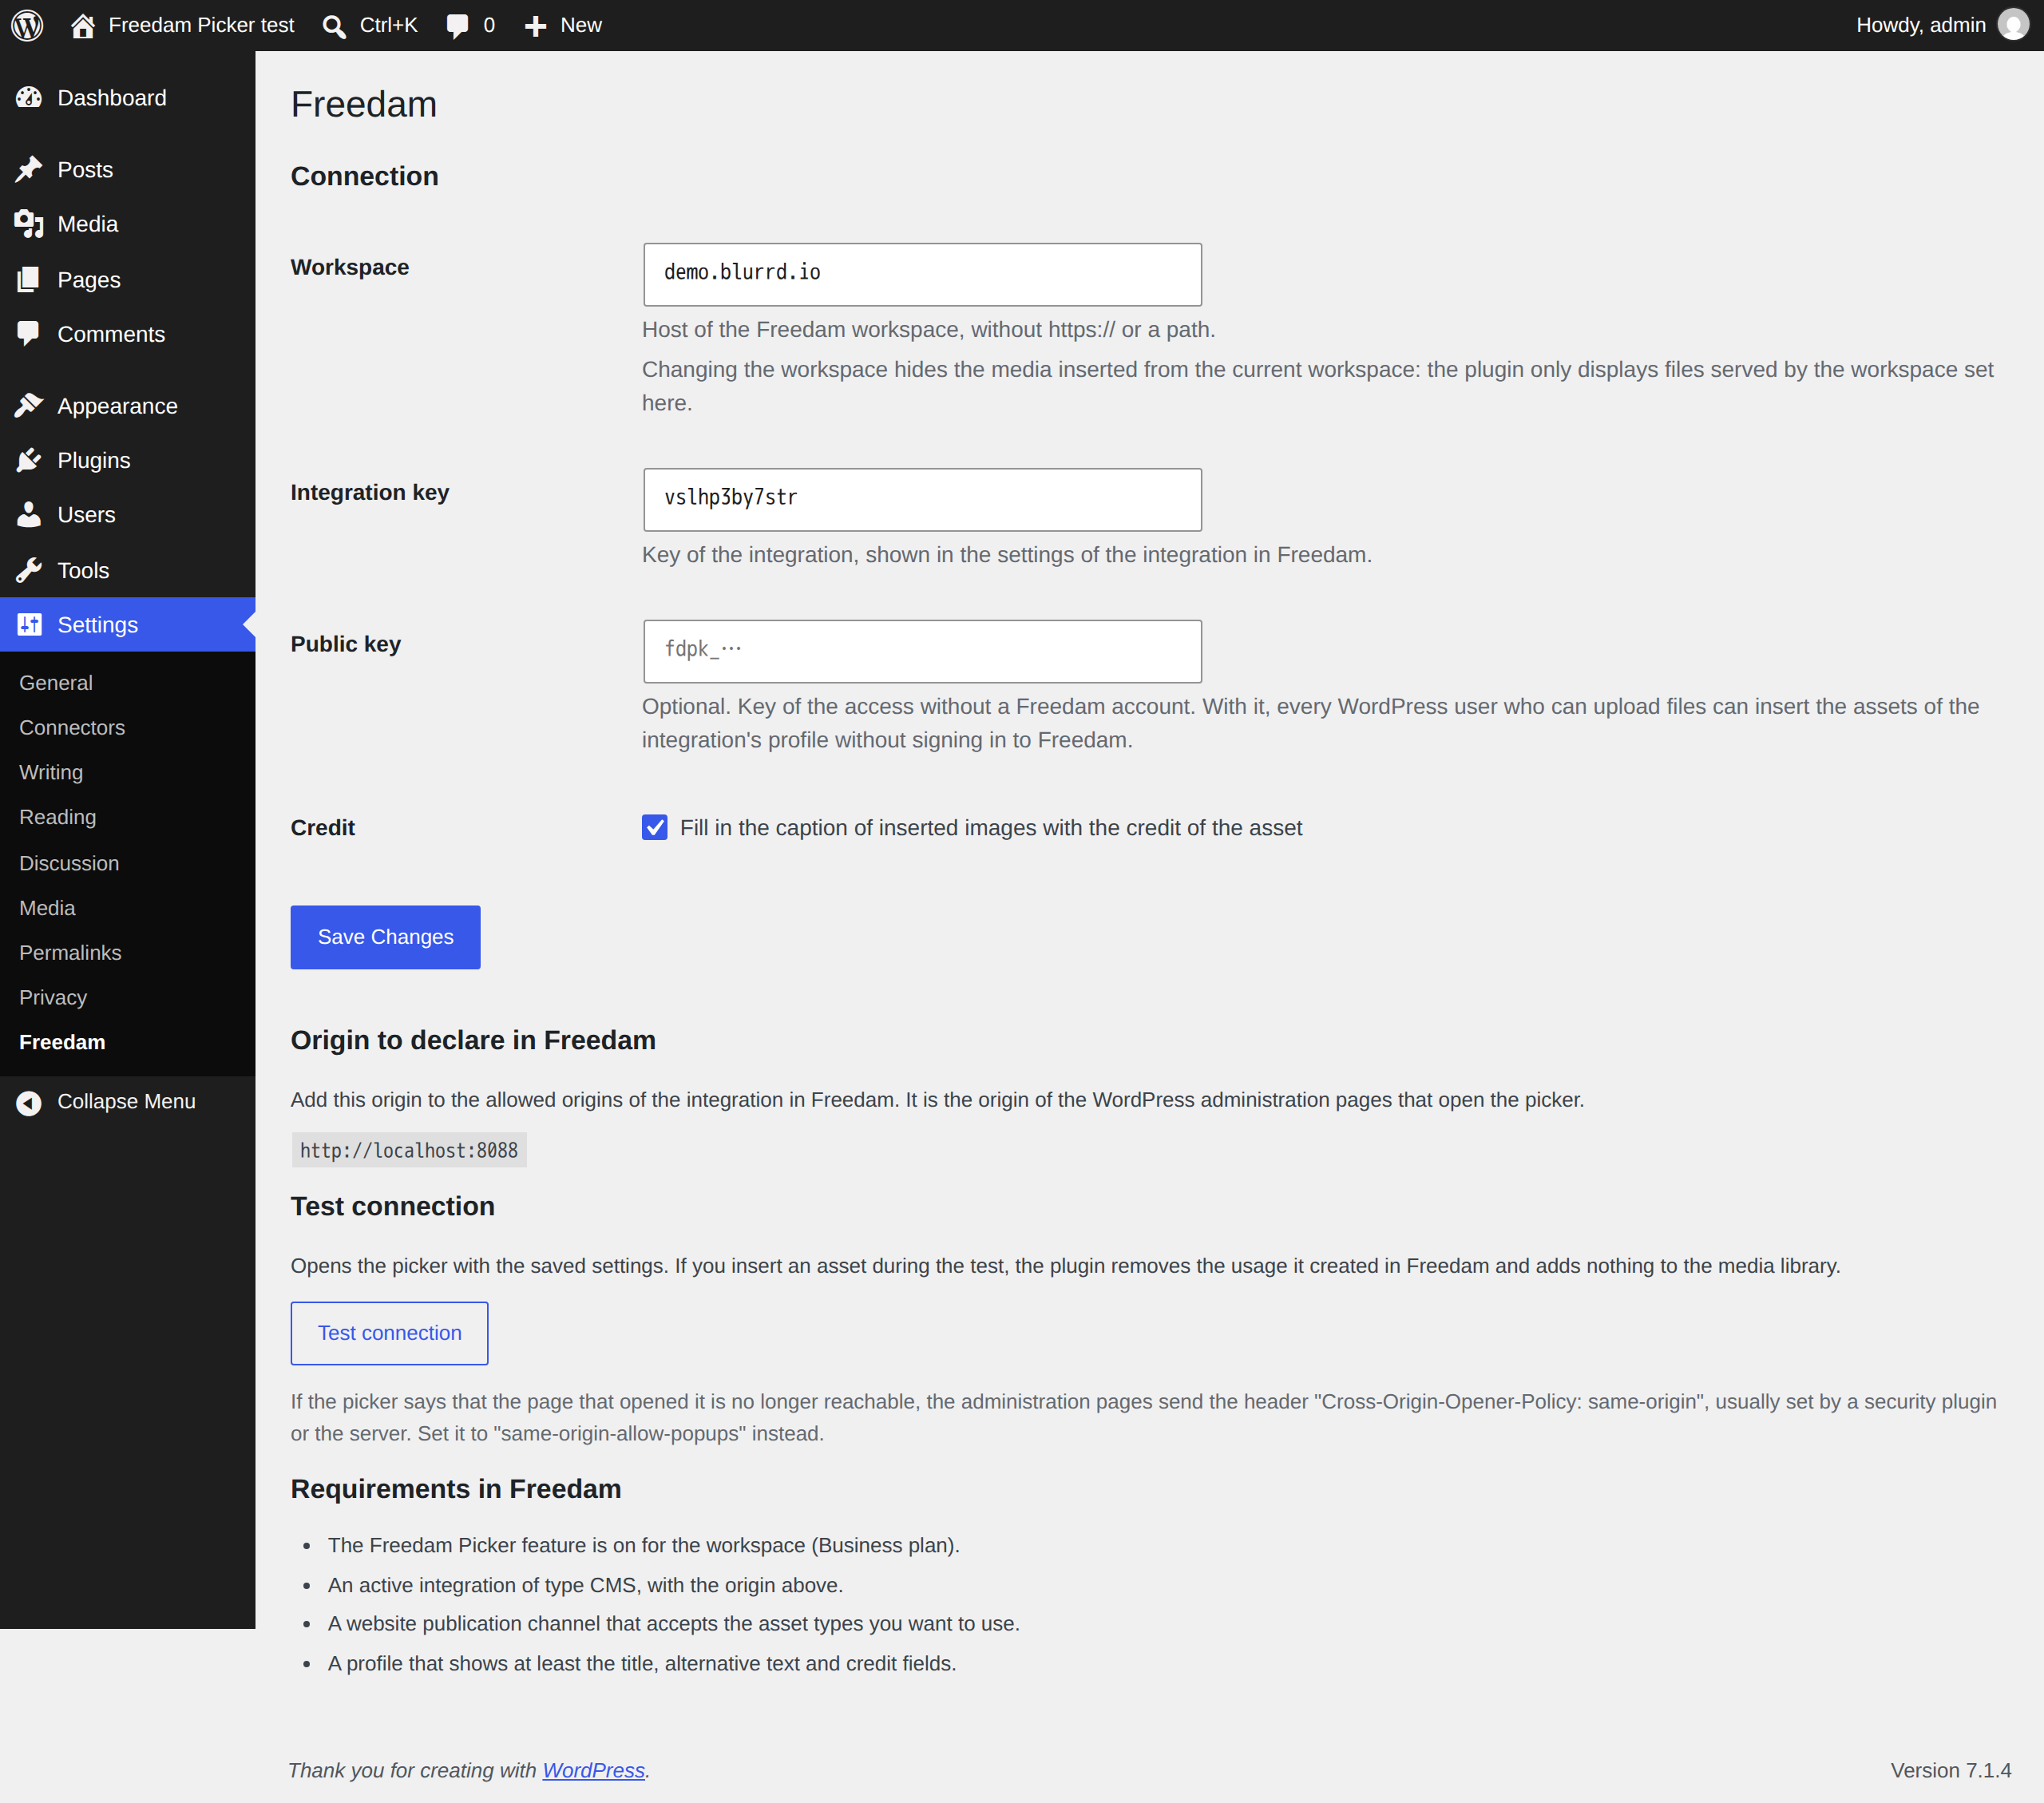
- Workspace: the address of your Freedam workspace without
https://, for exampleacme.freedam.io. - Integration key: the key you copied in Step 1.
- Public key: optional, see Access without a Freedam account.
- Credit: fills the caption of each inserted image with the asset's credit, for example
© Studio Nord. Turned on by default.
Click Save Changes.
Allow the WordPress origin in Freedam
Origin to declare in Freedam shows the origin of your WordPress administration pages, for example https://www.example.com. In Freedam, edit the integration and add this origin to Allowed origins, as in Step 1. The picker never opens from an origin missing from the list.
For a network of sites on subdomains, the page also shows a wildcard origin such as https://*.example.com, which covers the other sites of the network.
Test the connection
Test connection opens the picker in a new browser tab with the saved settings. Sign in to Freedam if the picker asks you to. When the picker is shown, the settings page says Connected; close the picker's tab to go back to WordPress. If you insert an asset during the test, the plugin removes the usage Freedam recorded for it and adds nothing to the media library.
When the test fails, the settings page says why:
| Message | What to do |
|---|---|
| Add the origin above to the integration in Freedam. | Add the origin shown on the page to the integration's allowed origins. |
| The Freedam Picker is not available on this workspace. | The workspace's plan does not include the Freedam Picker. |
| This integration is suspended in Freedam. | Resume the integration on the Picker integrations page. |
| This integration cannot be used: check its profile and its publication channel in Freedam. | The integration's channel is disabled or missing, or publishes none of the profile's asset types. |
| Your browser blocked the Freedam tab. Allow pop-ups for this site. | Allow pop-ups for your WordPress site in the browser, then test again. |
Step 3: use the plugin
Open the Freedam tab
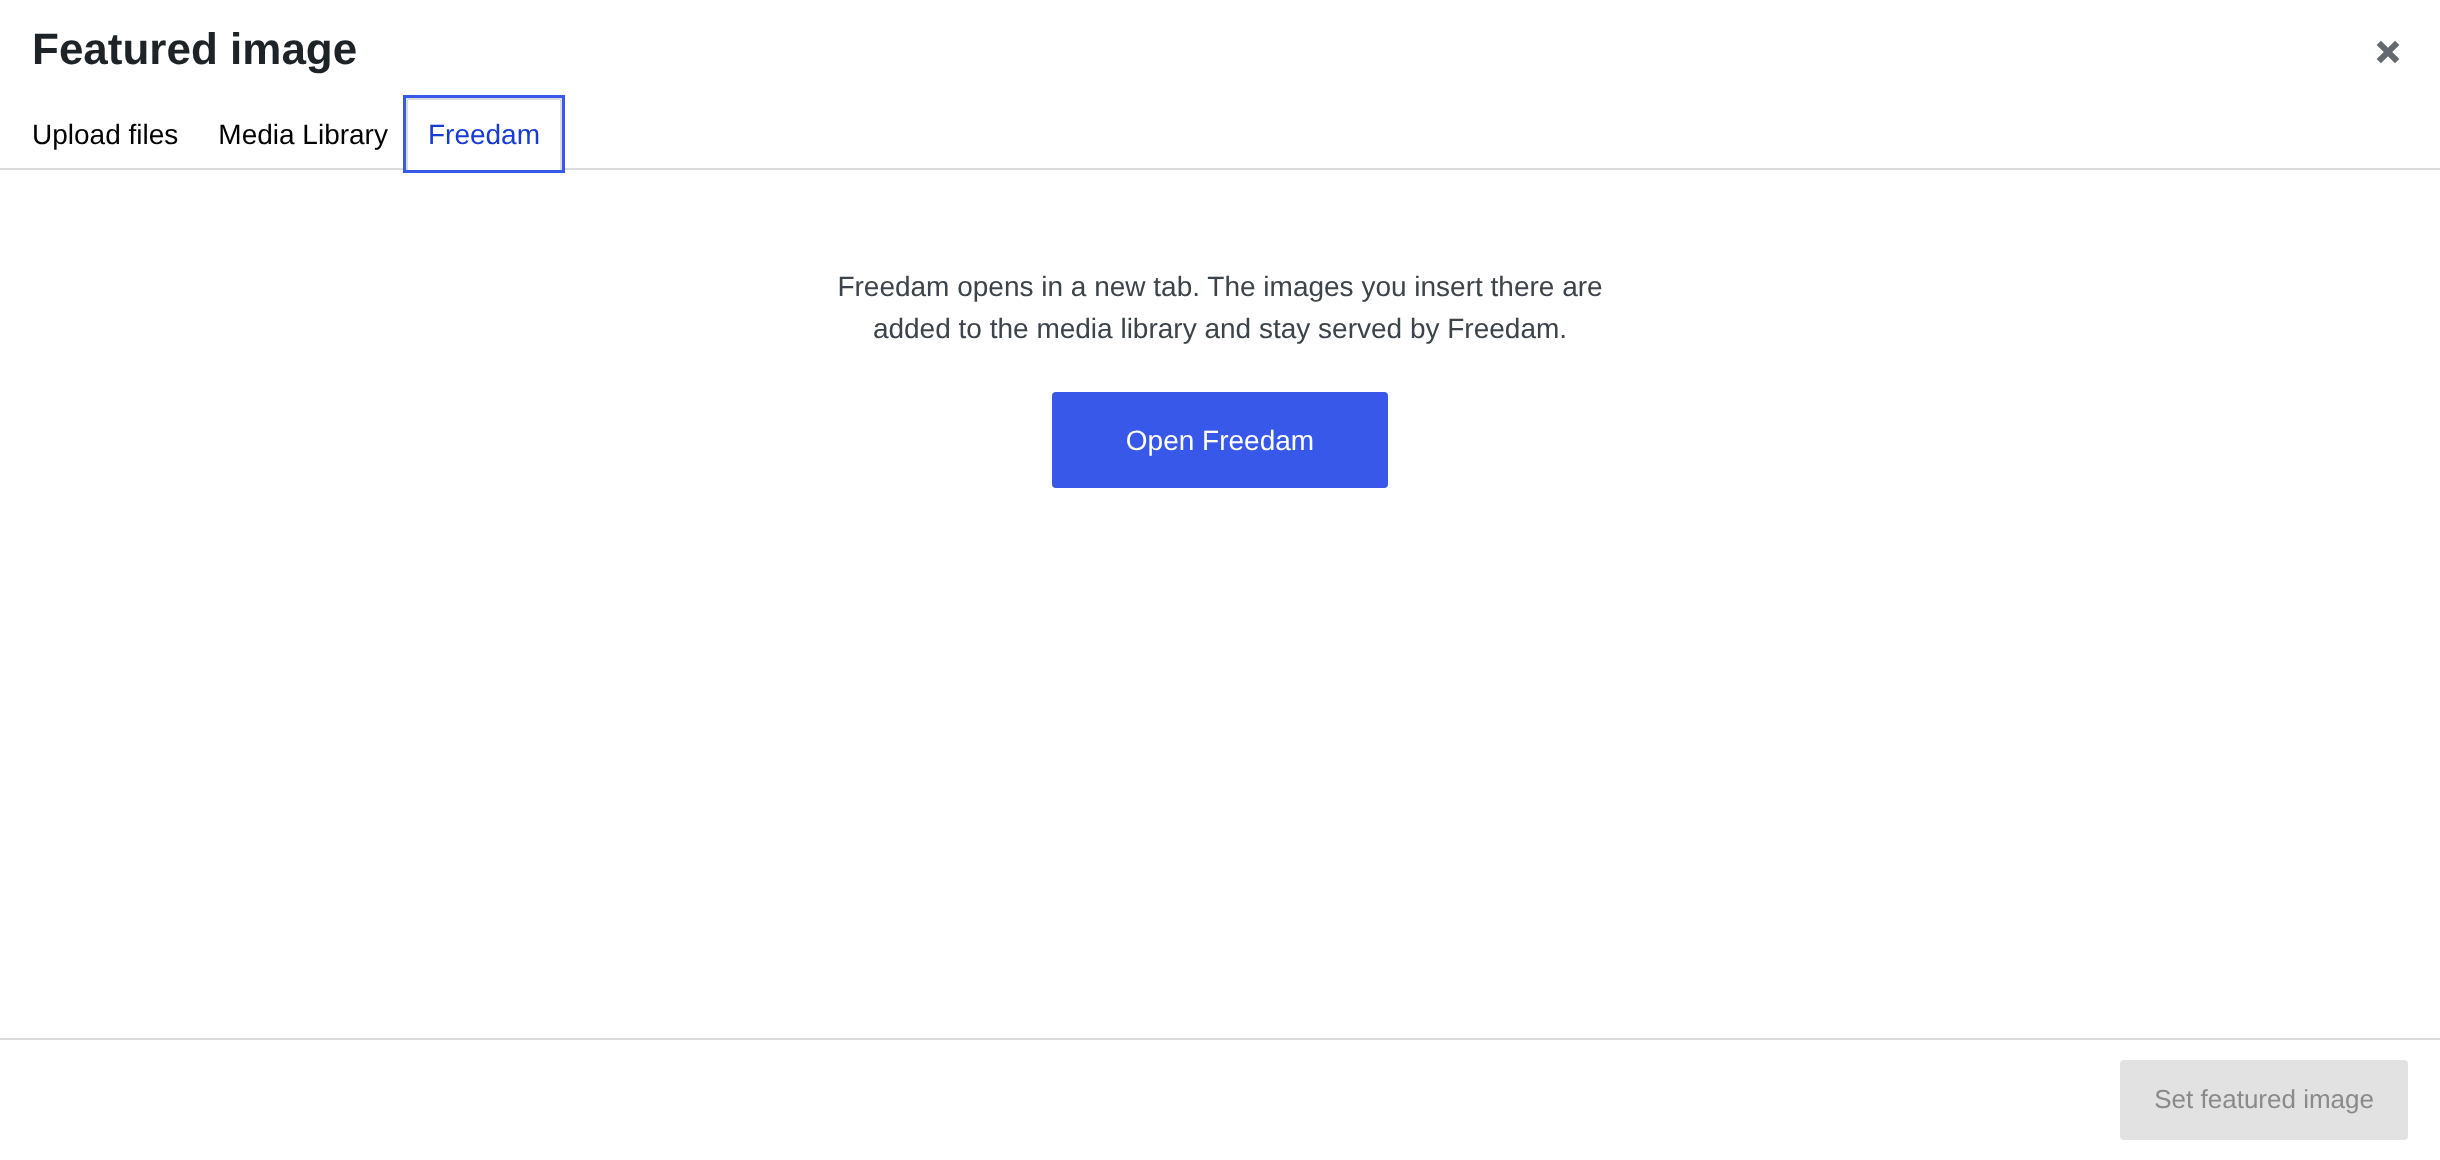
The Freedam tab appears wherever WordPress opens the media library: the Image, Cover, Gallery, Media & Text and File blocks, the featured image, image fields of themes, and Add Media in the classic editor. It is shown to people who can upload files, as the Upload files tab is. Media > Library also has an Add from Freedam button, to add assets without opening a post.
Open the Freedam tab and click Open Freedam. The picker opens in a new browser tab.
Sign in and choose assets
If you are not signed in to Freedam in this browser, the picker asks you to sign in, with the methods you usually use. Editors without a Freedam account use the public key instead.
The picker shows the name of the integration at the top and only the asset types the WordPress window accepts: images, and documents when the window takes files. Search the library as in the Gallery, then select one or more assets.
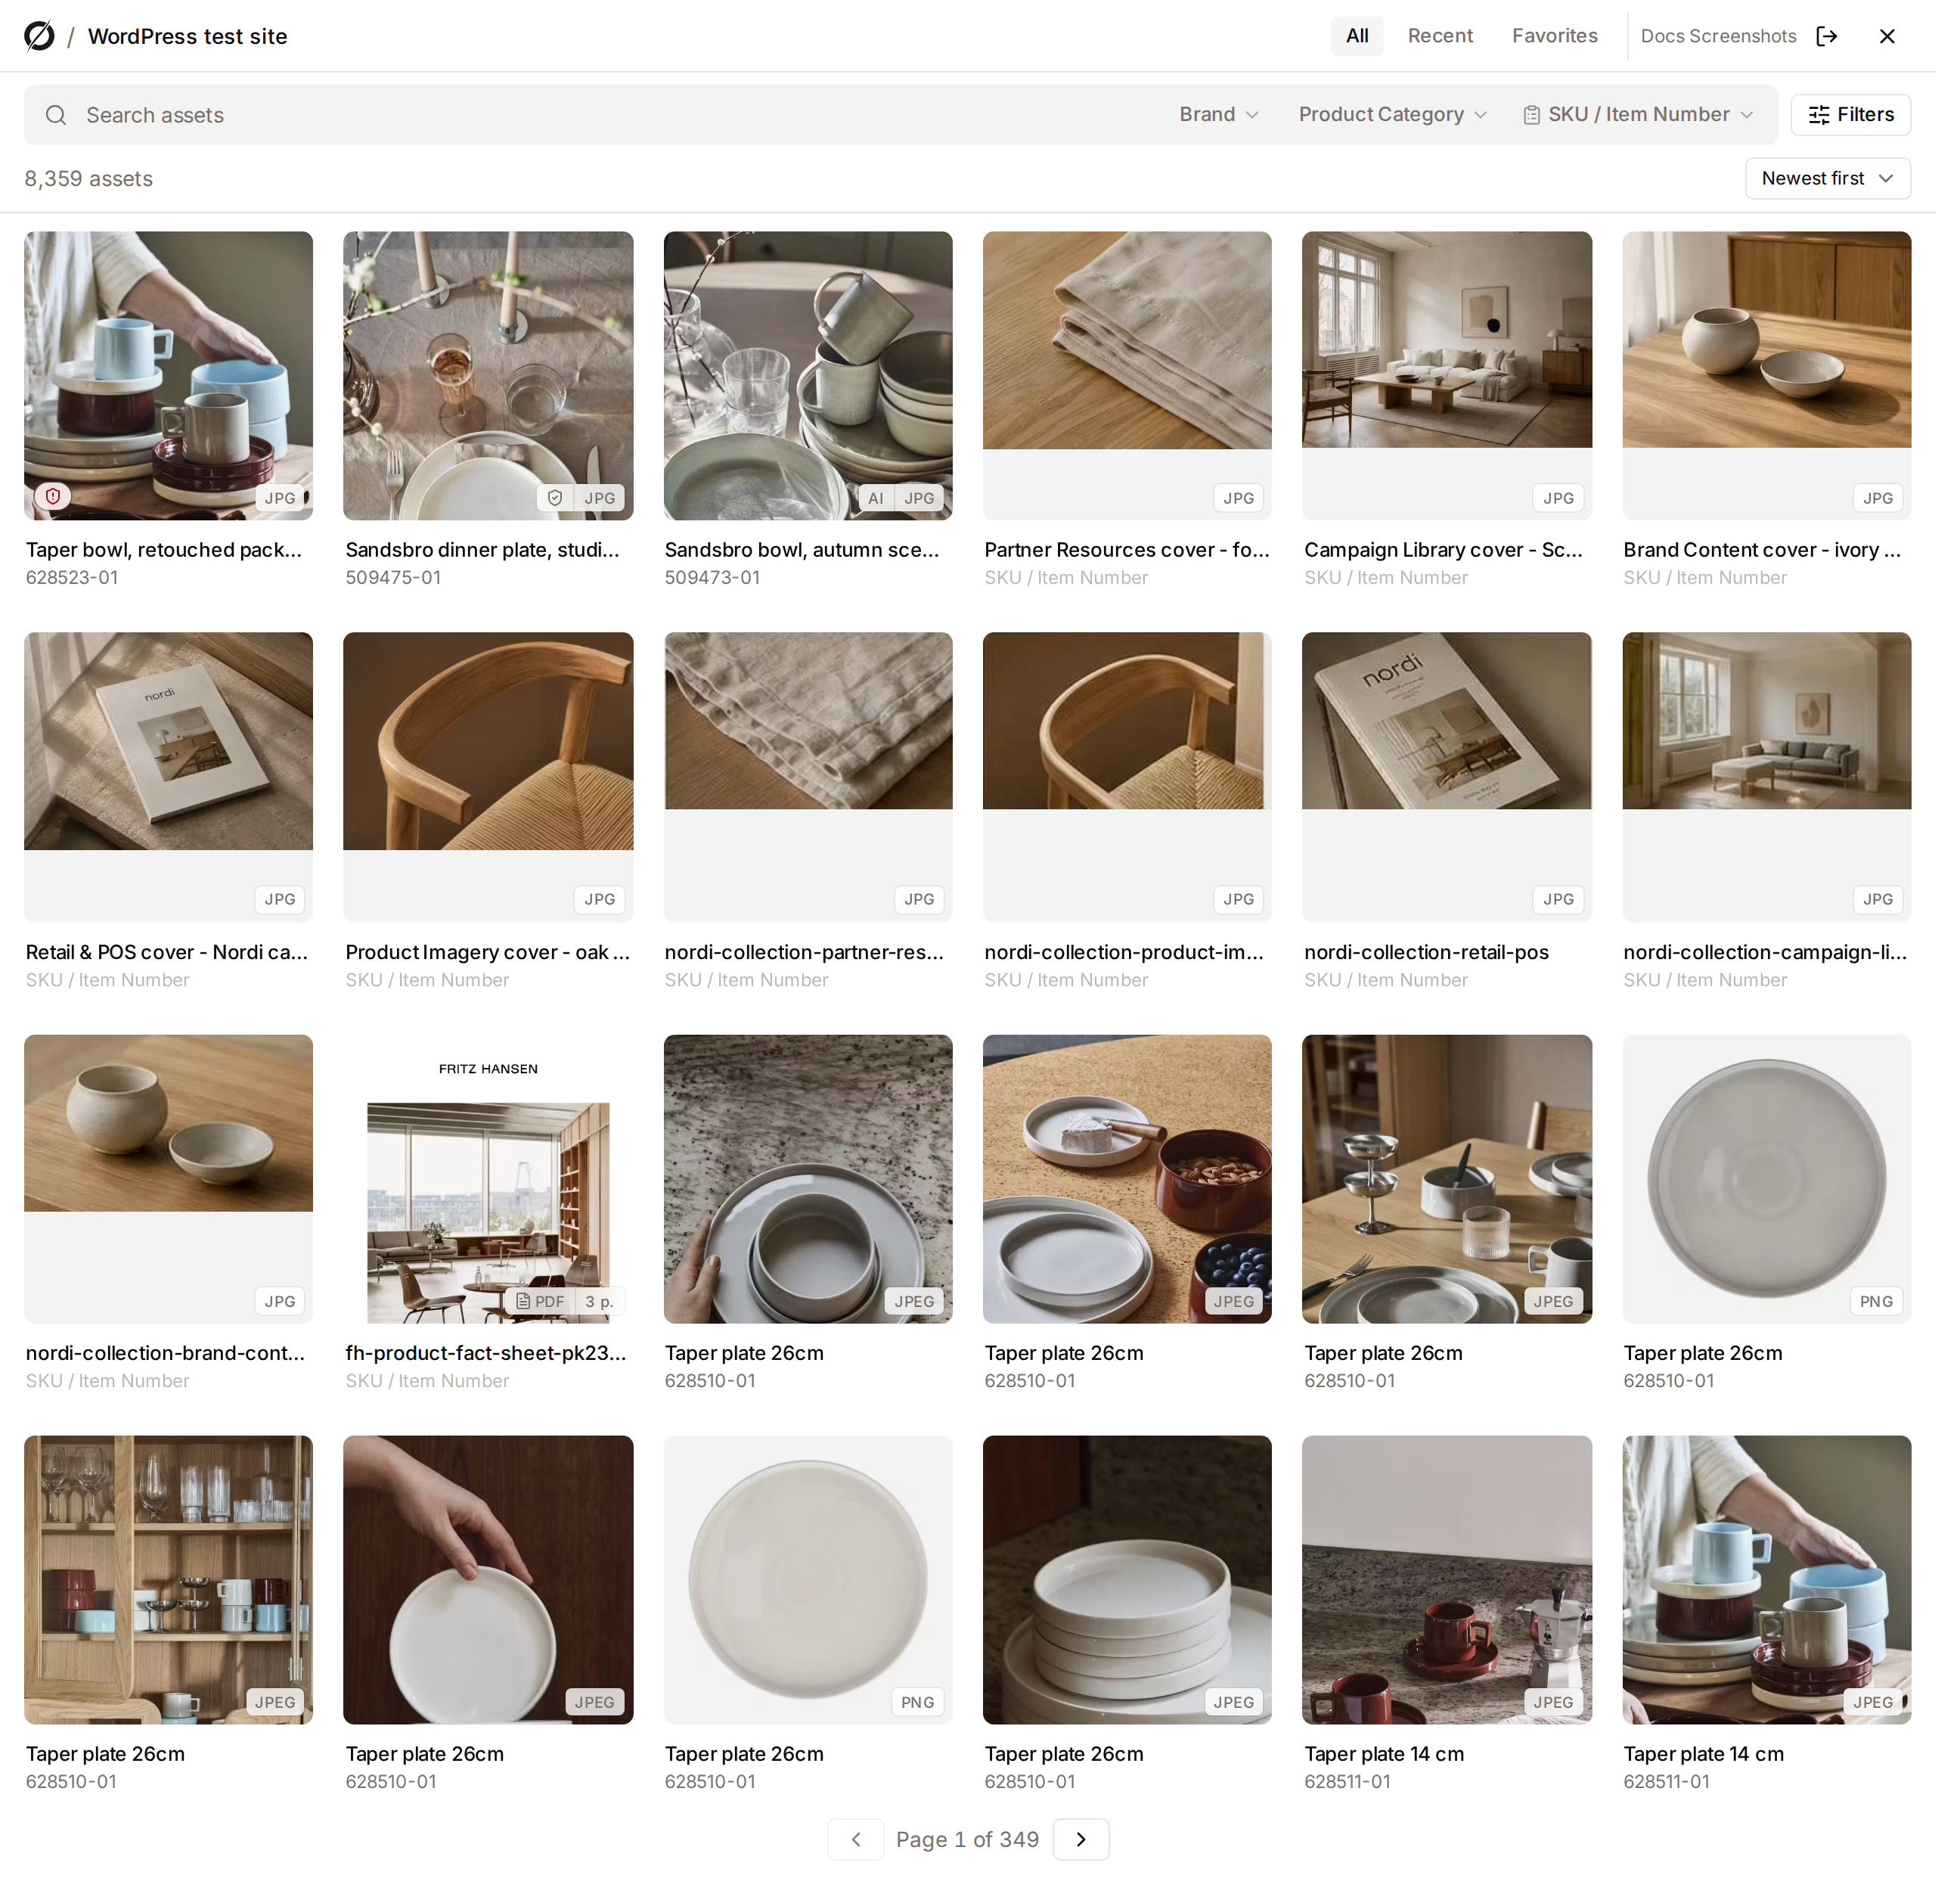
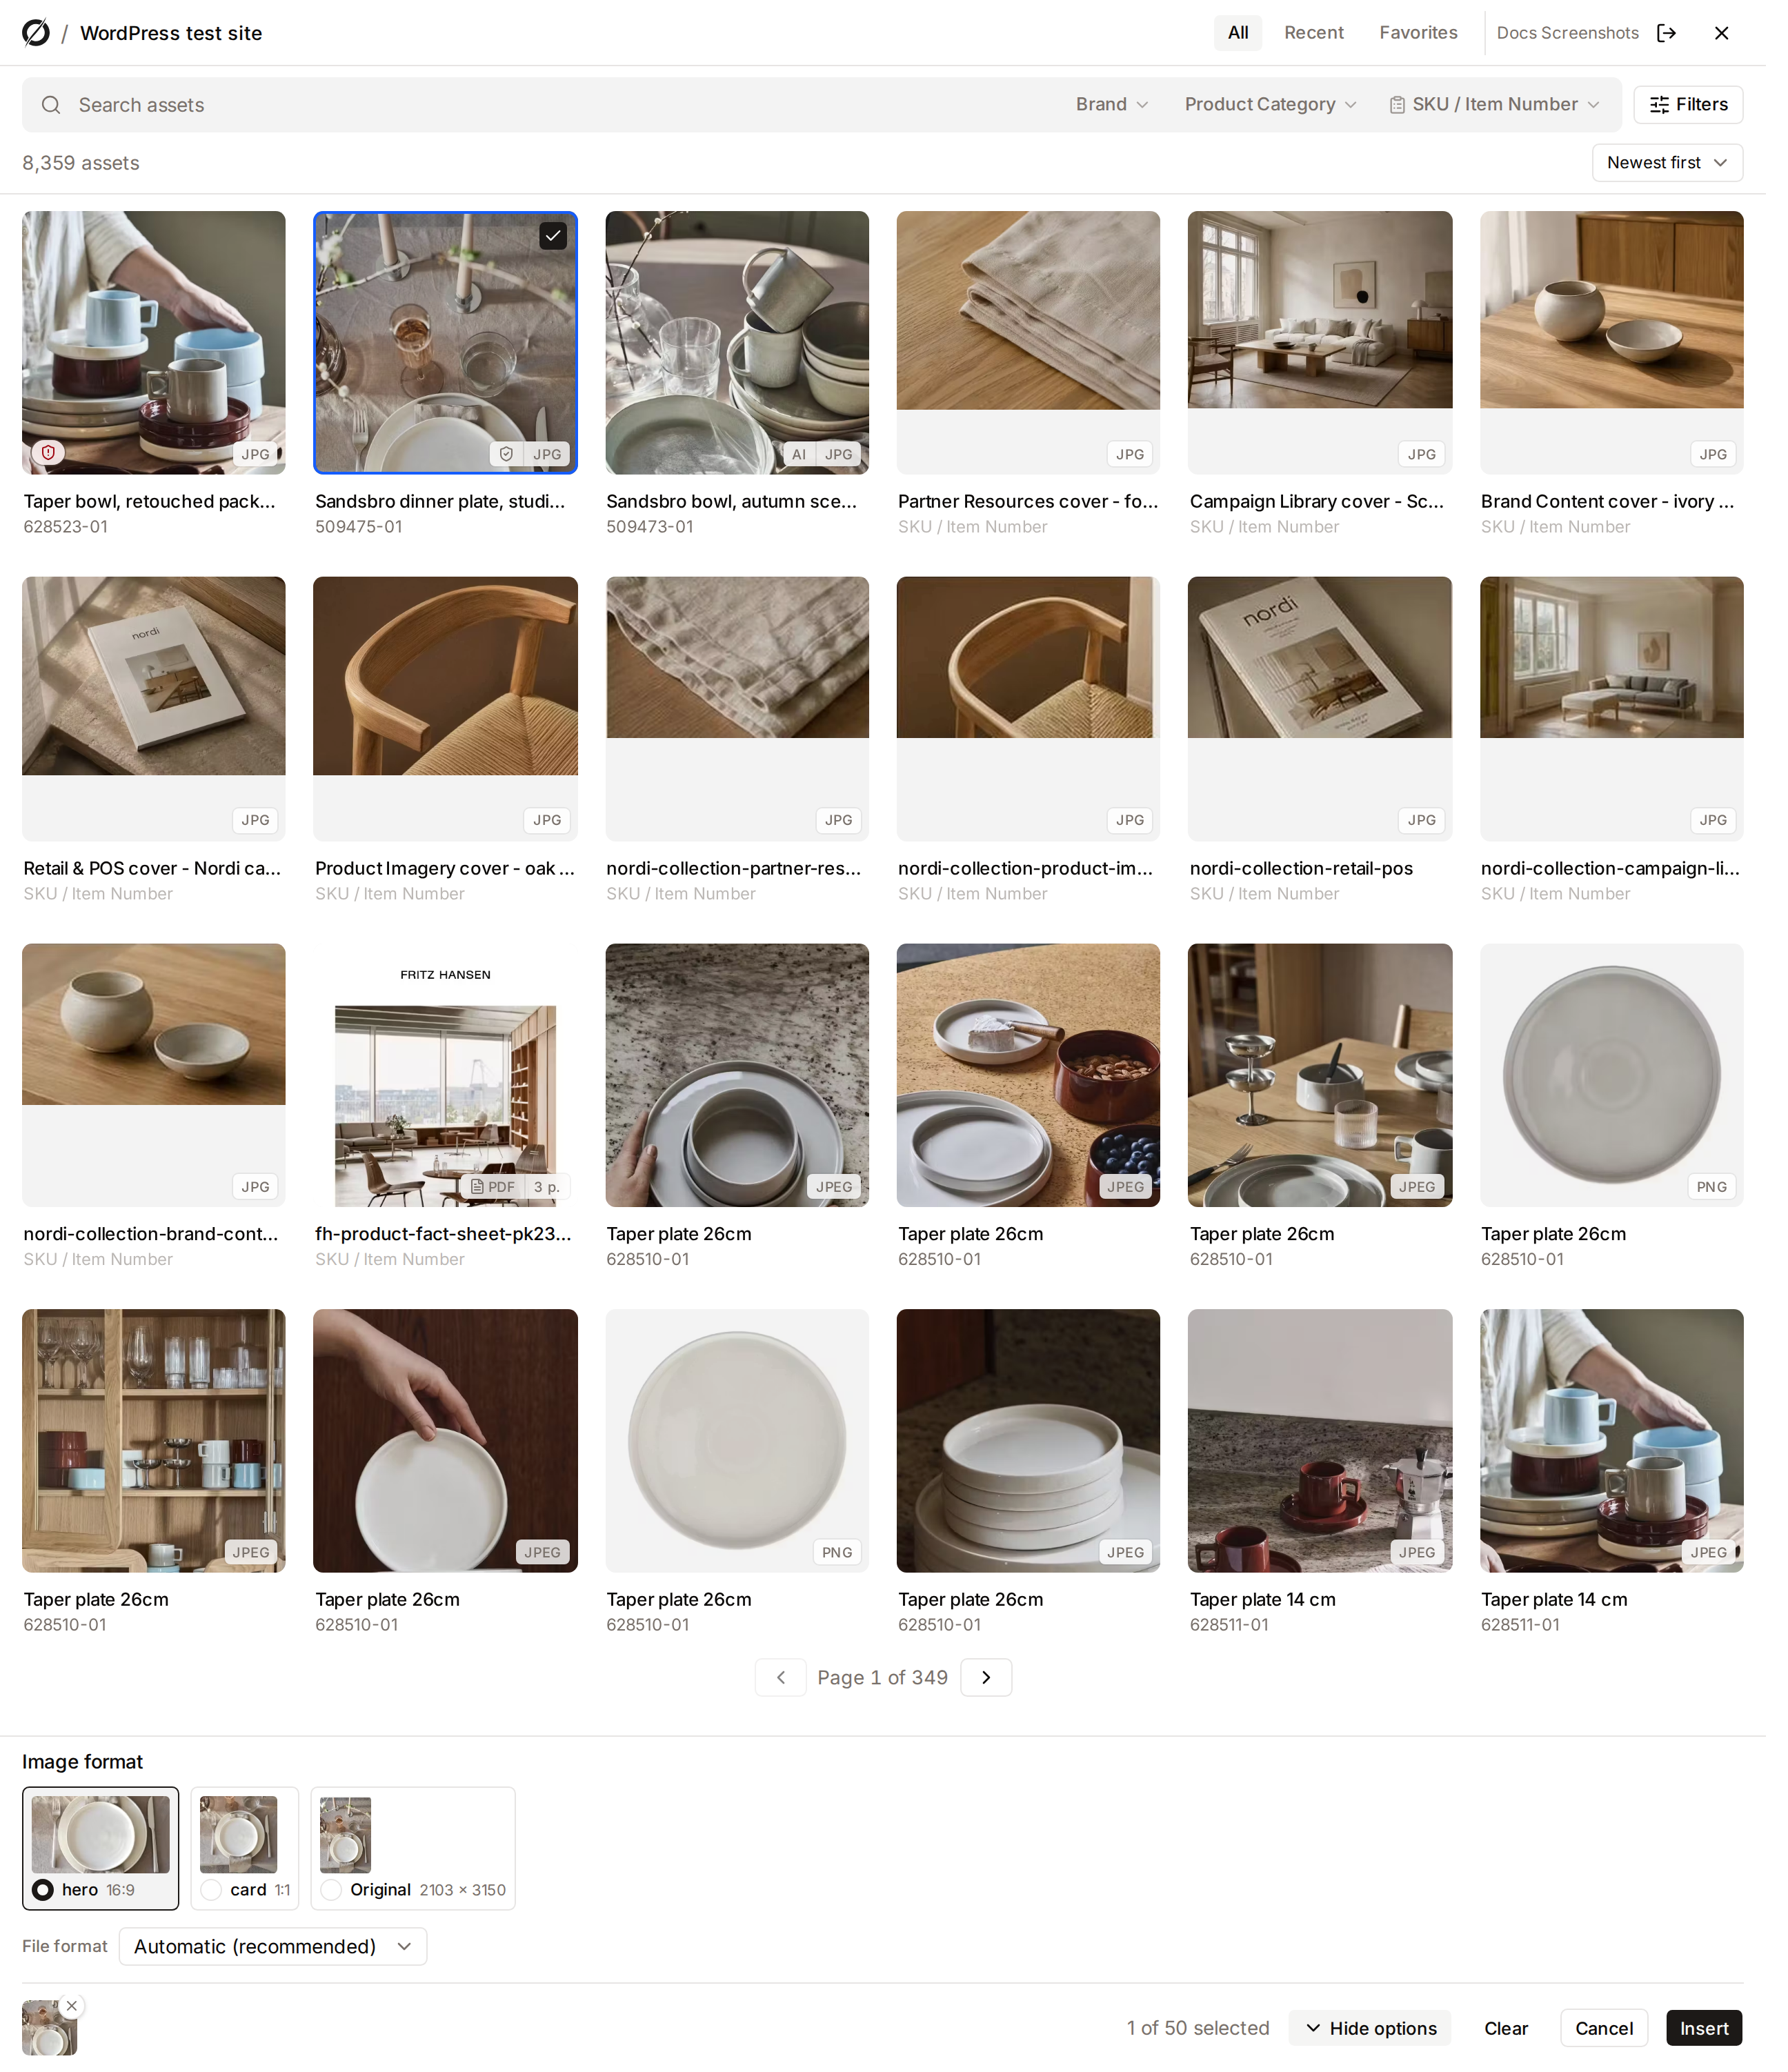
For an image, choose a format of the channel, such as the 16:9 hero, or the uncropped image; for a document, the original file or its PDF version. Then click Insert. The picker's tab closes and the browser shows WordPress again, with the assets in the media library, selected. If you switched tabs in the meantime, go back to the WordPress tab yourself: the assets are already there.
The media library only takes images and documents. A window that accepts only images, such as the featured image, offers only images in the picker. Videos go in the Freedam video or document block.
Find the assets in the media library
Each asset becomes a media library item without a local file. Its title, alternative text and description come from Freedam, and its caption is the credit when the Credit setting is on. You can change them in WordPress as for any other item; they are not updated when the asset changes in Freedam.
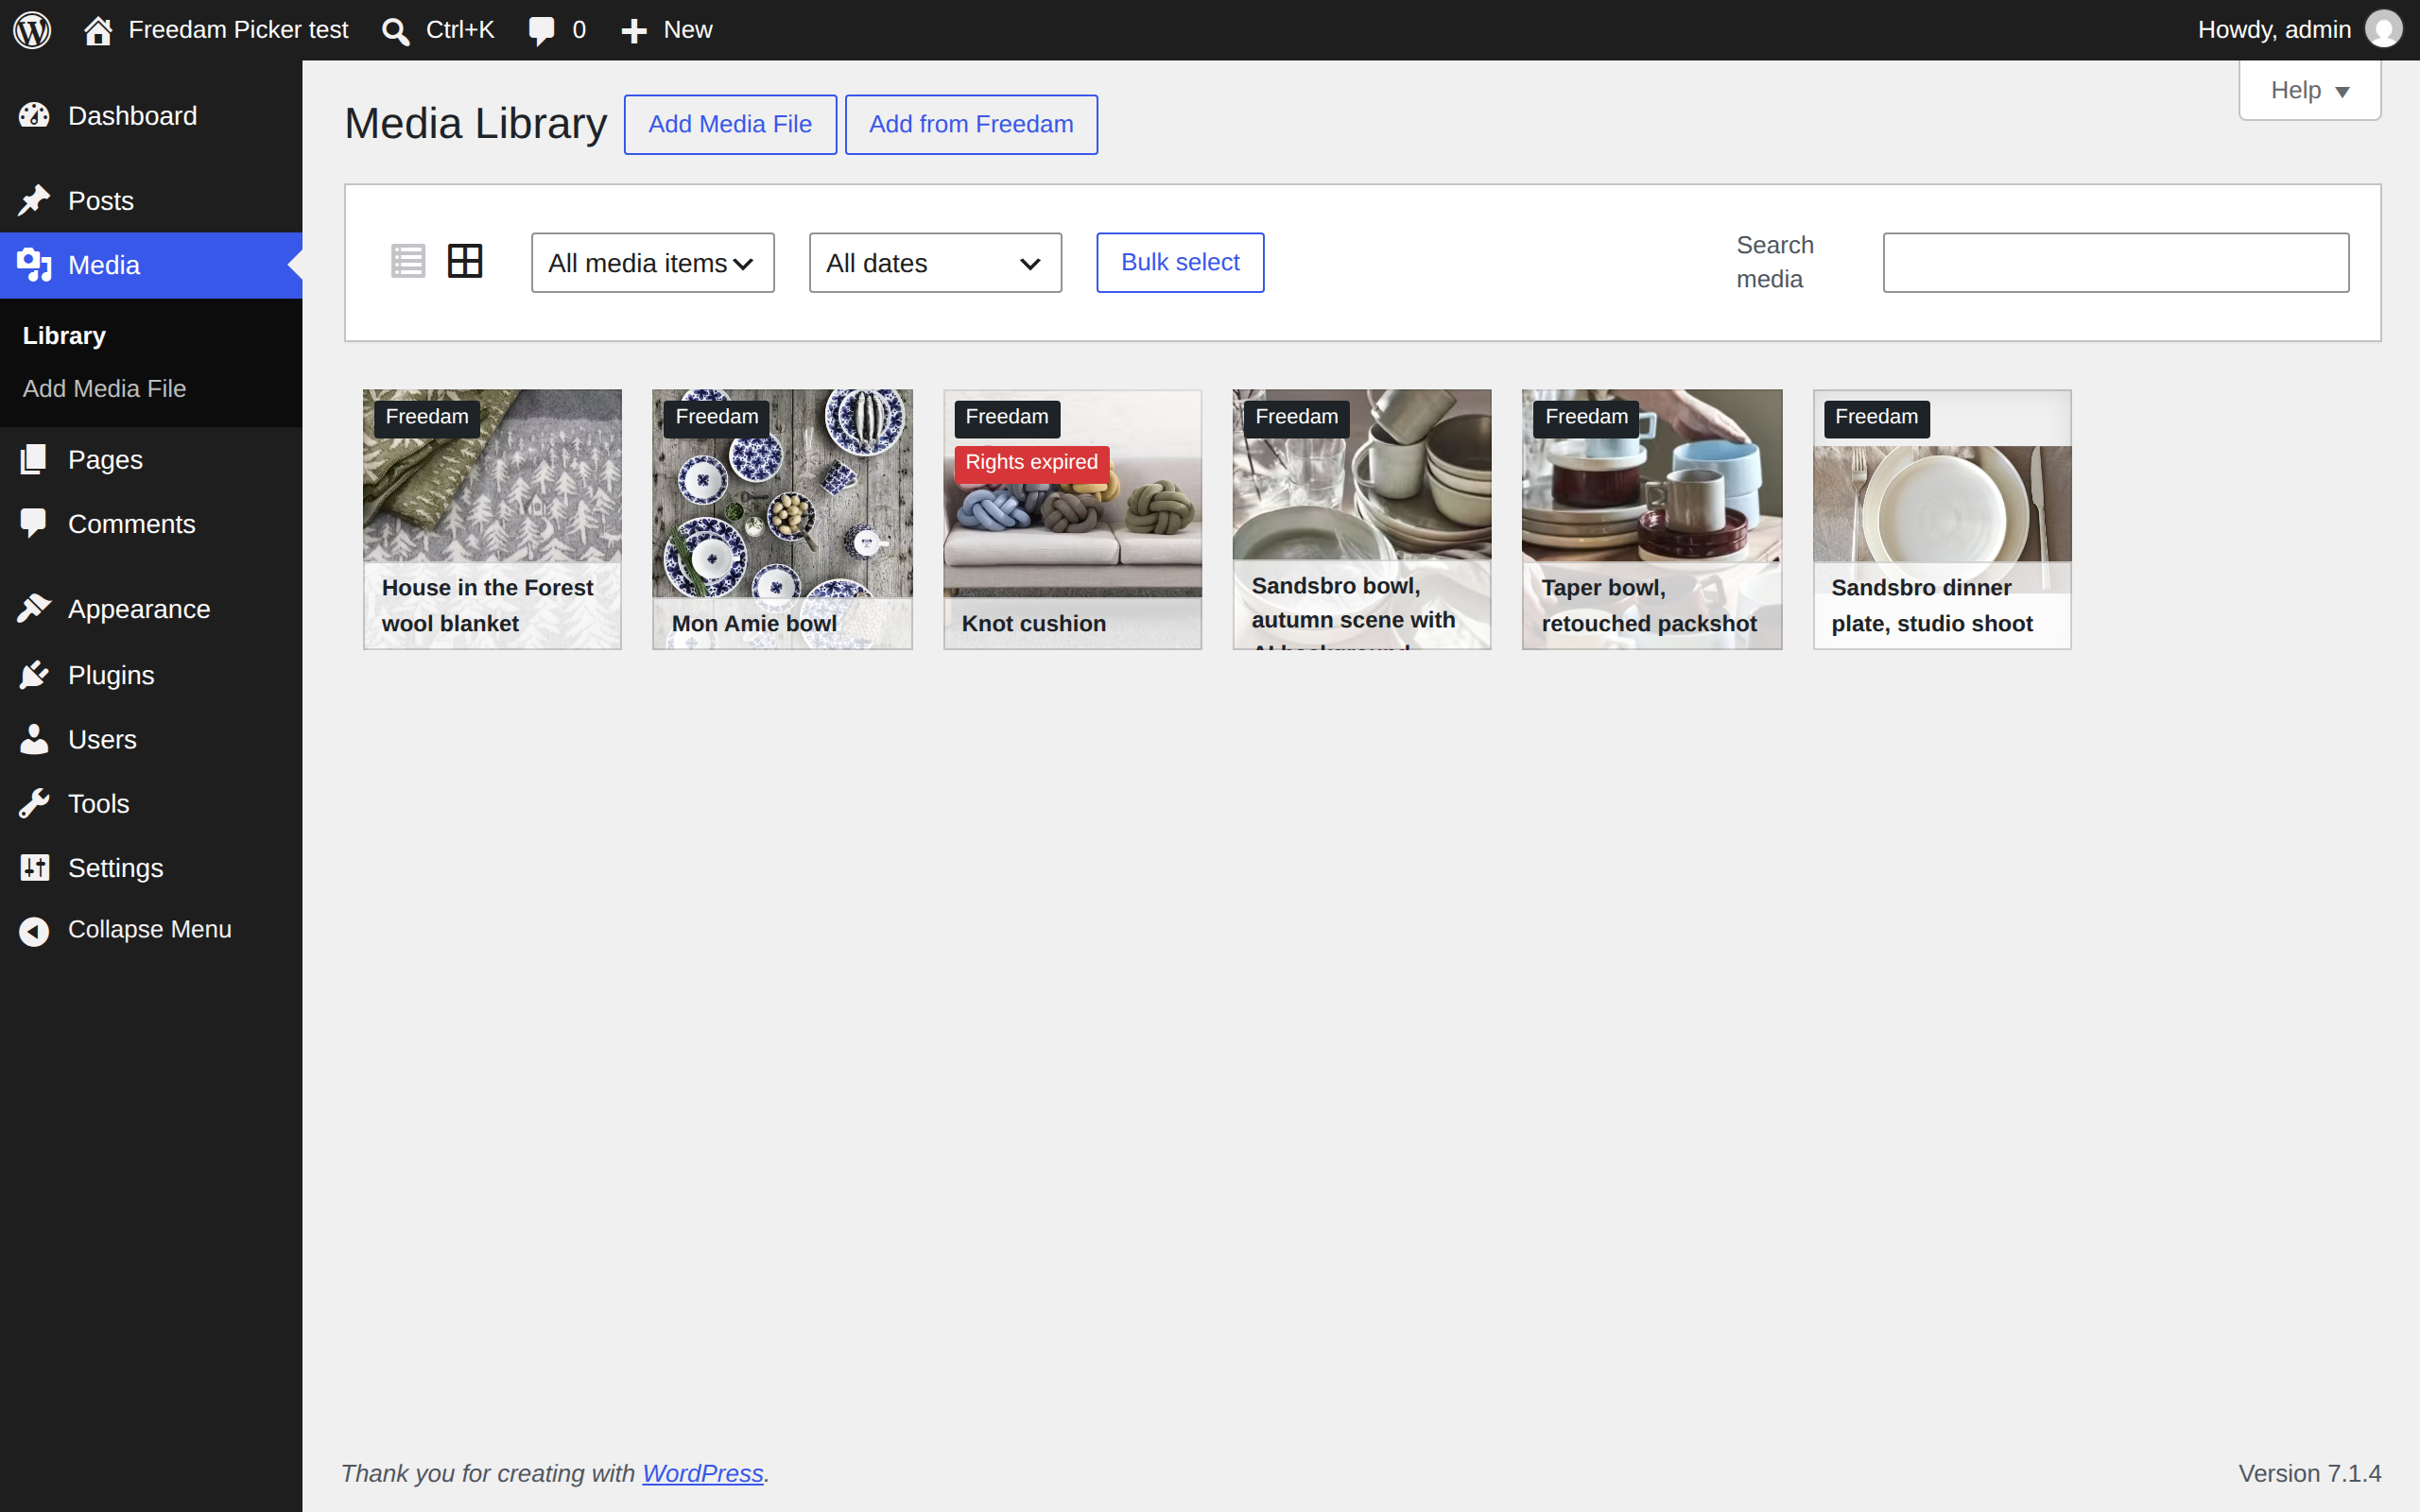
- A Freedam badge marks the items in the grid, and Freedam in the type filter lists them alone. In list mode, a Freedam column shows the badges.
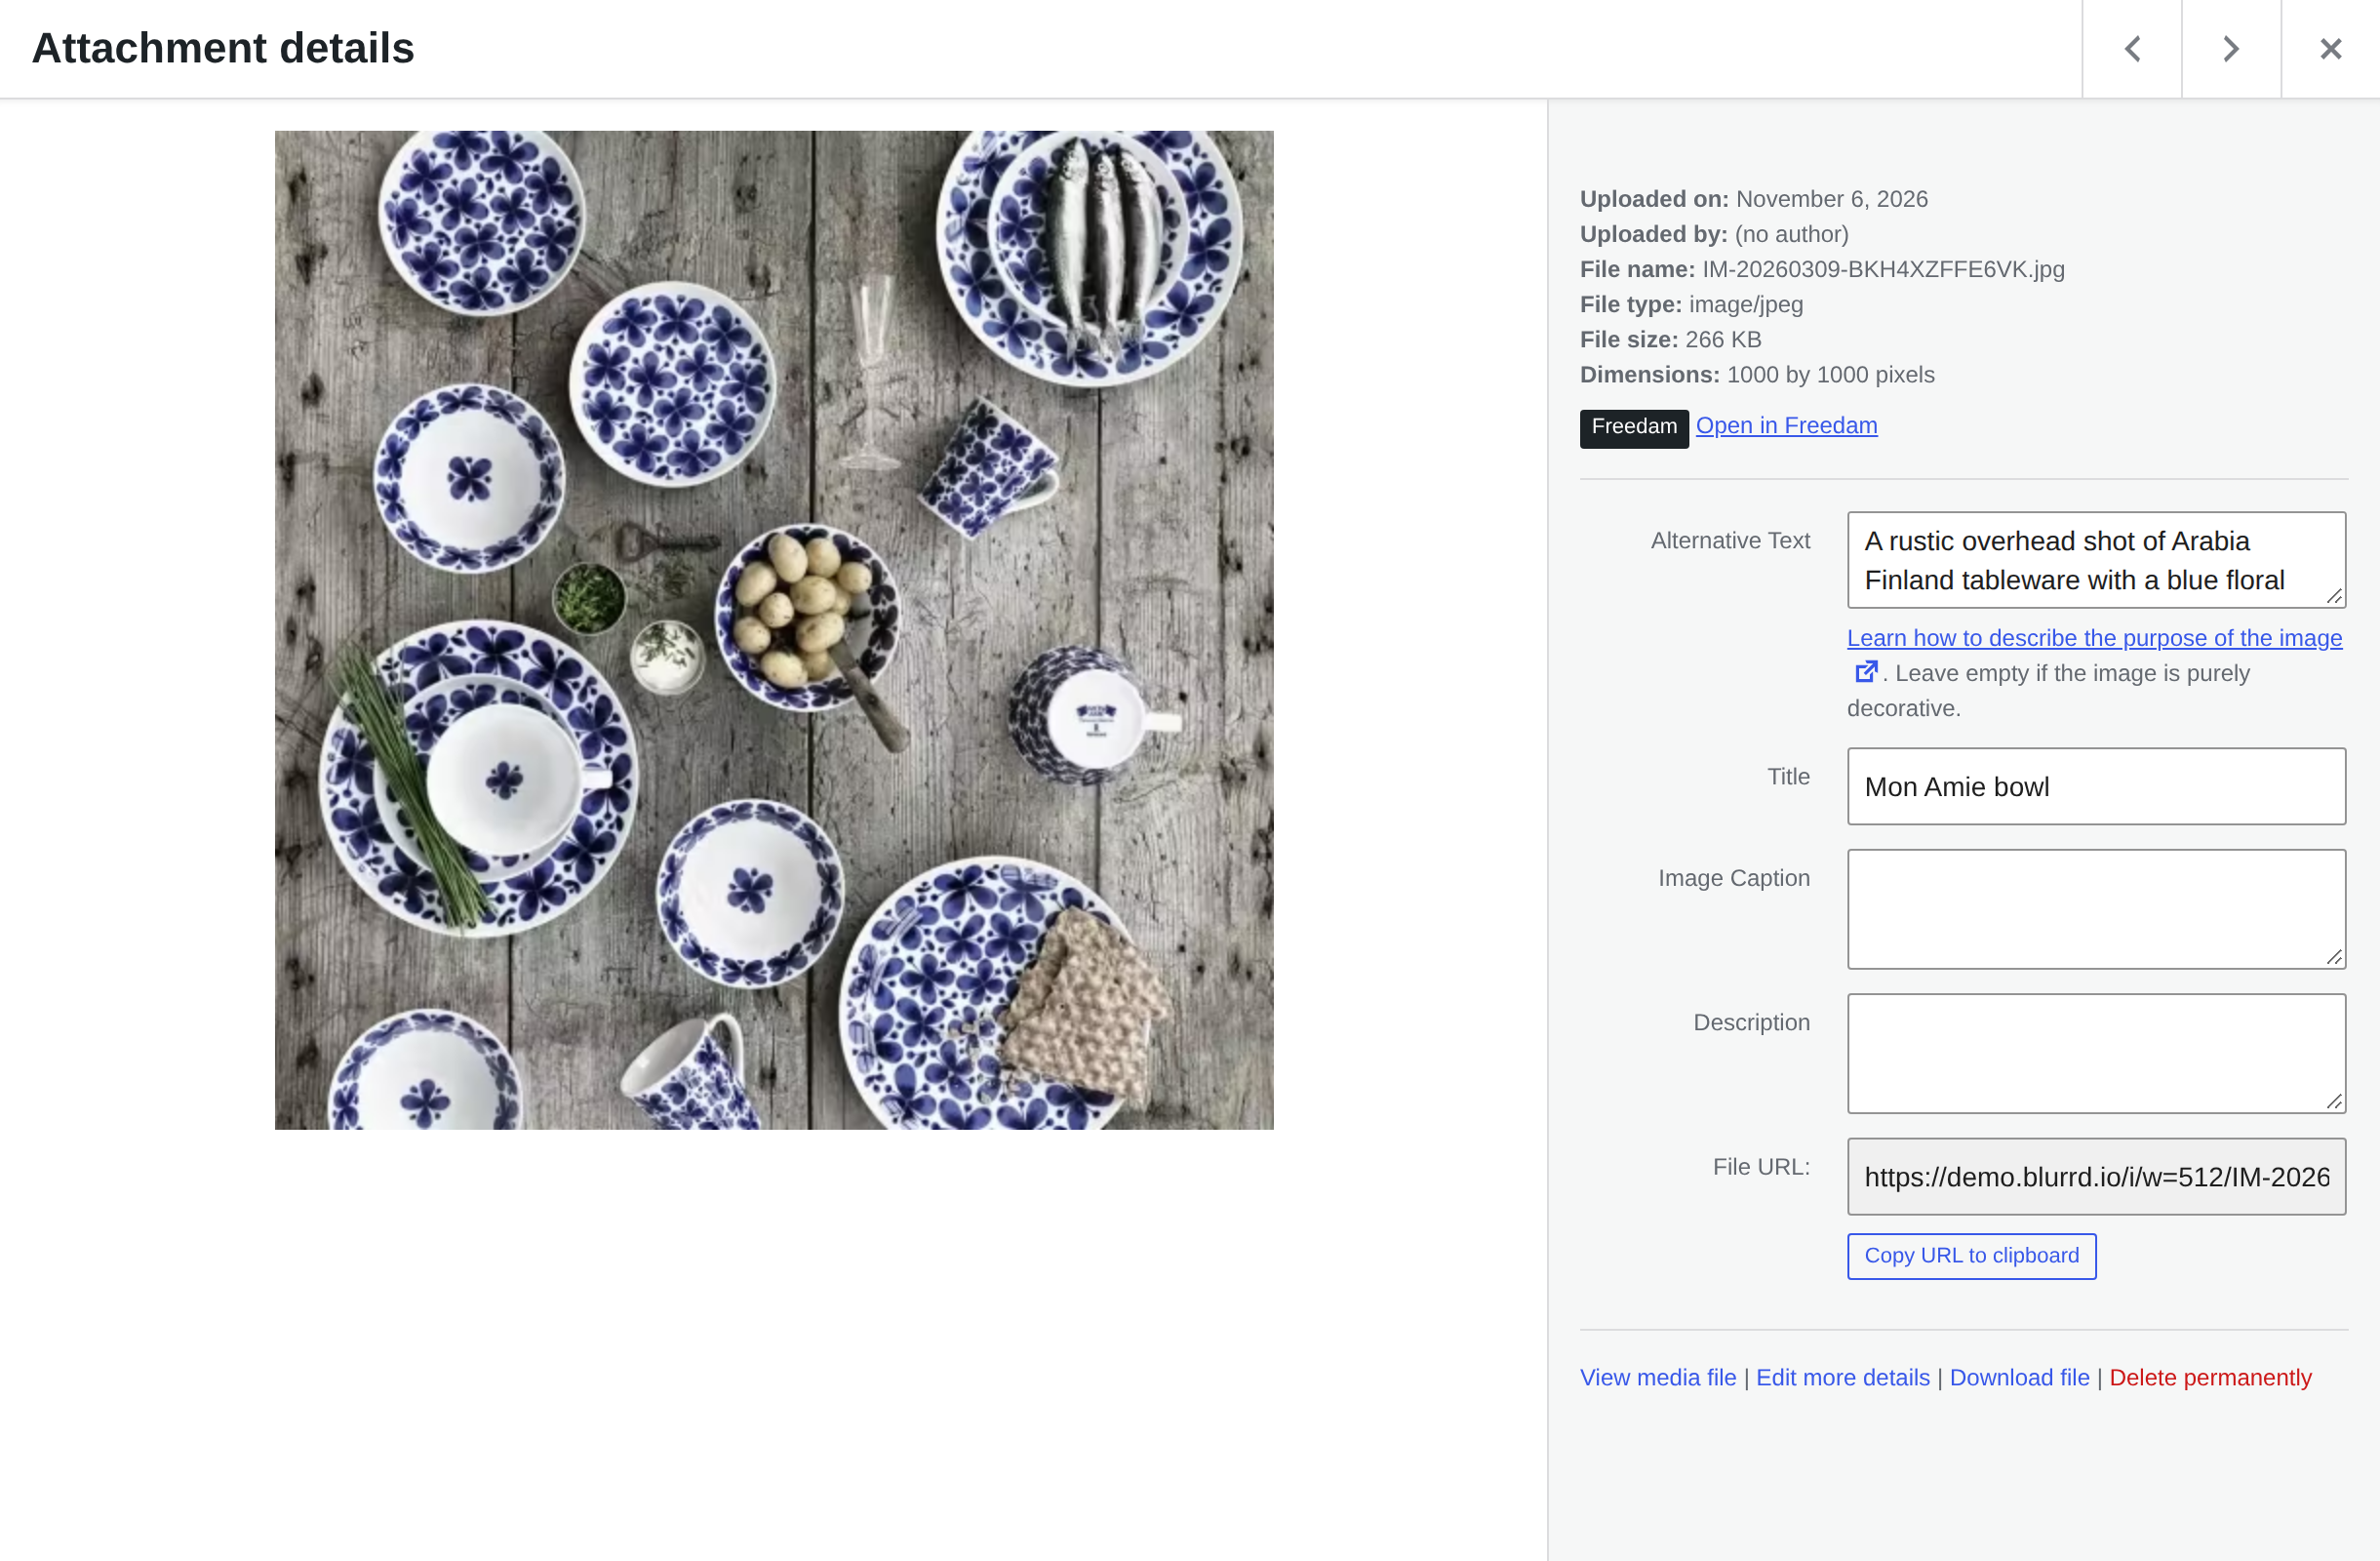
- The details of an item show the Freedam badge and Open in Freedam, which opens the asset in your workspace. Freedam items have no Edit Image button: crops come from the channel.
- Choosing an asset that is already in the media library, with the same format, updates the existing item instead of adding a second one.
Use an image in a block and as the featured image
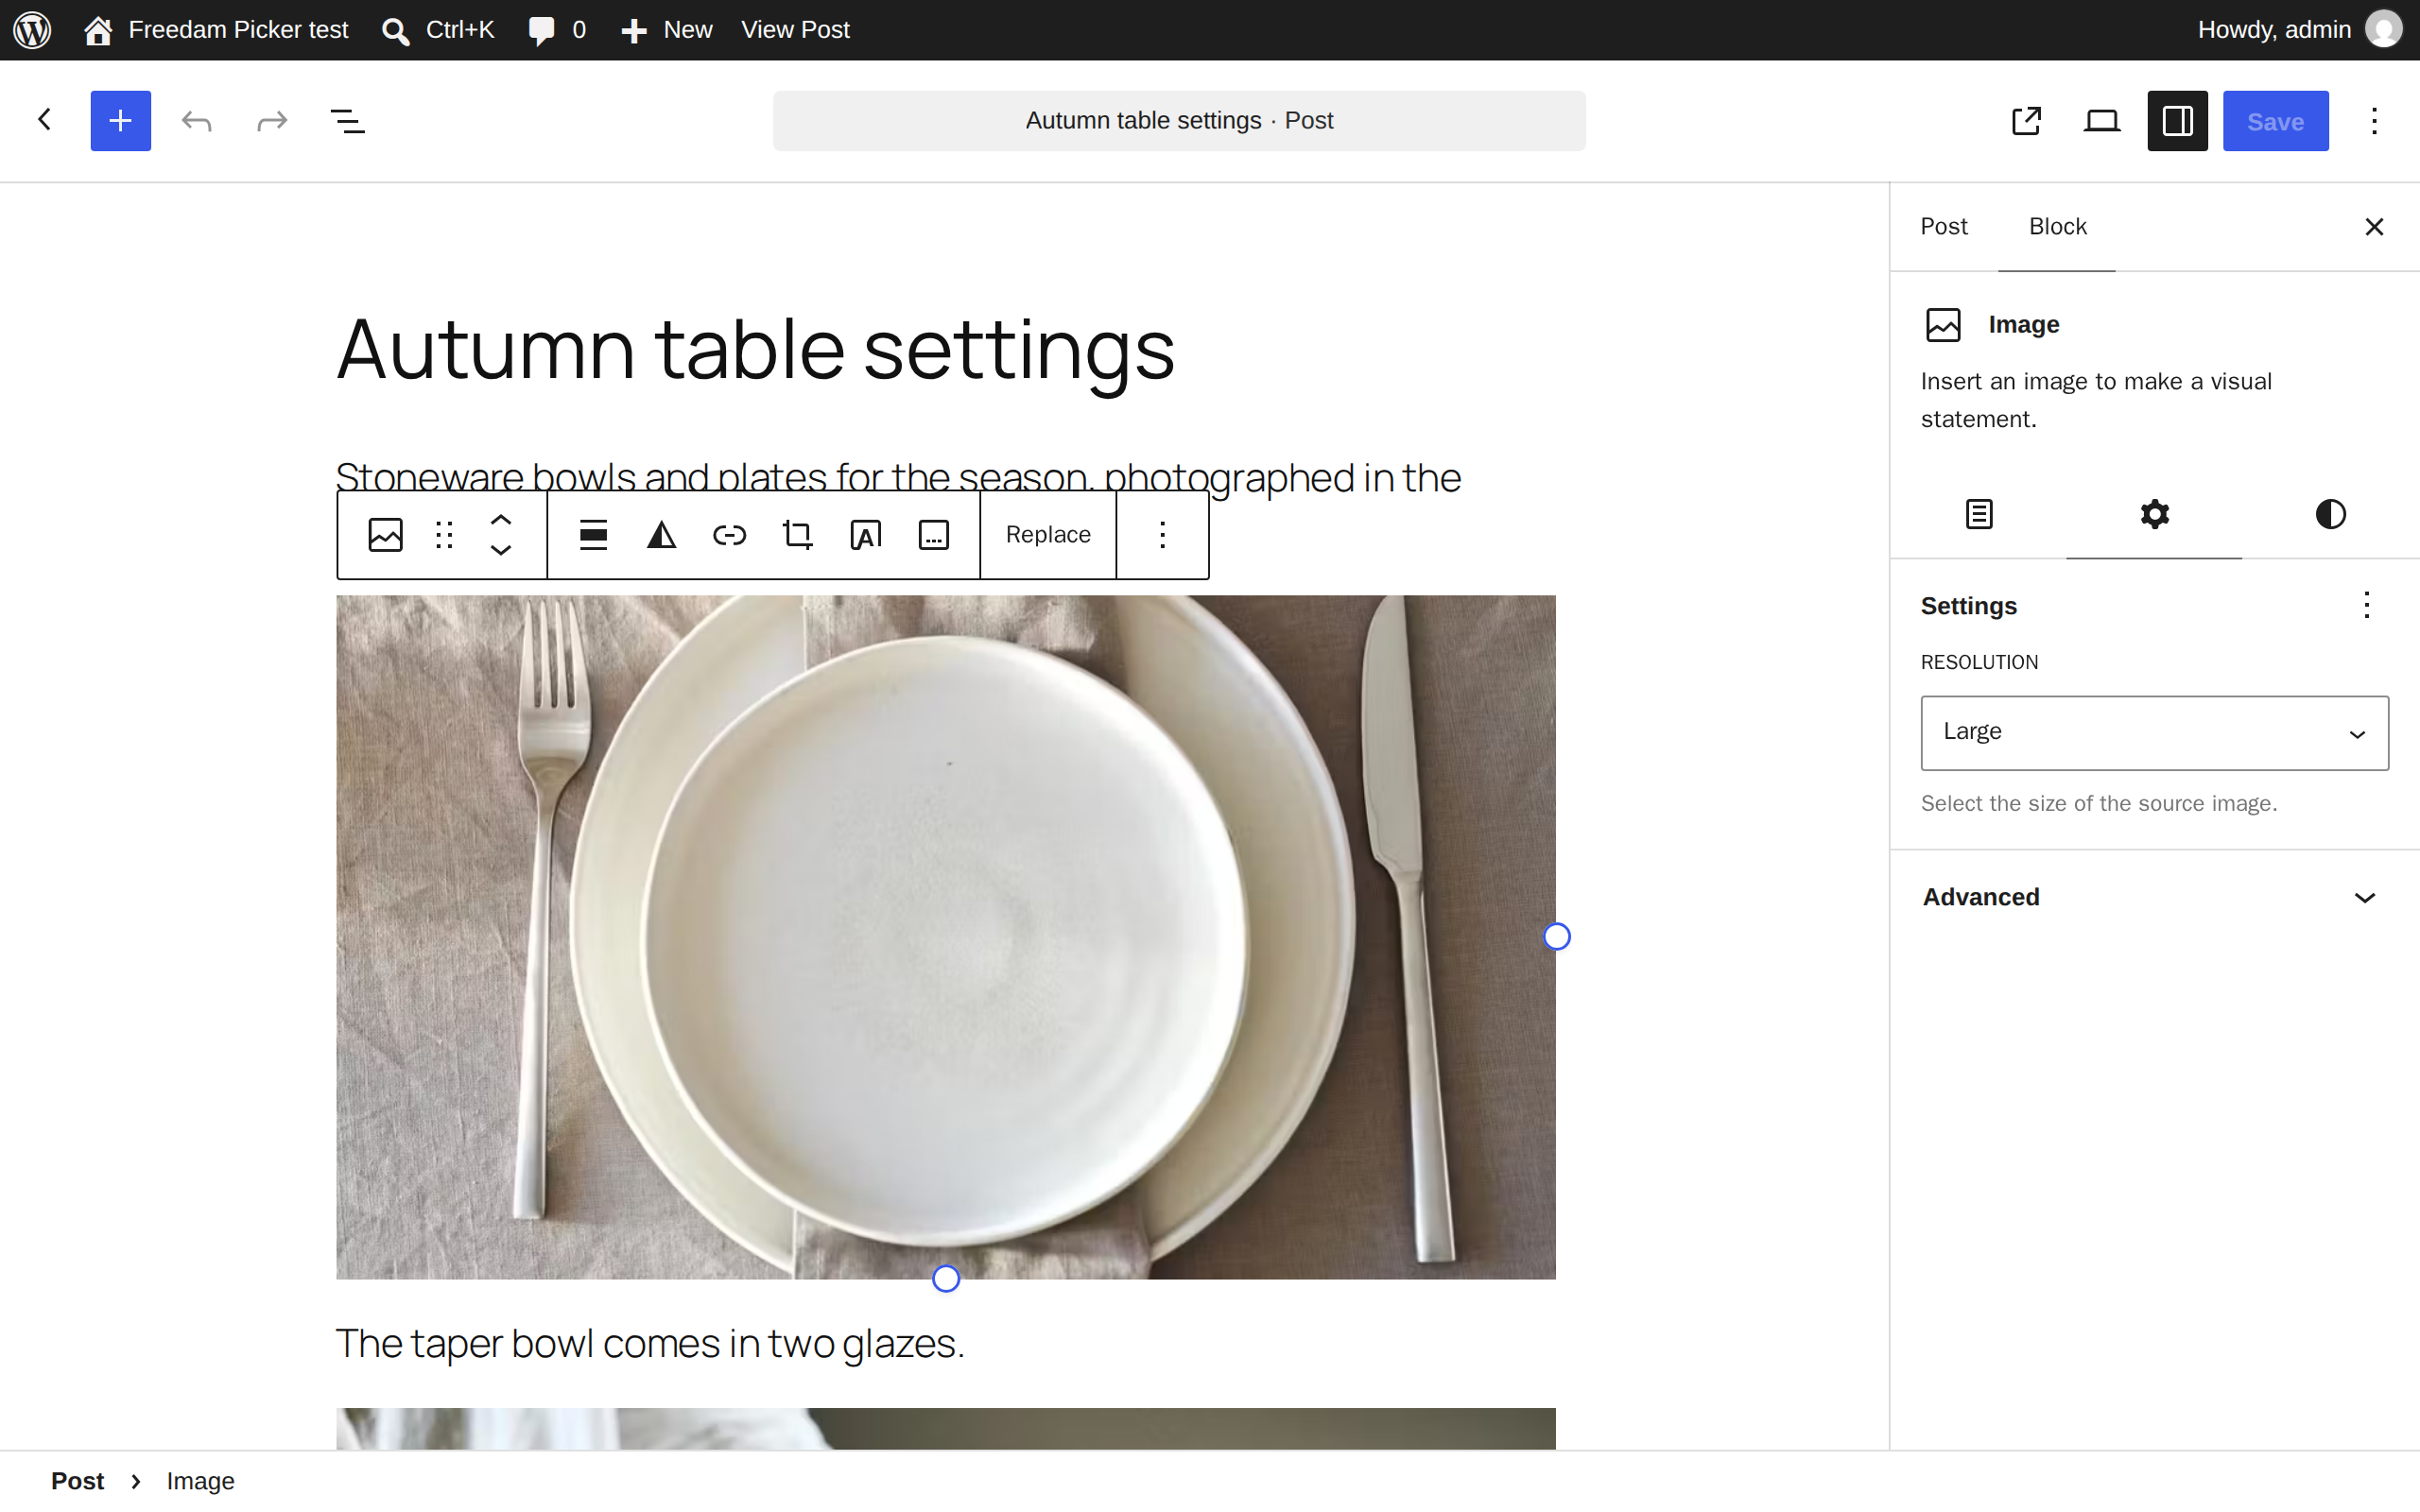
A Freedam item works in every block and field that takes media library images. In an Image block, the Resolution list of the block settings offers the image sizes and the formats of the channel; an Image block set to a fixed aspect ratio, such as 1:1, gets an image cropped to that ratio by Freedam, around the focus point.
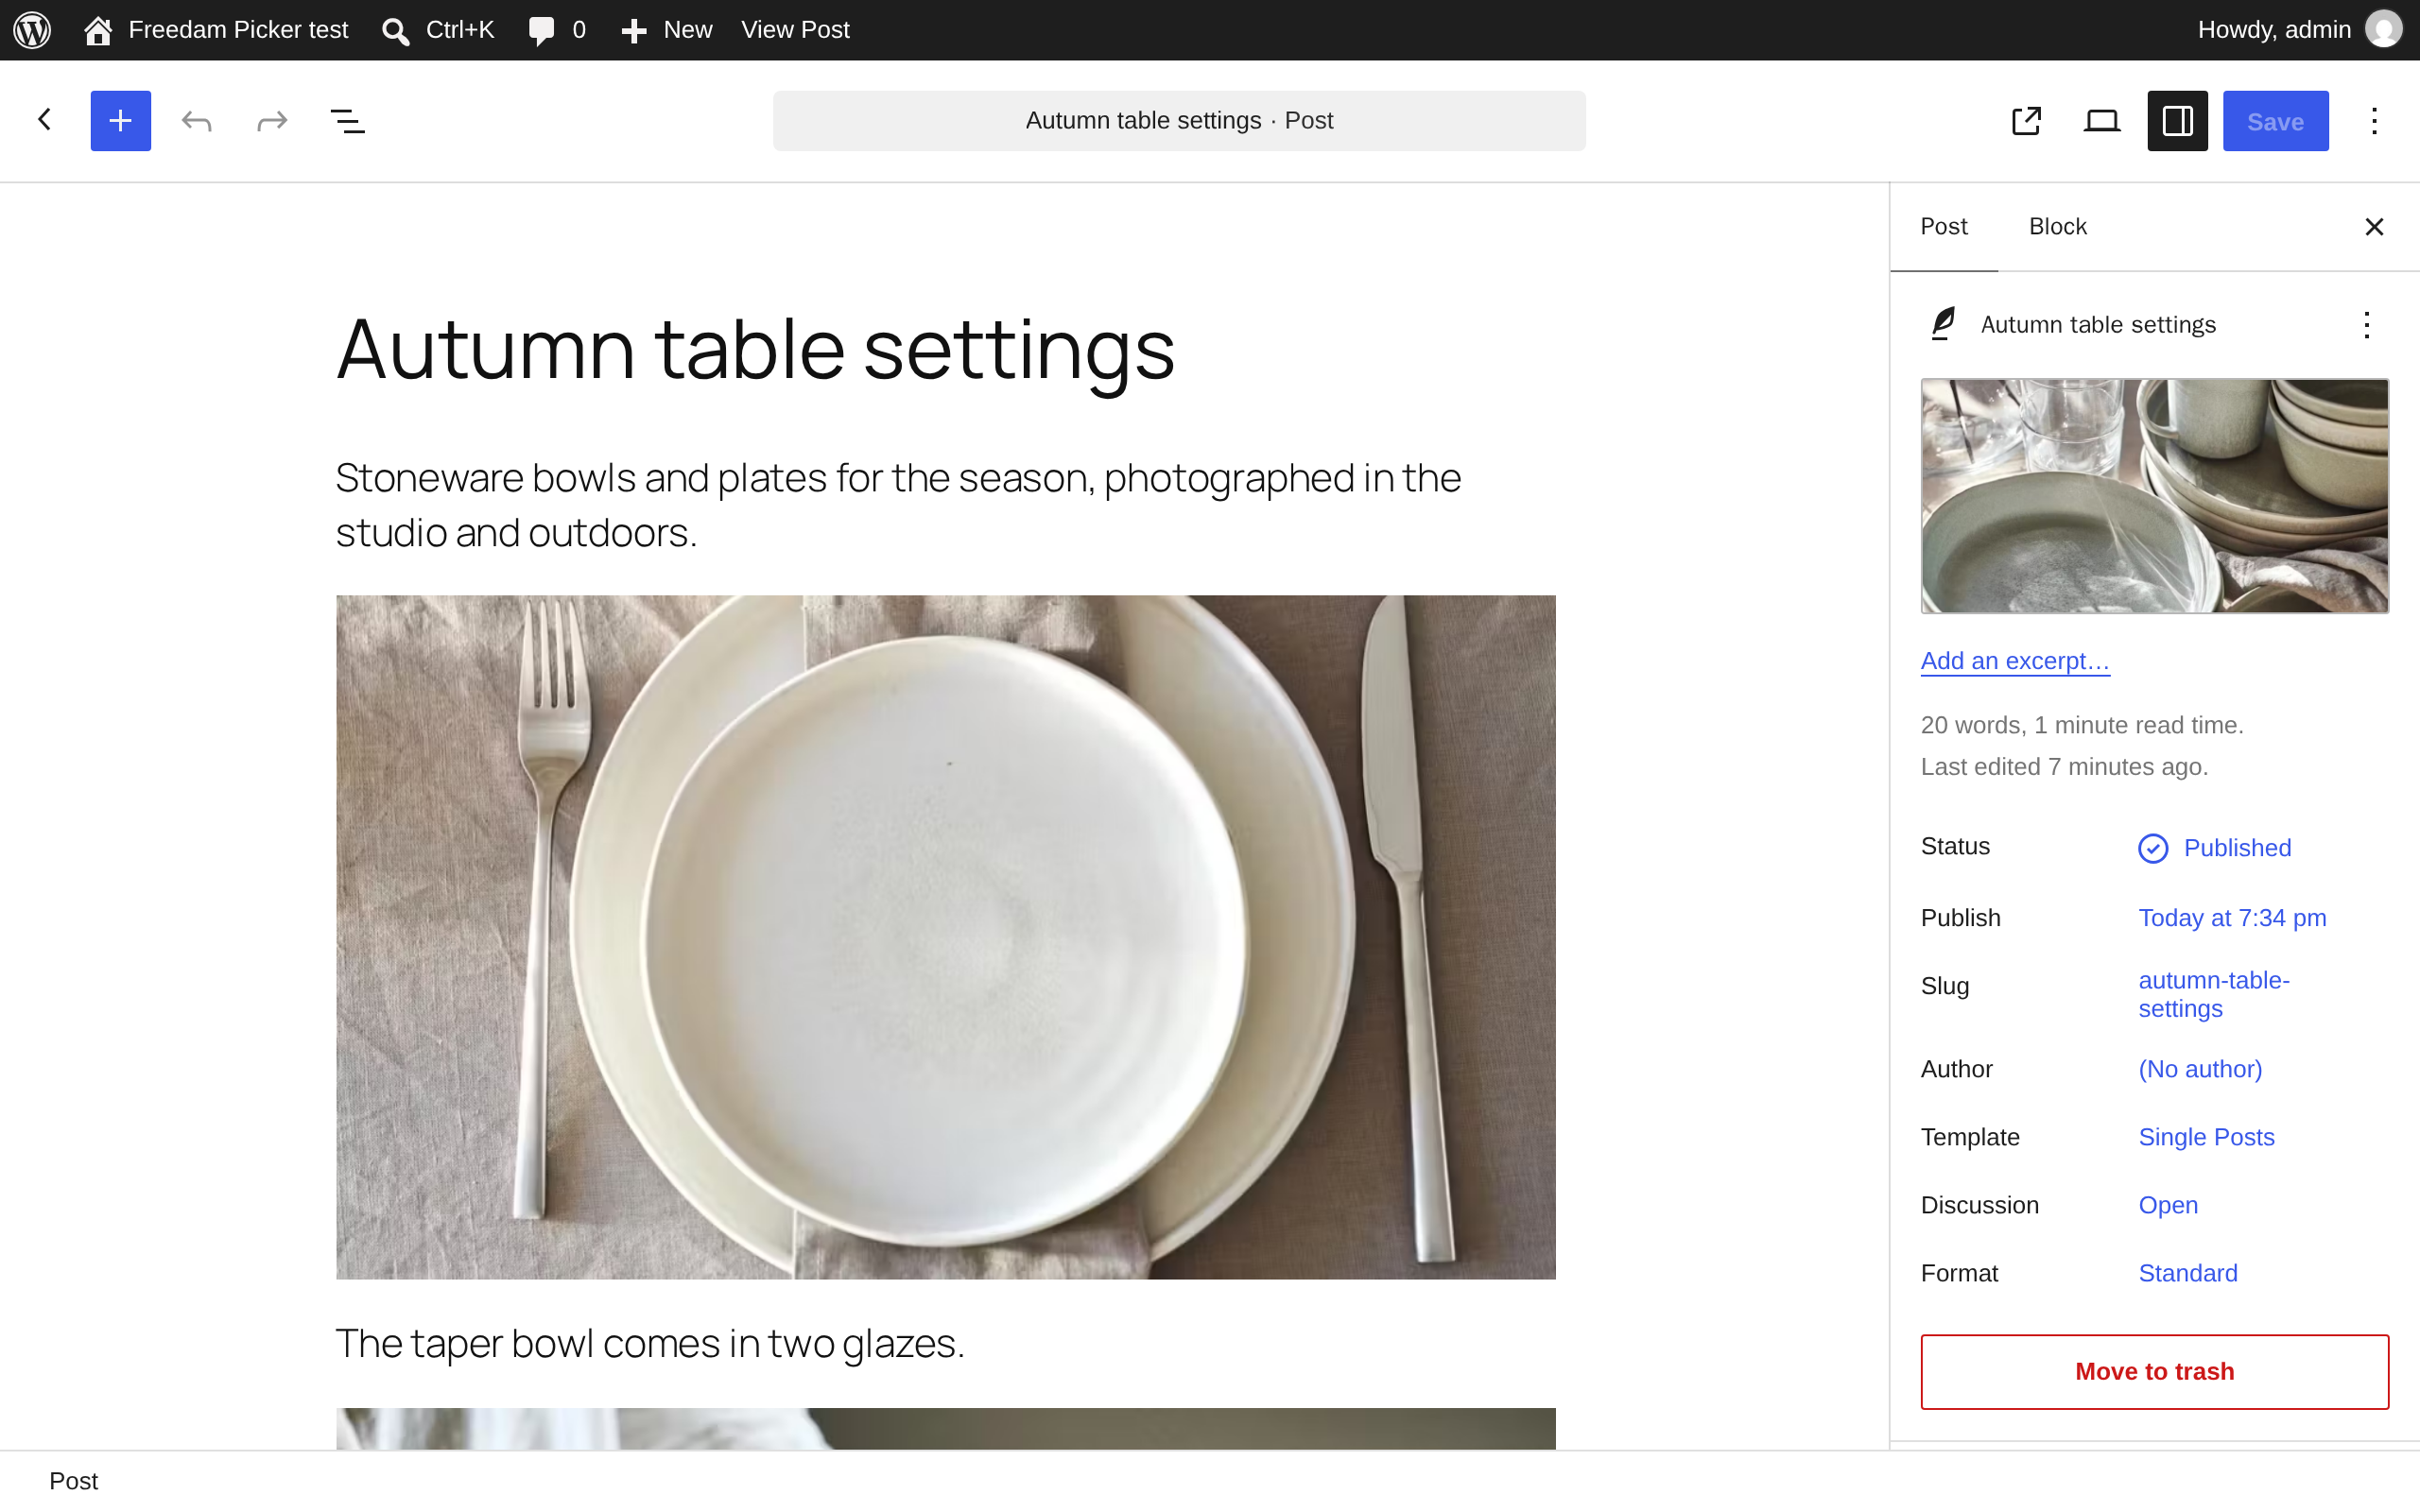
The featured image uses the same window: Set featured image, then the Freedam tab.
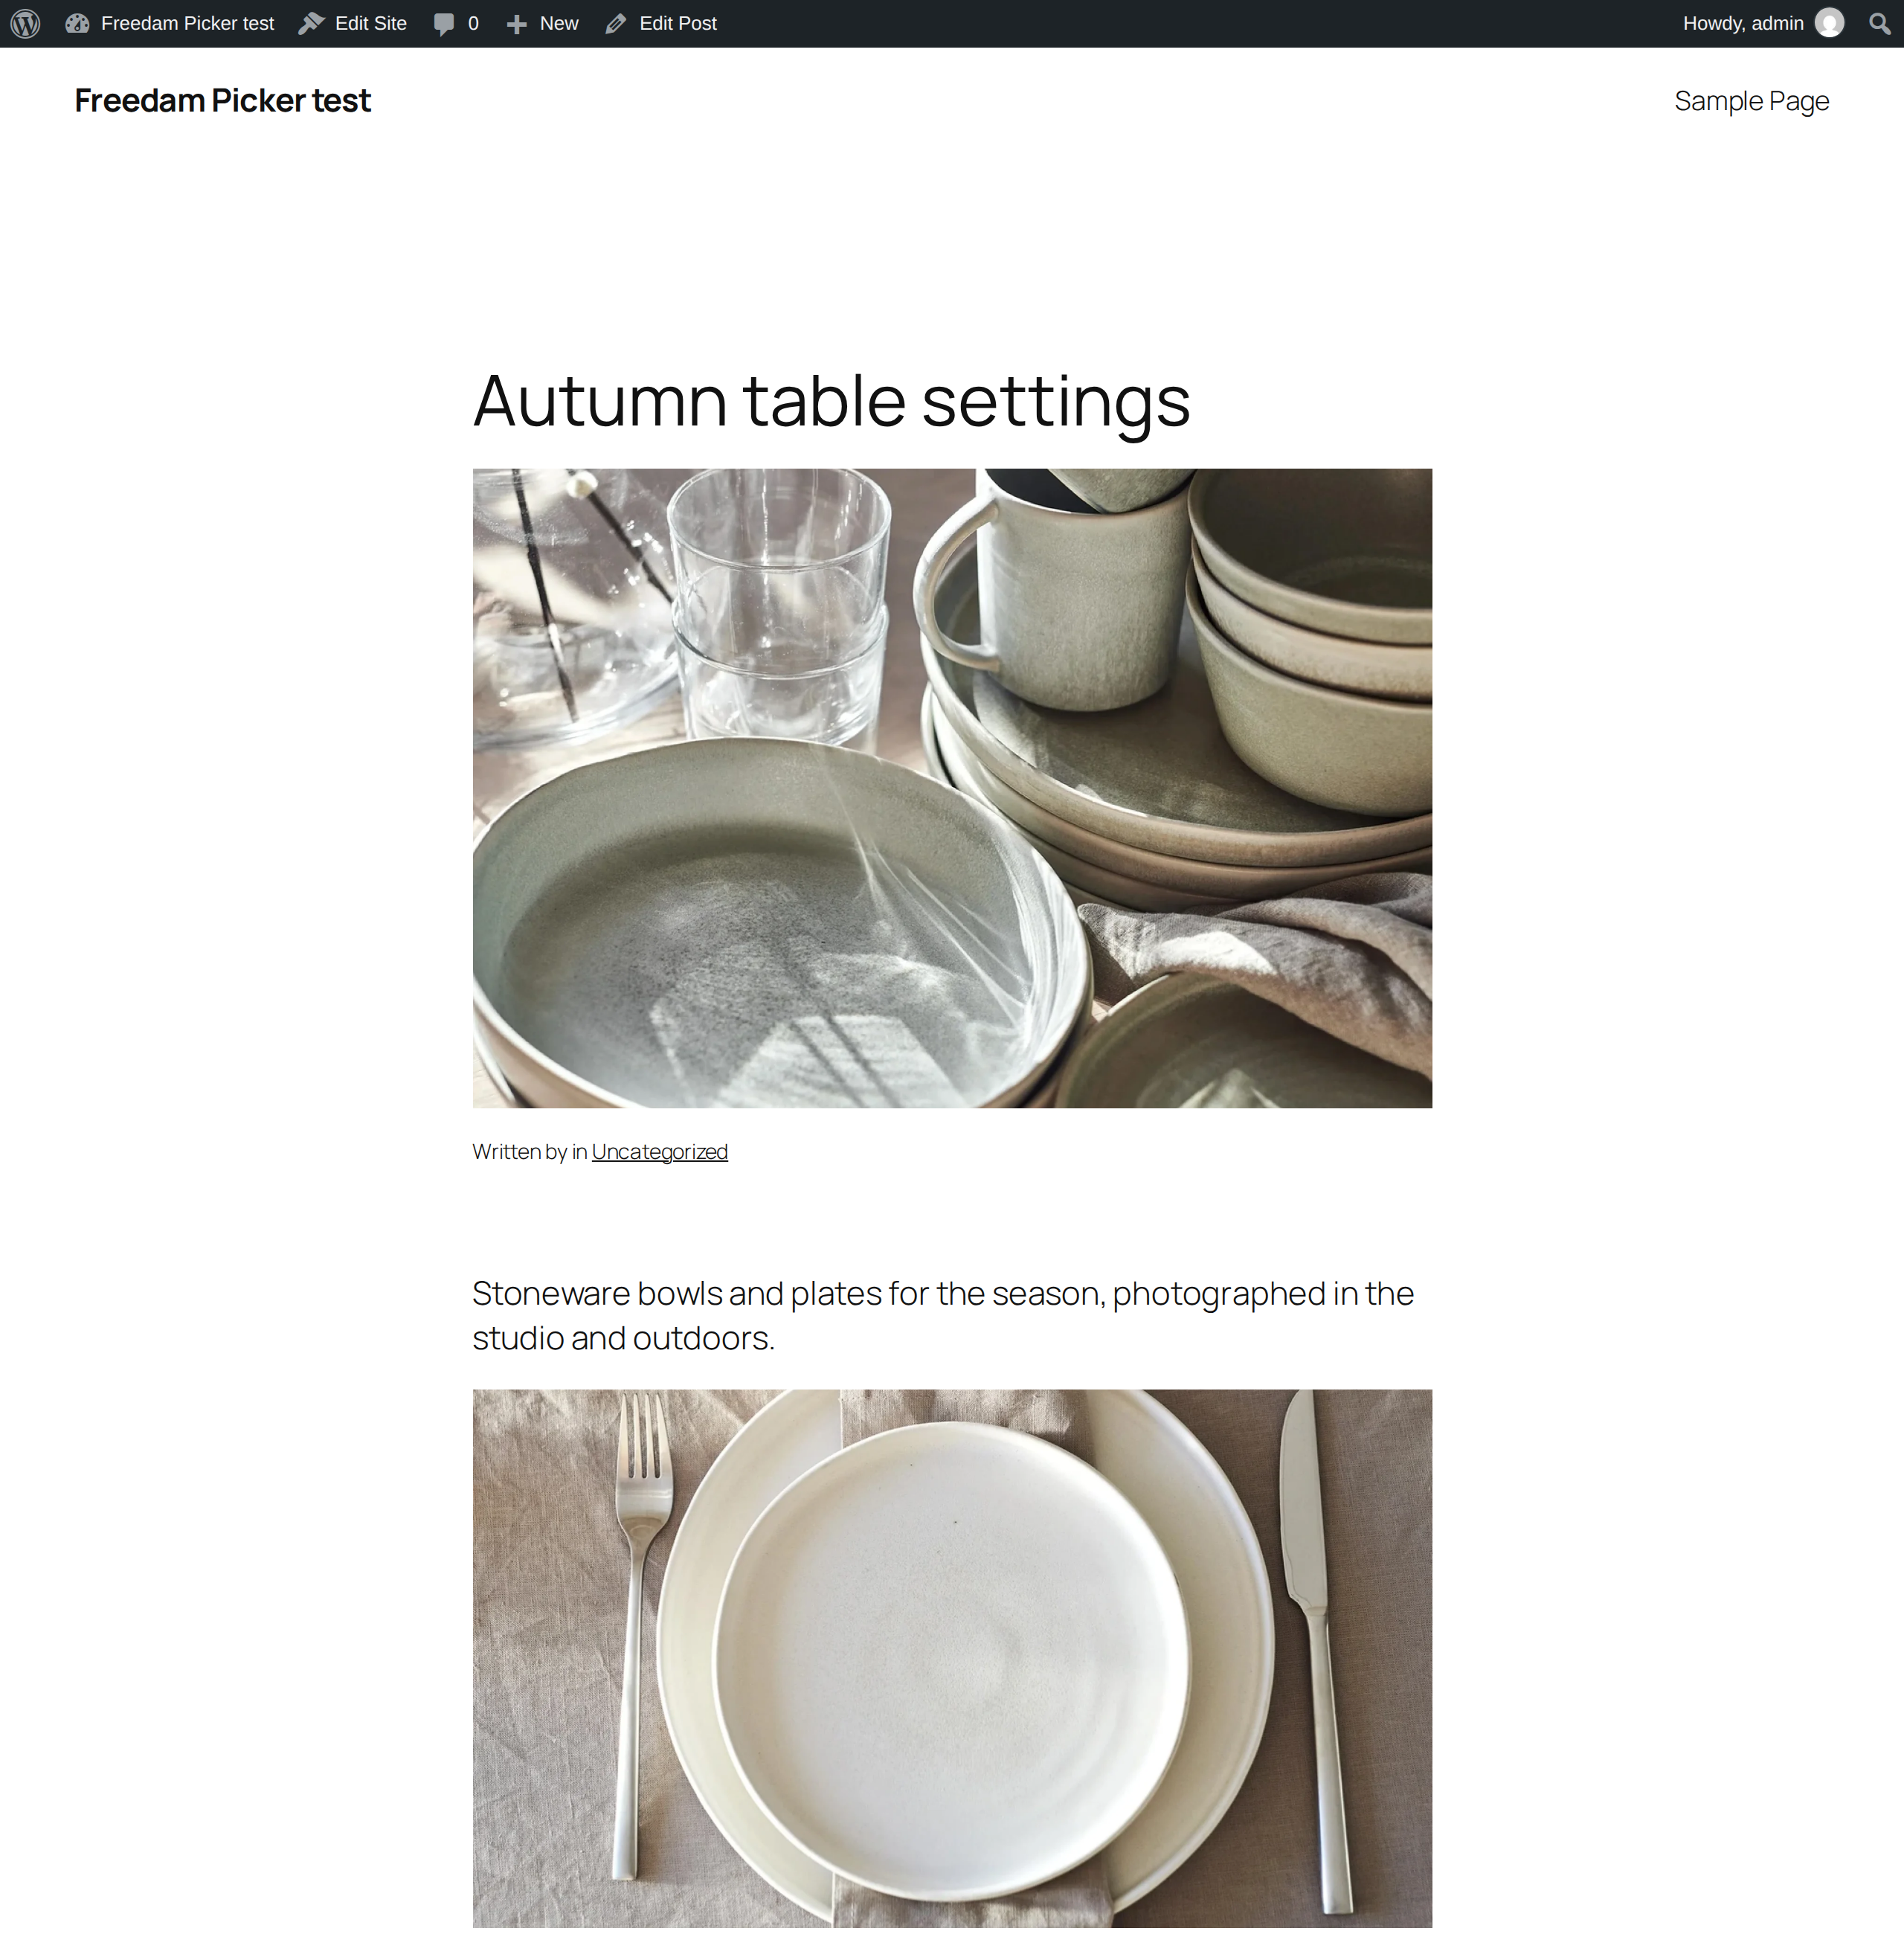
On the published page, every address of the image comes from the channel. WordPress asks for each size it needs, and Freedam crops it around the asset's focus point:
- Sizes and srcset: thumbnails, the sizes of the theme and the
srcsetof each image use the widths of the channel, up to the width of the original. Browsers download the size they display, in AVIF or WebP when they support them. - Documents: the File block links to the file chosen in the picker, the original or its PDF version, and the media library shows the first page as a thumbnail.
The plugin builds the image tags when a page is displayed. Posts keep no copy of the addresses, so a change of the channel's widths or formats applies to existing posts.
Use a video or a document
The Freedam video or document block shows what the media library cannot:
- a video, in the player of the channel, with the playback settings chosen in the picker (autoplay, sound, loop, controls, start time, subtitles);
- a document, as a link with its extension and size, as a thumbnail of its first page, or in the viewer of the channel.
Add the block from the block inserter, then click Open Freedam. Choosing several assets adds one block per asset.
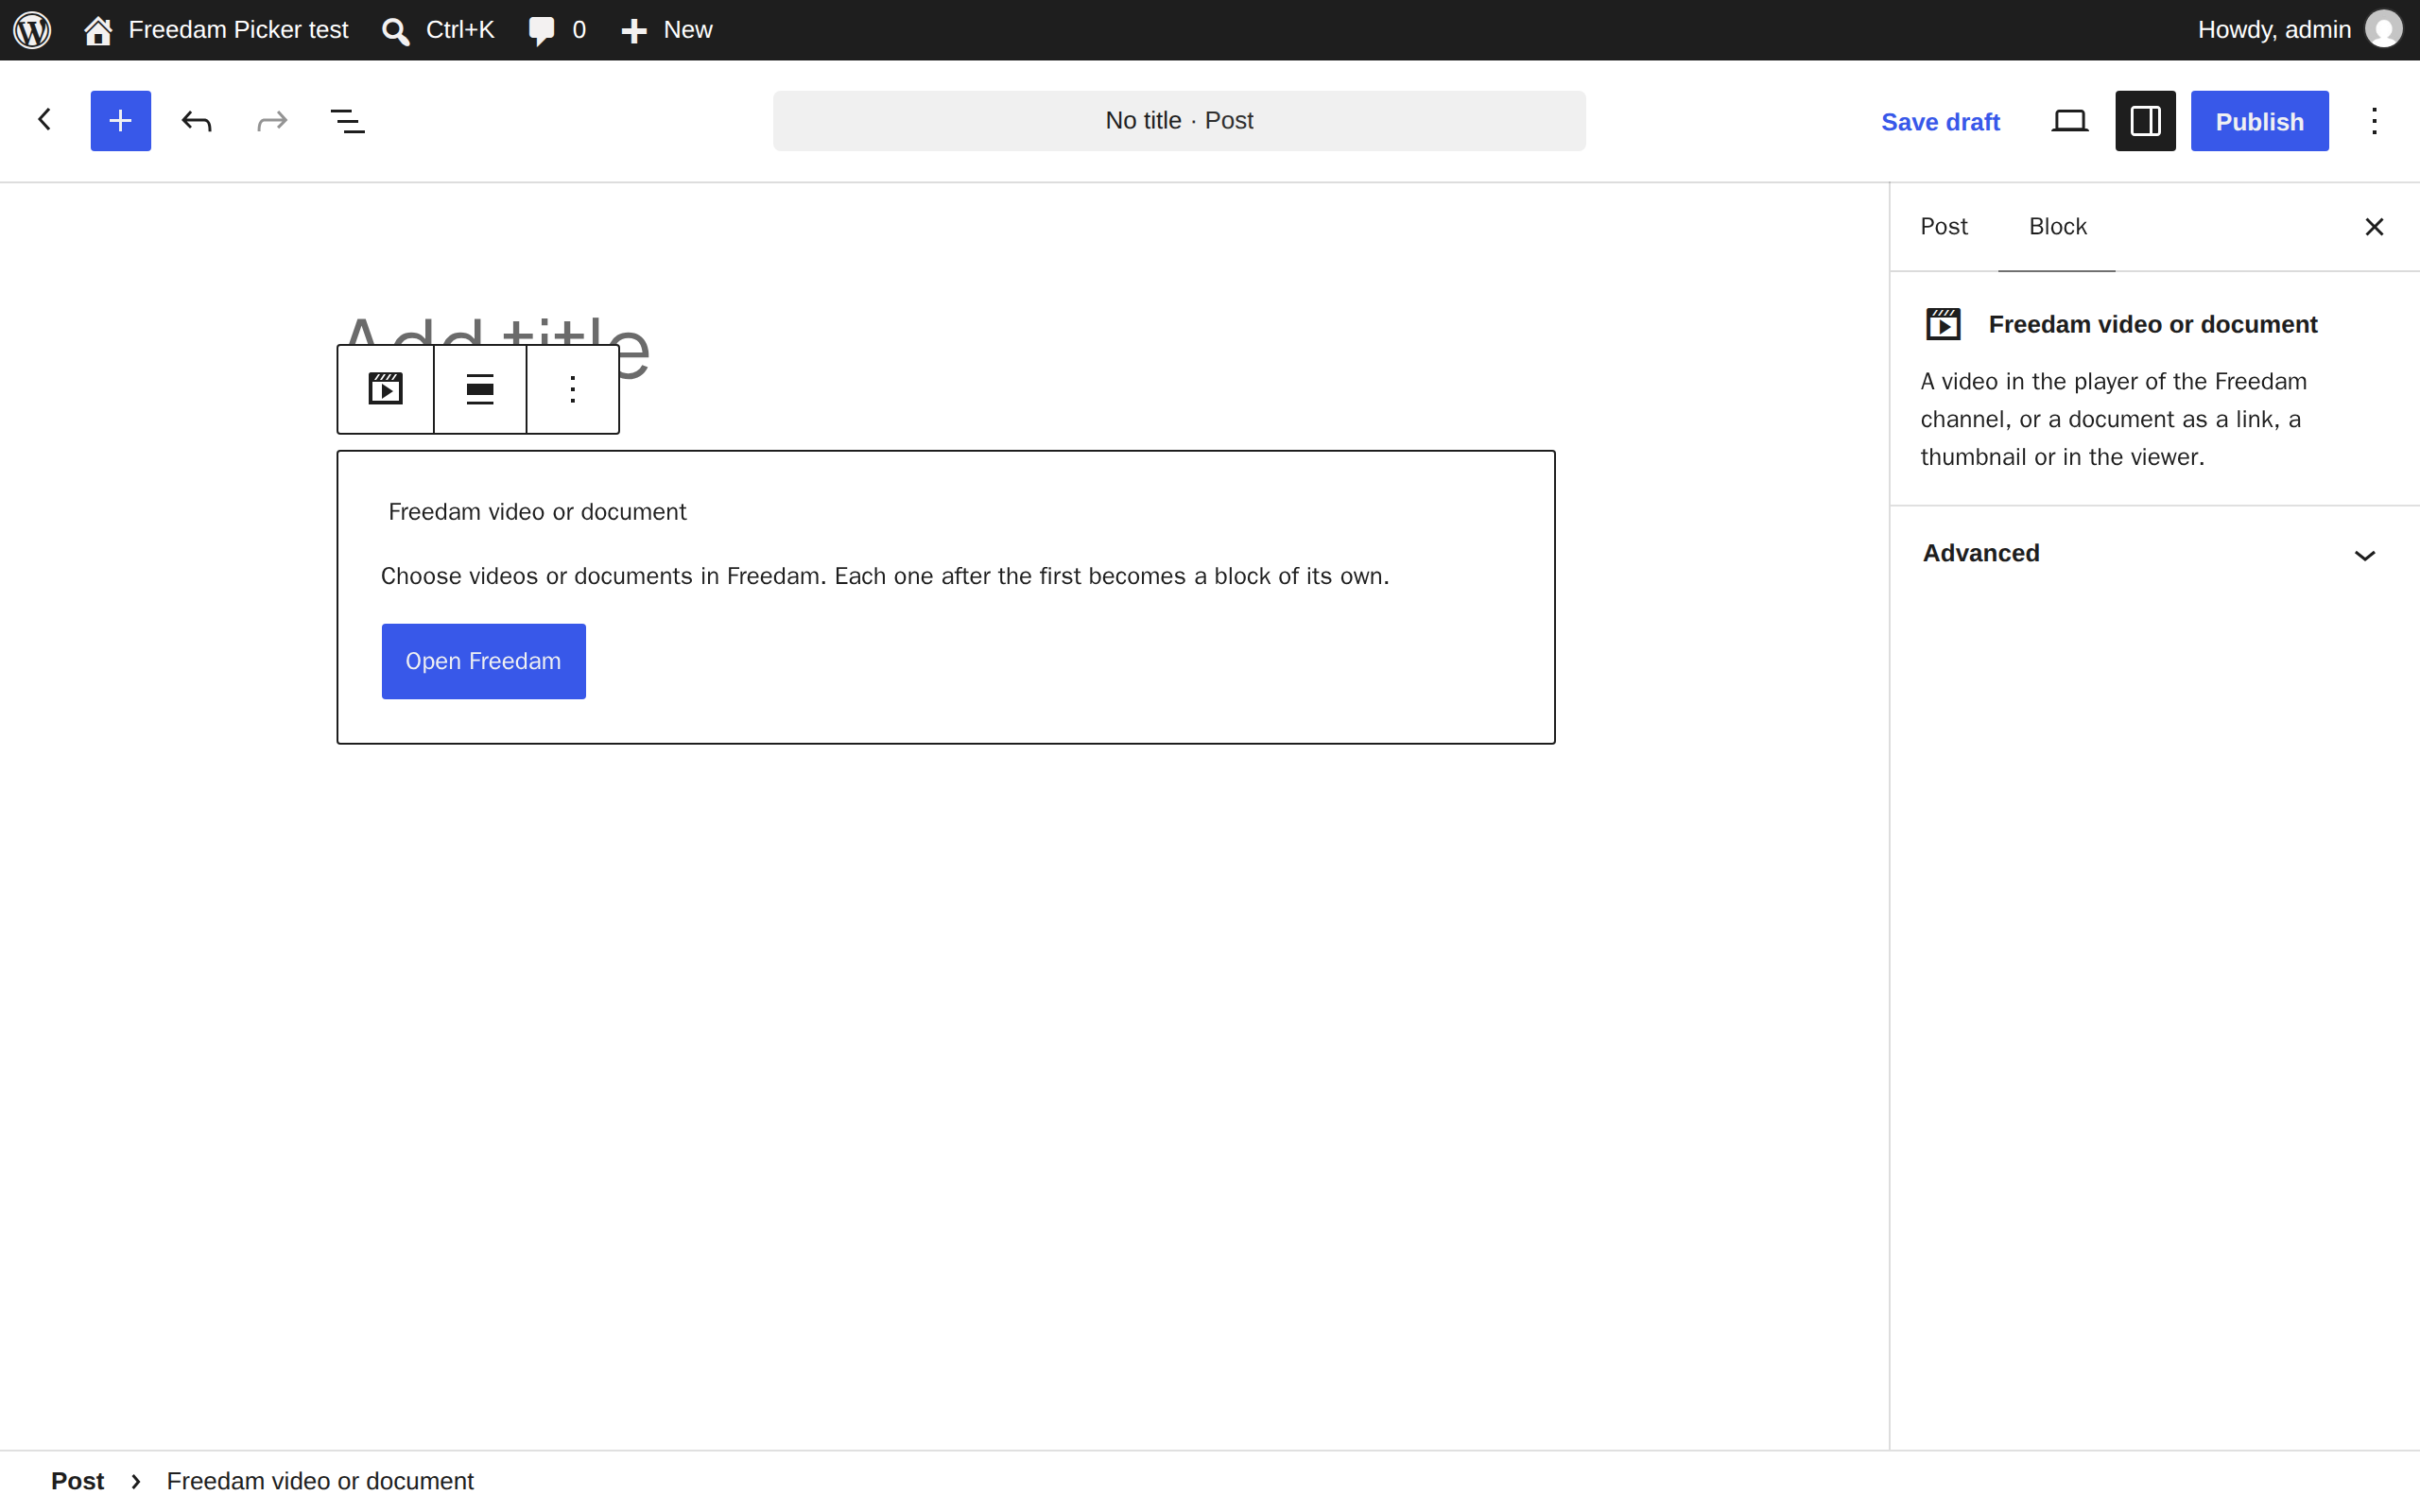
The block shows the video or the document in the editor as visitors will see it. In the block settings, choose the Form of a document (link, thumbnail or viewer), the width (Full width or Width in pixels) and Show credit. Replace chooses another asset.
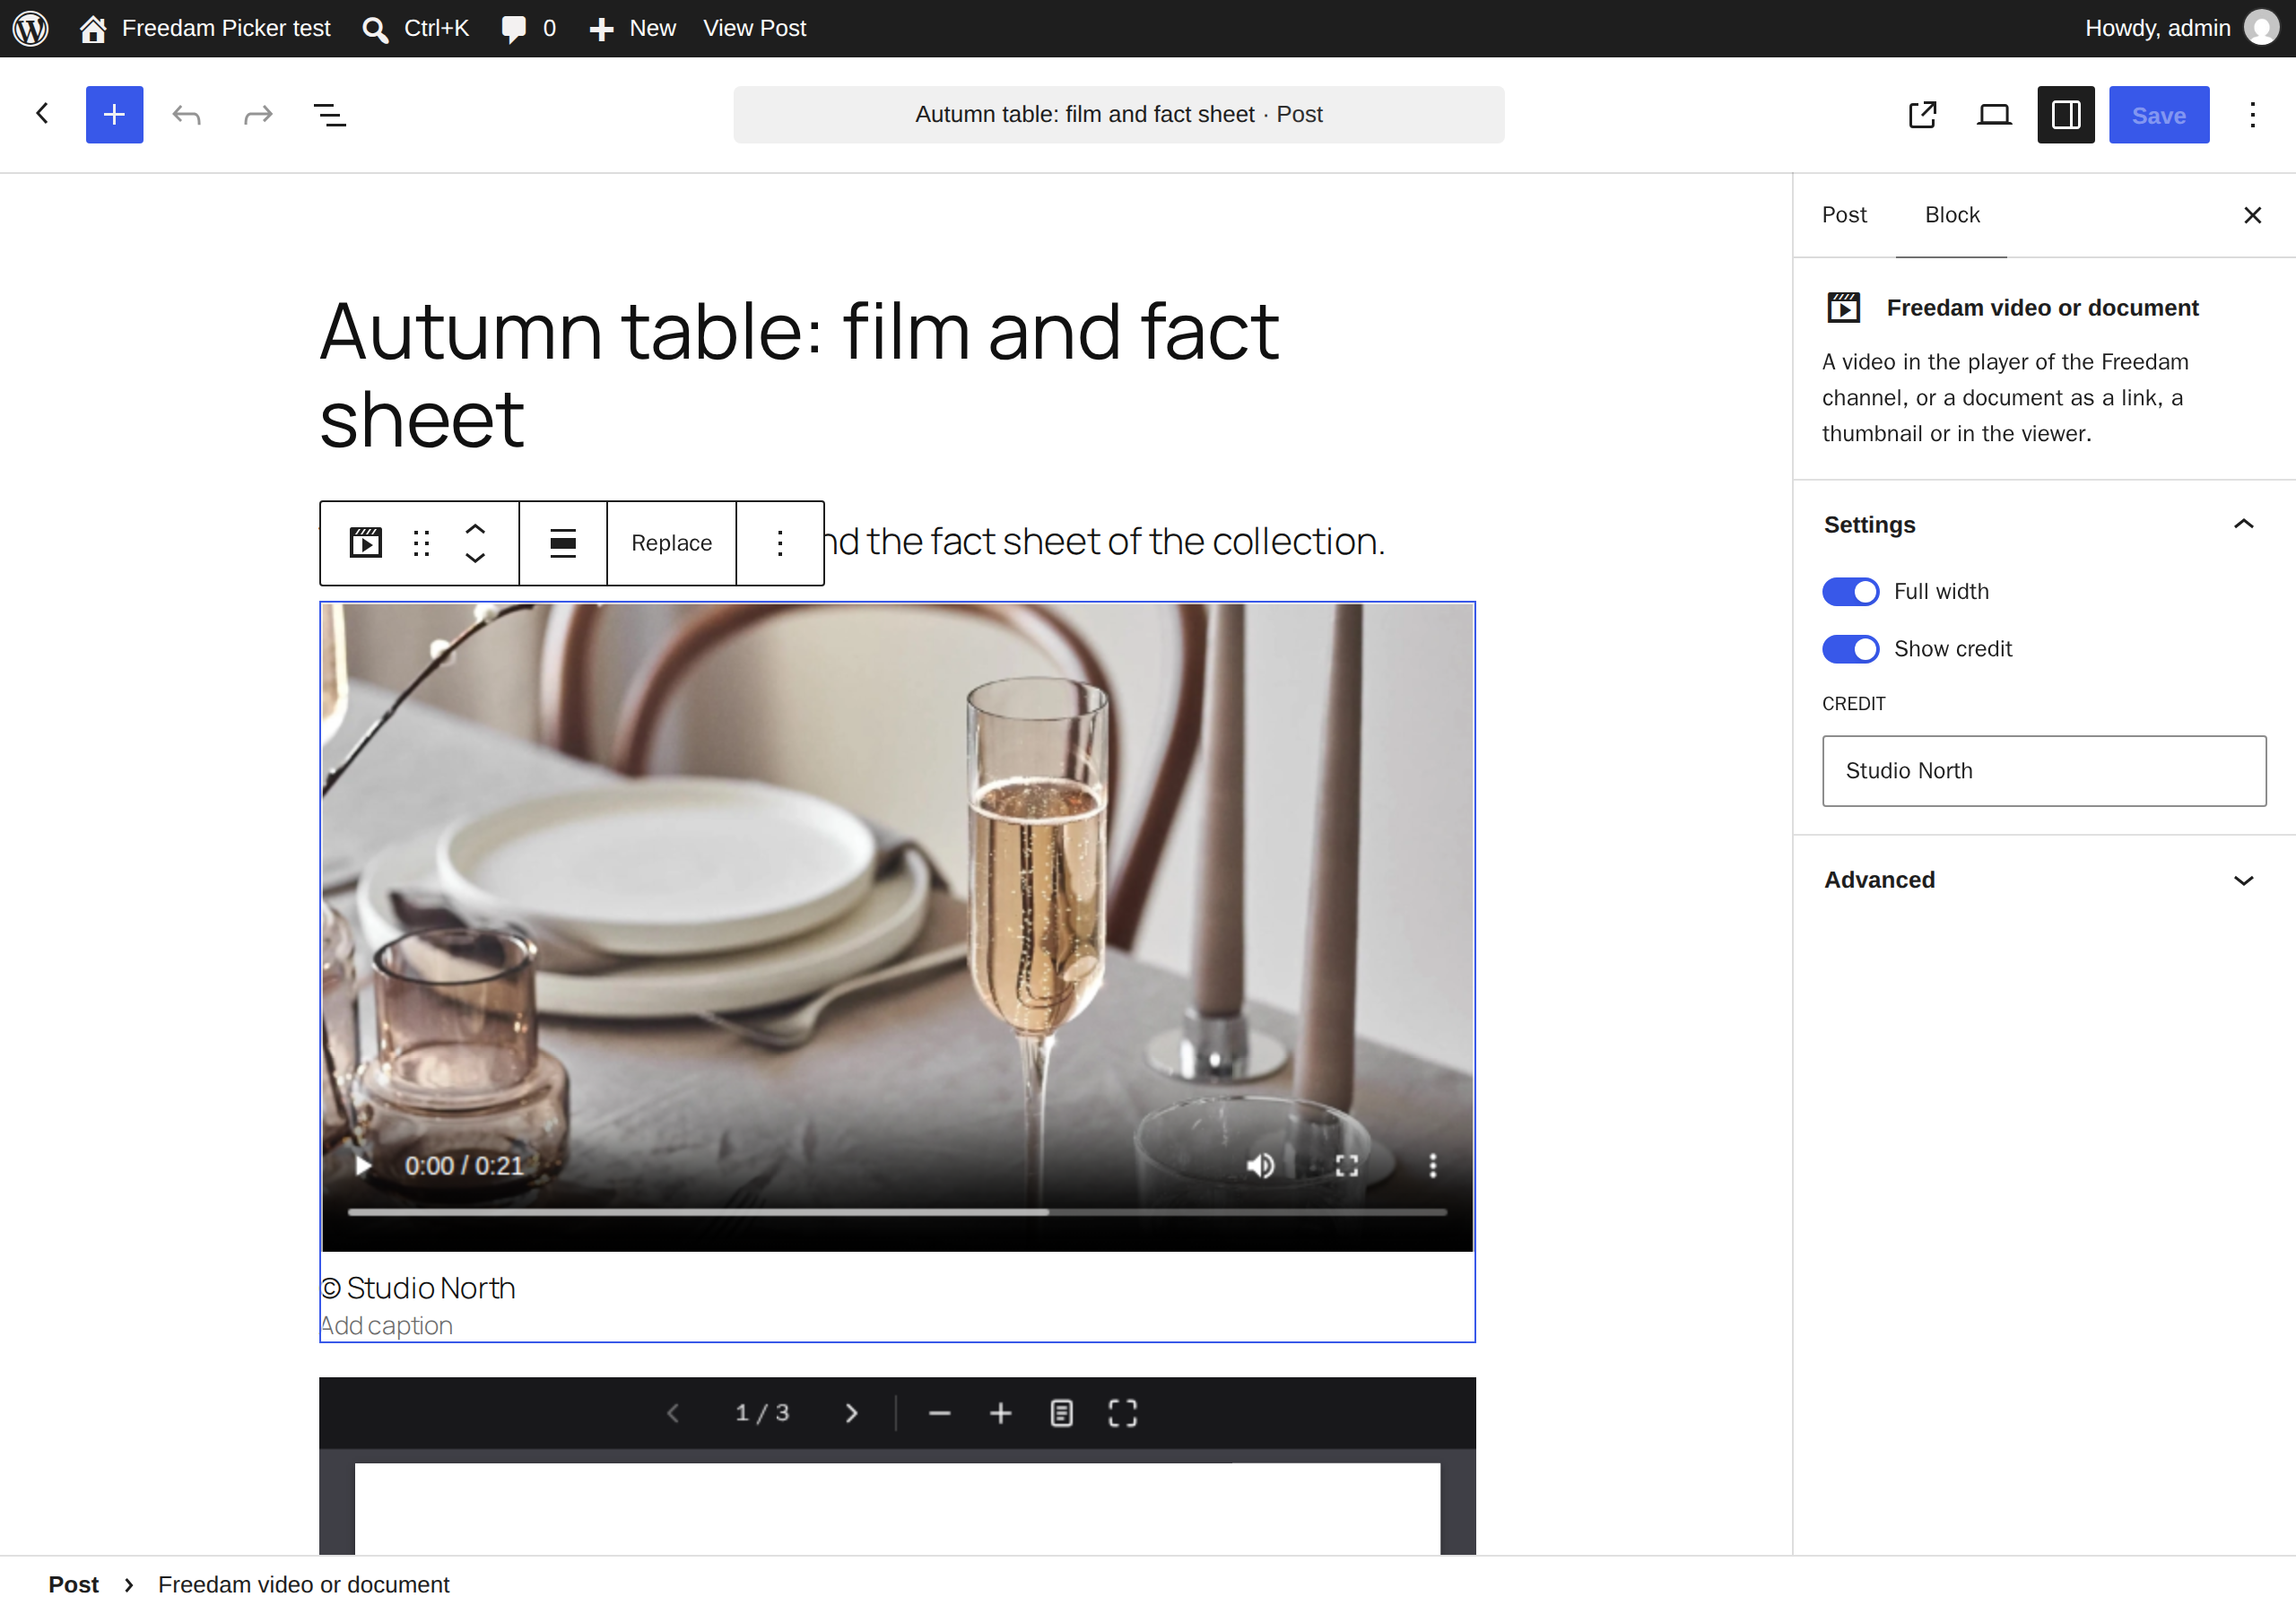
The player and the viewer show only on a site listed in the channel's Sites allowed to embed the video player (Step 1).
See what happens when an asset is no longer available
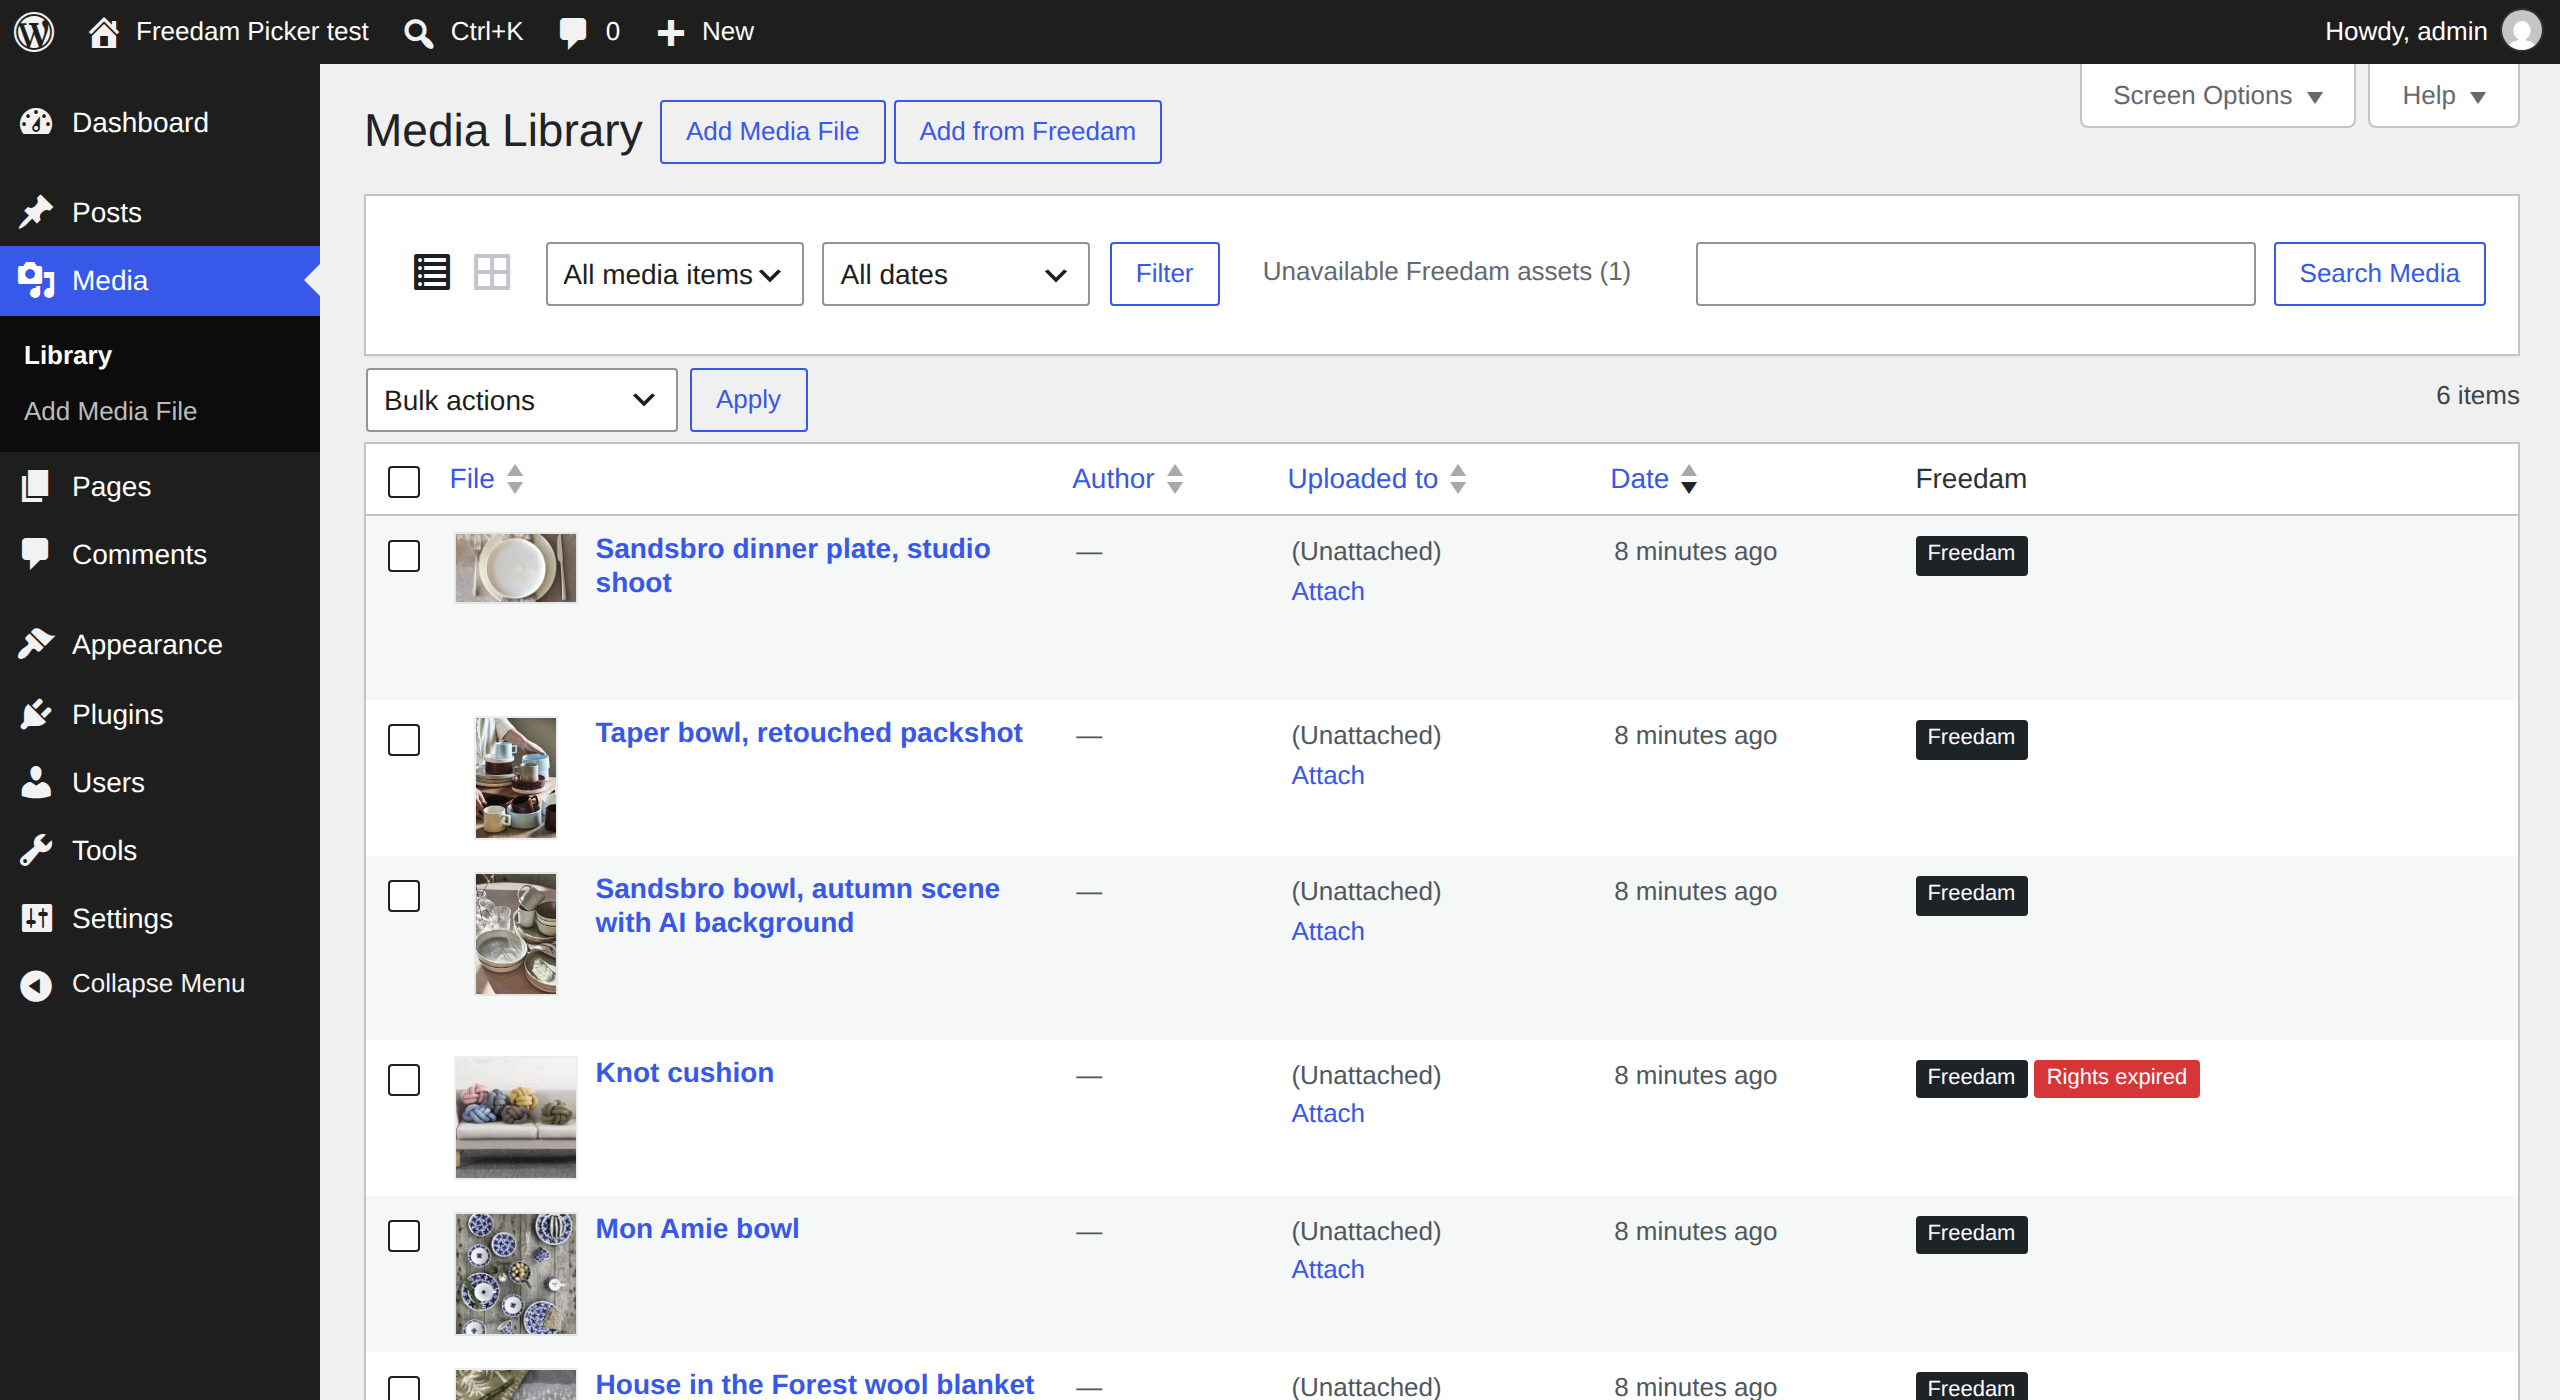
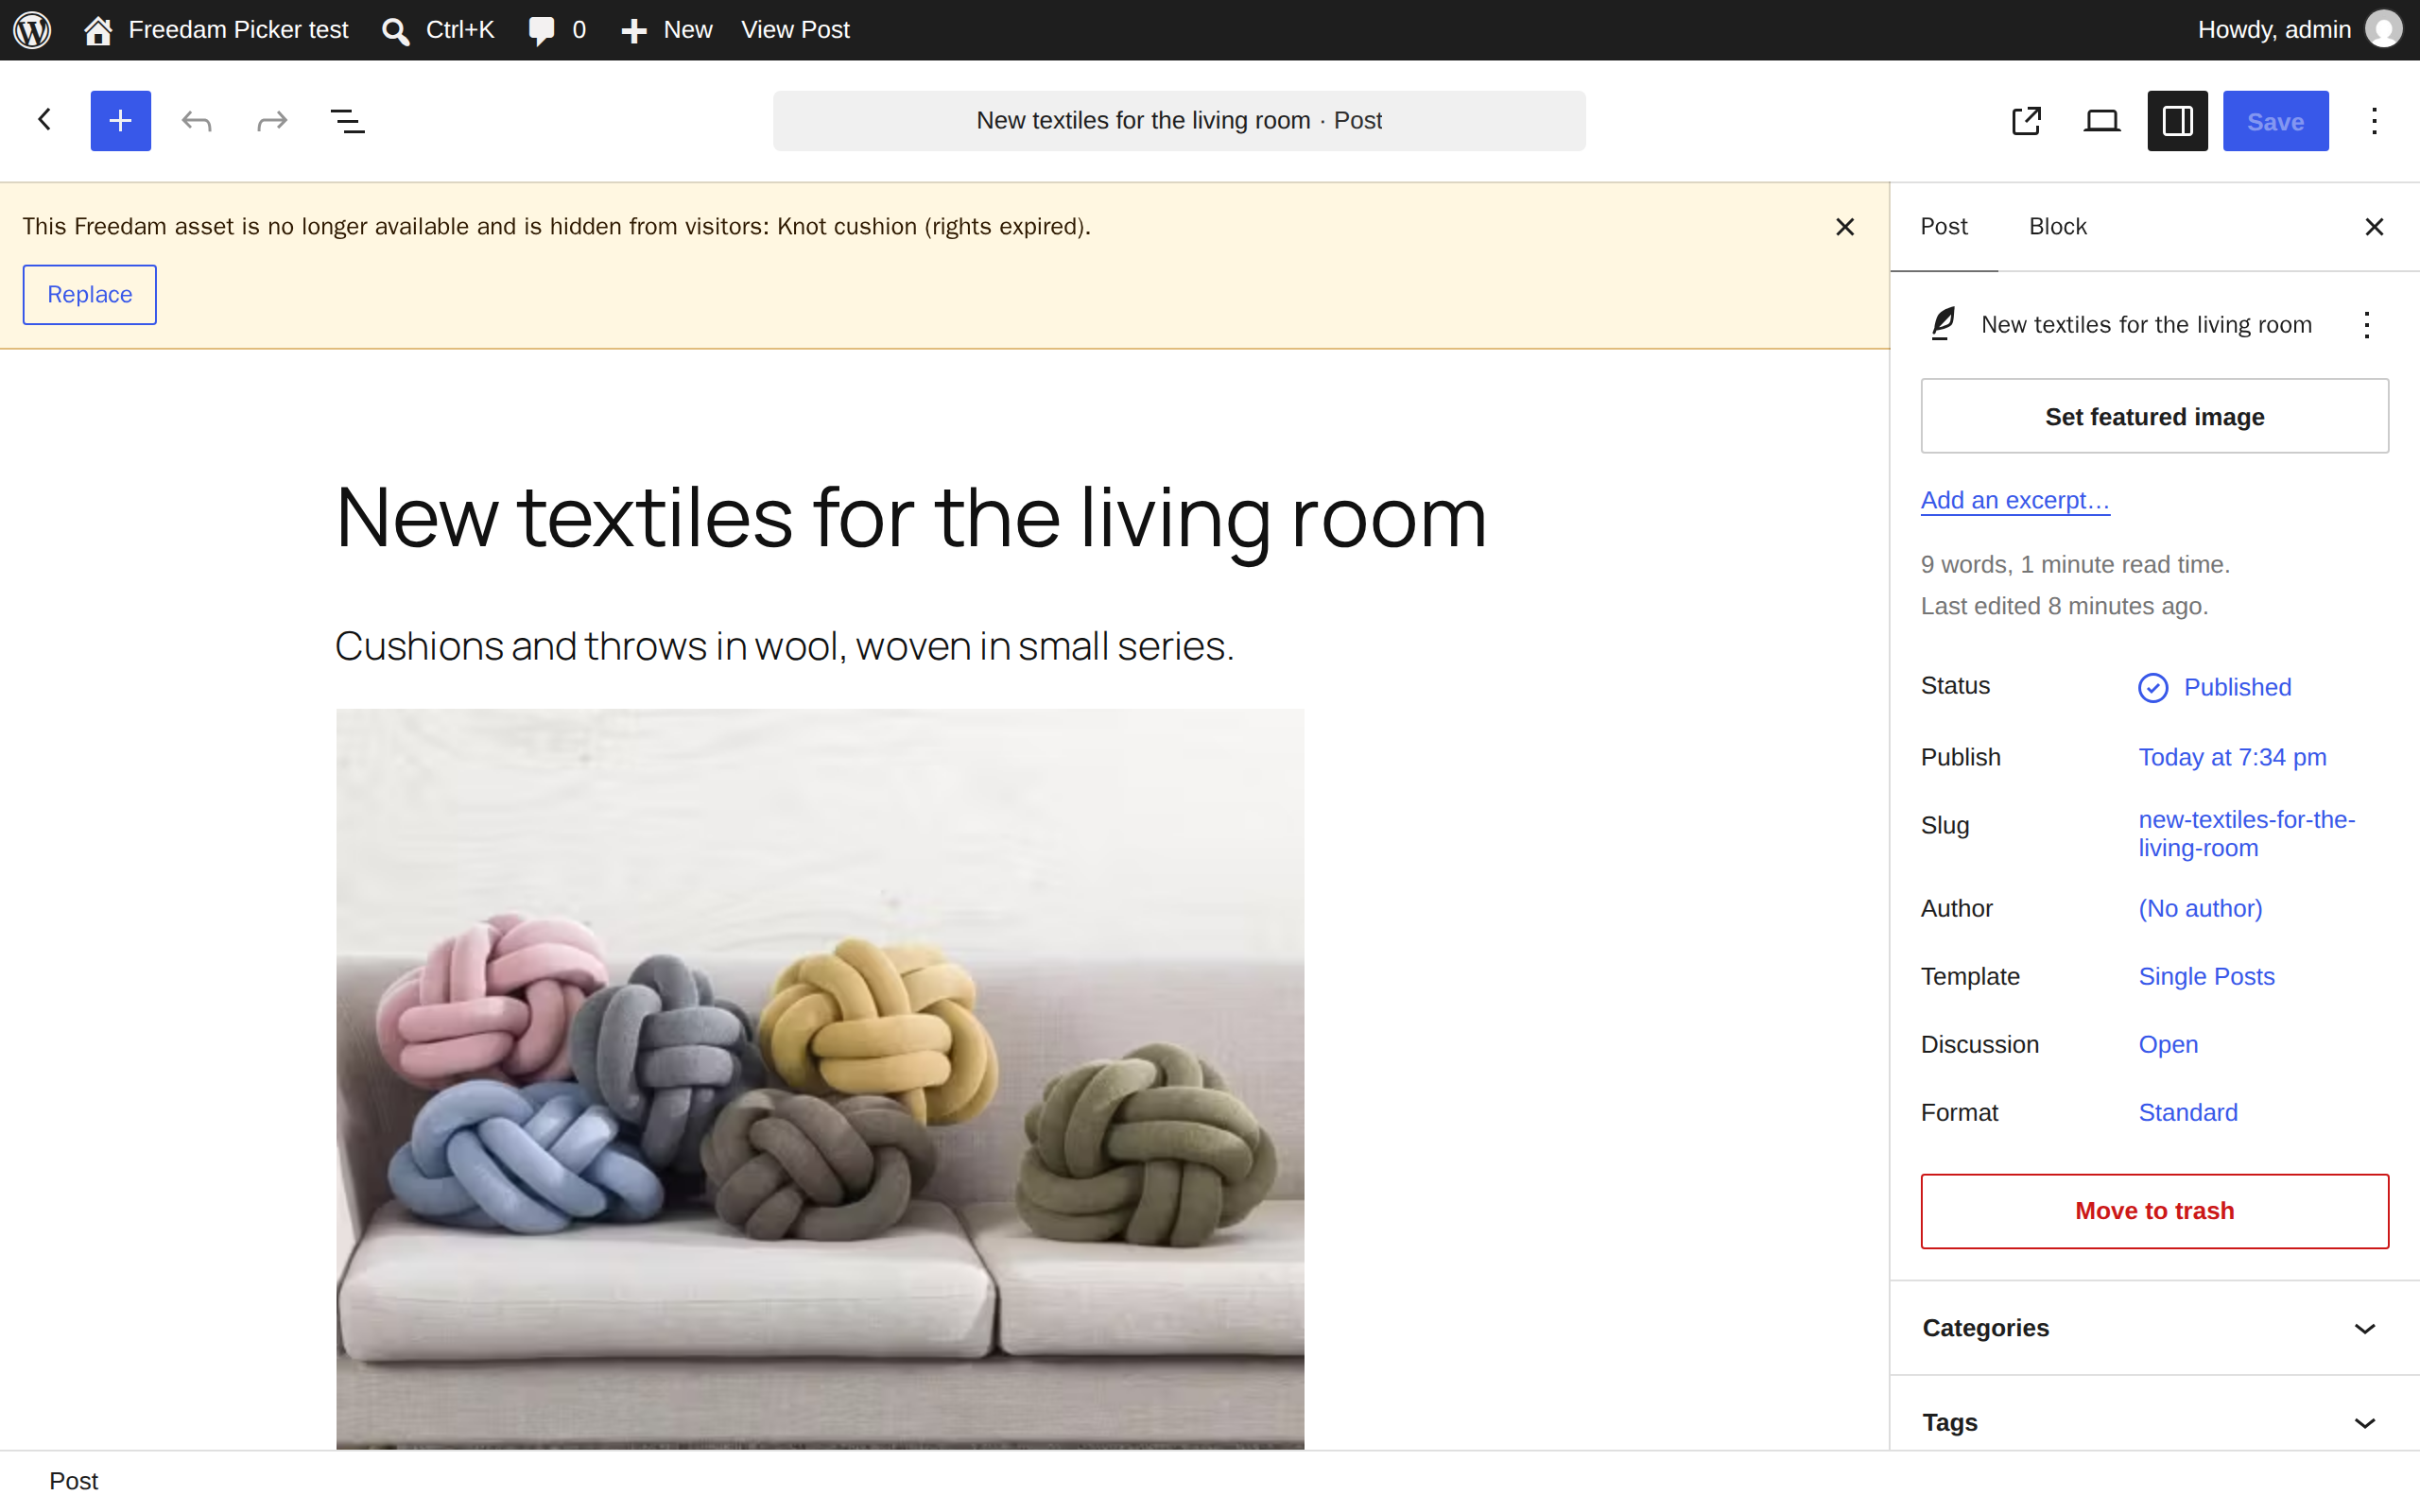
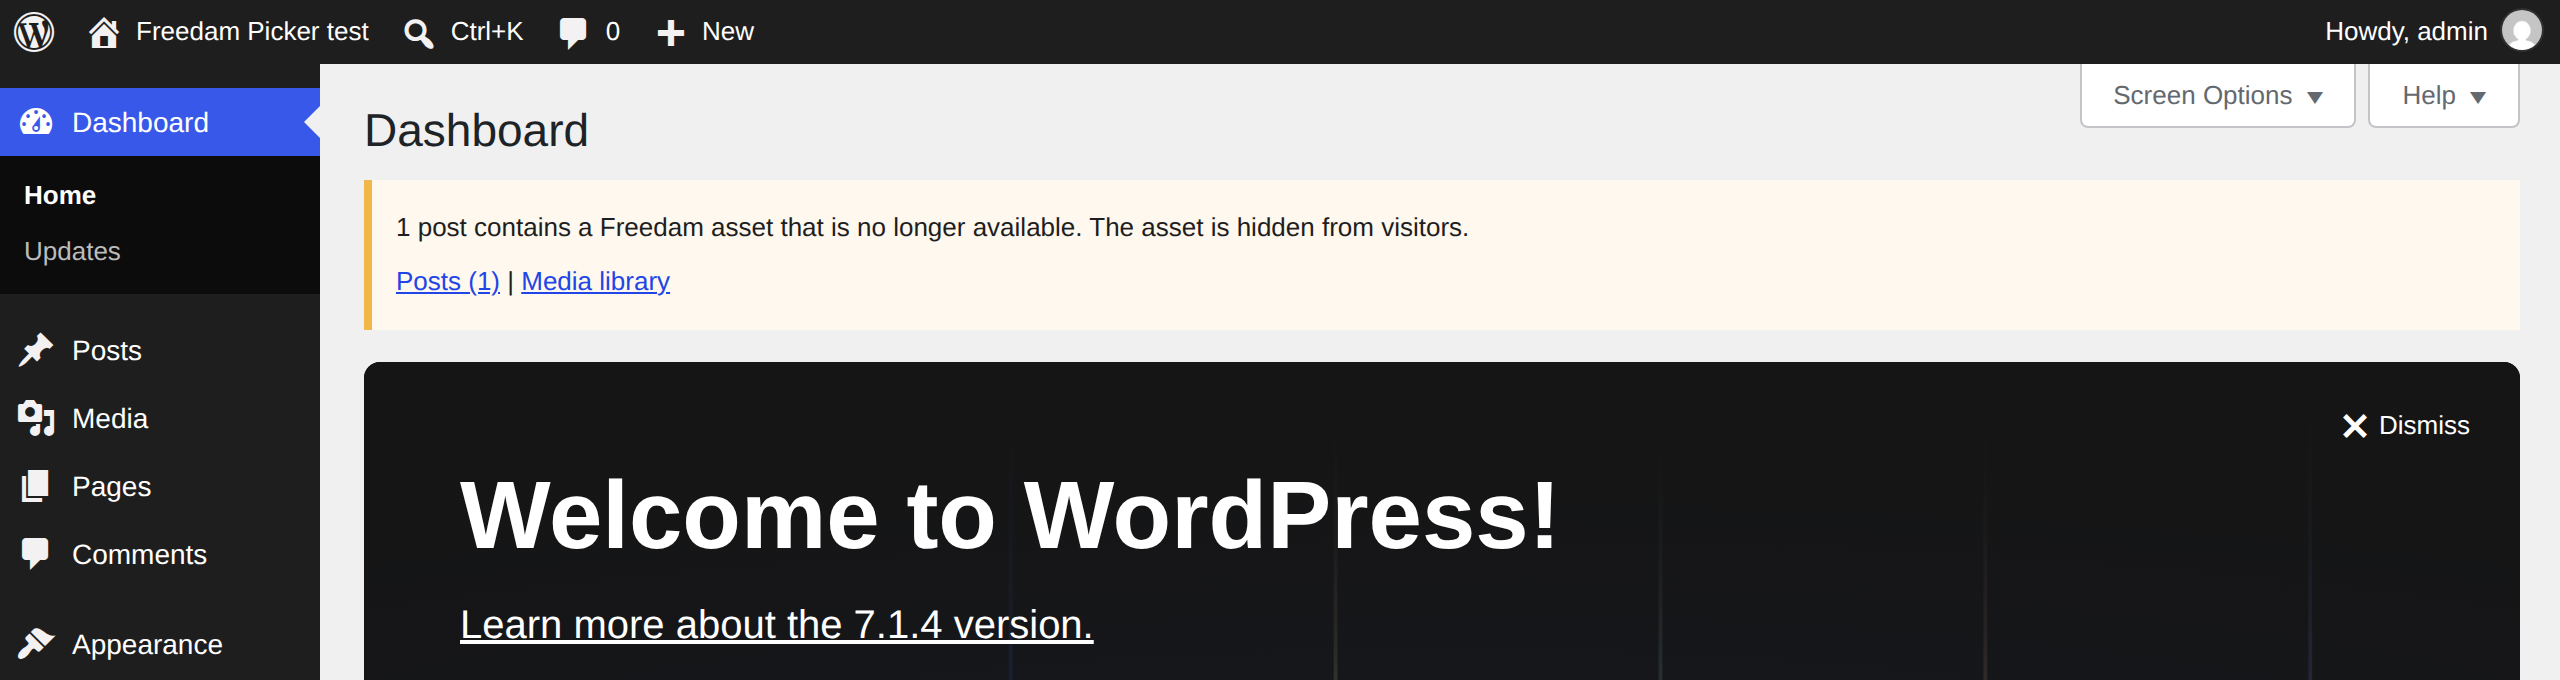
When the usage rights of an asset expire, or the asset is unpublished from the channel, its address stops working. Every hour, the plugin checks the addresses of the Freedam items and blocks of the site, up to 100 checks an hour. When an asset is no longer available:
- visitors no longer see it: the plugin leaves the image or the block out of the page;
- the media library shows a Rights expired or No longer published badge on the item;
- the post editor shows a notice with the assets concerned, and offers to replace each one;
- the dashboard lists the posts and pages that contain such an asset, with links to the filtered lists.
When the rights are renewed or the asset is published again, the next check shows it again and the notices go away.
Step 4: follow the usages in Freedam
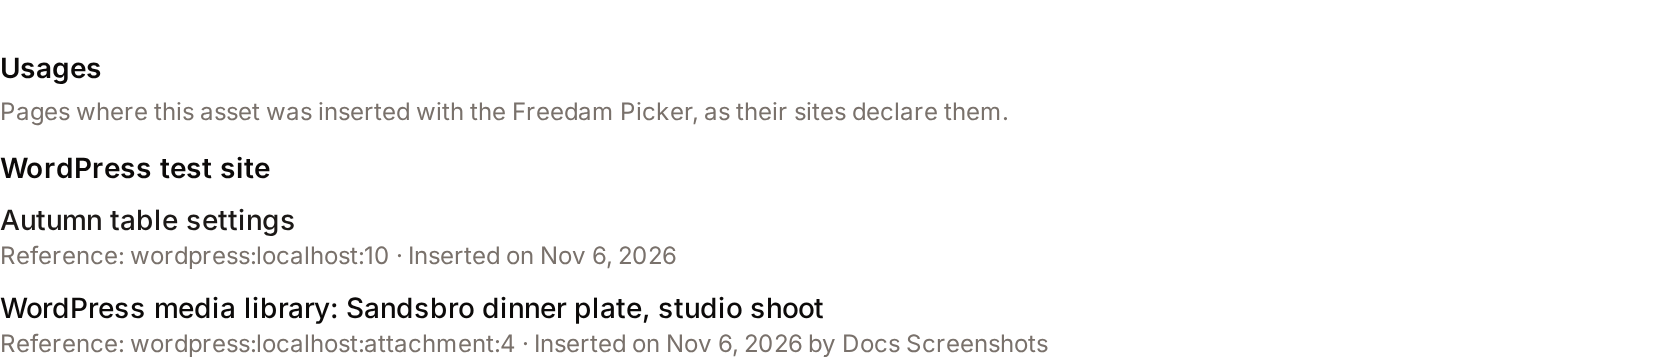
Freedam records where each asset is used. Open the asset in Freedam, then the Publishing and usages tab: under Usages, the integration of the site lists one line per place.
- The media library item is one usage, labelled WordPress media library: followed by the item's title.
- Each post or page that shows the asset is another usage, with its address and title. A draft is listed with (draft) and no address, a post in the trash with (trash). Images in blocks, galleries, the featured image and the classic editor all count, and so do the Freedam video or document blocks.
- Removing an asset from a post removes that post's usage, and deleting a post for good removes its usages. Deleting an item from the media library removes the item's own usage; the usages of the posts that show it stay until those posts are saved again.
The plugin sends these changes in the background with WP-Cron, a few seconds after a post is saved. On a site with few visitors WP-Cron runs late; see Troubleshooting. The Picker statistics page sums up the insertions and active usages of the integration.
Access without a Freedam account
By default, each person signs in to Freedam in the picker and sees the assets their own access rights allow. For a site whose editors have no Freedam account, turn on Access without an account for the integration in Freedam (see Freedam Picker) and copy its public key into the Public key setting. Every WordPress user who can upload files can then insert the assets that guests of the Public Portal may see, within the integration's profile, without signing in.
The picker's language
The picker opens in the language of each person's WordPress profile when the picker offers it: English, French, German, Spanish, Brazilian Portuguese or Simplified Chinese. For another language, the picker uses the person's language in Freedam, then the language of the integration's profile. The plugin's own screens are in English.
Troubleshooting
- The picker says that the page that opened it is no longer reachable. The WordPress administration pages send the header
Cross-Origin-Opener-Policy: same-origin, usually set by a security plugin or the web server. With it, the picker's tab cannot send the assets back. Set the header tosame-origin-allow-popups. - A video or a document viewer does not show. Add the domain of the site to Sites allowed to embed the video player in the channel. The player and the viewer only show inside pages served over
httpsfrom a listed domain. - Images do not show in the editor or on the site. A Content-Security-Policy set by a plugin or the server must allow your workspace's address in
img-src, and inframe-srcfor videos and the document viewer. - Usages or availability checks are late. WP-Cron runs only when someone visits the site. Run it from a system cron job every 5 minutes instead, as described in the WordPress handbook for
DISABLE_WP_CRON. - Media disappeared after changing the workspace. The plugin only displays files served by the workspace set in Settings > Freedam. Set the previous workspace again to show them.
- A plugin that offloads or optimizes media. Such plugins expect every media item to have a local file. Freedam items have none and stay served by the channel; check that the plugin leaves them alone.
Remove the plugin
Deactivating the plugin stops the usage updates and the availability checks. Deleting the plugin also deletes its settings. Media library items, posts and the usages recorded in Freedam are kept. To remove the usages, remove the Freedam assets from the posts, or delete the posts, and delete the items from the media library before deleting the plugin.